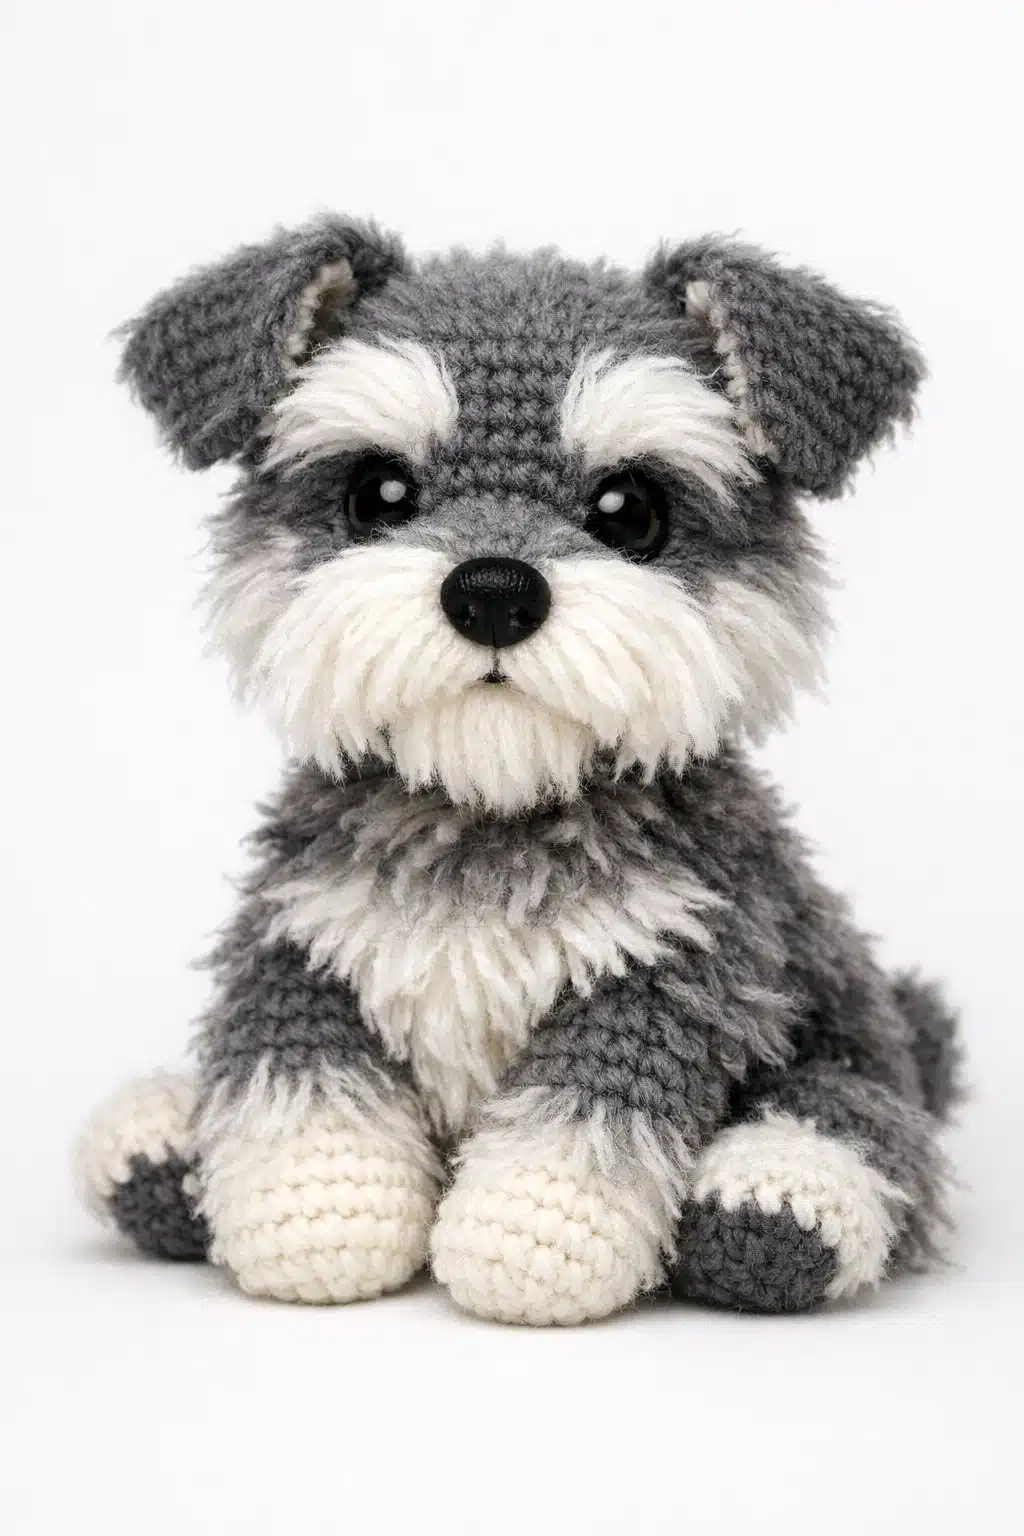
Pug Amigurumi Crochet Pattern Ideas: 7 Adorable Designs to Make

You can bring the charm of a pug to life with simple yarn and a hook. Pug amigurumi crochet pattern ideas let you create small, soft dogs that show off round heads, wrinkled faces, and curly tails in fun and creative ways.

You will find pattern ideas that fit every skill level, along with tips to shape, stitch, and customize your own crochet pug projects with confidence. From classic puppy designs to mini keychains, plush chenille versions, and cute applique pieces, you can explore many styles while building strong amigurumi skills and adding personal touches to each project.
1) Classic Amigurumi Pug Puppy Pattern

You can start with a classic pug puppy pattern if you want a simple and cute design. Most free patterns guide you step by step and suit beginners.
You shape the head, body, legs, and curly tail using basic stitches like single crochet, increase, and decrease. Many patterns begin with a magic ring and work in rounds to form the pug’s round face and short muzzle.
The finished pug often stands about 6 inches tall. You can add safety eyes, a small collar, and light face shaping to give your puppy a clear pug look.
Prefer something round and low to the ground?
🐕 Corgi Adorable Corgi Crochet Pattern See this pattern →2) Mini Pug Keychain Amigurumi Pattern

You can turn a tiny pug into a useful keychain with a simple amigurumi pattern. Most designs use basic stitches like single crochet, increases, and decreases, so you can finish it even if you are still learning.
Get Free Amigurumi Patterns Every Week!
Get new patterns, & tutorials free in your inbox
🔒 No spam. Unsubscribe anytime.
Work the body and head in small rounds to create a compact shape. Add a short muzzle, small folded ears, and a curled tail to match the pug’s look. Safety eyes or embroidered eyes both work well.
Attach a keyring at the top of the head with a strong loop. You can also use it as a bag charm or small gift.
Another tiny project worth trying:
🐶 Yorkie Tiny Yorkie Crochet Pattern Click to see →3) Fluffy Chenille Pug Plush Pattern

Choose a fluffy chenille yarn if you want a soft, huggable pug. This yarn feels smooth and thick, which gives your amigurumi a plush look and shape.
You will work basic stitches like single crochet in the round. The thicker yarn helps the body and head form quickly, but you must stitch tightly to keep the stuffing from showing.
Focus on shaping the round head, short muzzle, and small folded ears. Add simple embroidered details for the eyes and wrinkles to match the pug’s face.
4) Squishy Round-Head Pug Amigurumi Pattern

You shape this pug with a large, round head that gives it a soft and squishy look. Work most pieces in continuous rounds and use a stitch marker to track each round.
Crochet the head and body separately, then sew them together. Add a short muzzle, small folded ears, and a tight curly tail to match the pug’s features.
Use safety eyes and a few stitches to form the wrinkles. Light stuffing keeps the shape firm but squeezable.
Big ears run in more than one family:
🐕 Boxer Bold Boxer Crochet Pattern Try this one →5) Pug with Curly Tail Sitting Pose Pattern

You can create a classic sitting pug with a rounded body and steady base. This pose helps your amigurumi sit upright on a shelf or desk without extra support. Shape the body with tight, even stitches to keep it firm.
Add short legs and attach them low on the body. This gives your pug a relaxed, seated look. Use small safety eyes and a darker yarn for the muzzle to define the face.
For the curly tail, chain a short length and work extra single crochets into each stitch as you go back. The added stitches make the tail curl naturally.
Classic favorite, always in style:
🦮 Labrador Labrador Retriever Crochet Pattern Grab the pattern →6) Pug Face Applique Amigurumi Pattern (for blankets/toys)

You can use a pug face applique to add character to blankets, pillows, or soft toys. This flat design works well for baby blankets or patchwork projects.
Most patterns build the face in simple rounds, then add the muzzle, ears, and wrinkles as separate pieces. You stitch the pieces on to shape the pug’s expression.
Choose soft yarn with clear color contrast for the eyes and nose. Secure each part tightly so your applique stays flat and holds its shape after washing.
7) Pocket-Sized Pug Baby Rattle Amigurumi Pattern

You can turn a tiny pug into a soft baby rattle that fits right in your hand. This pattern keeps the body small and round, with a short muzzle and simple stitched eyes for safety.
Place a small rattle insert inside the body before you close it. Use tight stitches and soft yarn to create a firm but gentle shape.
You can crochet the ears and tail separately, then sew them on with strong thread. The finished pug works well as a baby gift or a small stroller toy.
Essential Crochet Techniques for Amigurumi

You shape a pug amigurumi with tight stitches, clean shaping, and the right yarn choice. When you control tension, use the correct starting method, and hide decreases well, your finished dog looks smooth and well formed.
Yarn Selection and Weight Considerations
Choose a medium weight (worsted/#4) or light weight (DK/#3) yarn for most pug amigurumi projects. These weights help you create firm fabric without large gaps. Gaps can expose stuffing and weaken the shape.
Cotton yarn holds structure well and shows stitch detail clearly. Acrylic yarn feels softer and works well for gifts, but it can stretch more over time.
Keep these points in mind:
- Fiber: Cotton for firm structure, acrylic for softness
- Hook size: Use a hook 0.5–1.0 mm smaller than the label suggests
- Color choice: Fawn, black, or apricot for realistic pugs
Test your tension before you begin. Your stitches should feel tight, and stuffing should not show through the fabric.
Mastering the Magic Ring
Start most amigurumi pieces with a magic ring instead of a chain loop. This method lets you pull the center closed, which prevents a hole at the top of the head or body.
Wrap the yarn around your fingers to form a loop. Work the required number of single crochet stitches into that loop. Then pull the tail firmly to close the circle.
You will often see patterns begin with 6 or 8 single crochets in a magic ring. This tight center is important for rounded shapes like a pug’s head and muzzle.
If the ring feels loose, pull the tail again after a few rounds. Secure it by weaving the tail through several stitches on the wrong side.
Invisible Decrease and Seamless Stitching
Use the invisible decrease to shape the head, body, and legs. This method keeps your fabric smooth and avoids small bumps.
Instead of inserting your hook through both loops of two stitches, insert it through the front loops only of the next two stitches. Yarn over and complete one single crochet.
This technique:
- Reduces bulk
- Keeps decreases less visible
- Maintains a round shape
Work in a continuous spiral and use a stitch marker to track rounds. Avoid slip stitching at the end of each round unless the pattern tells you to do so. Continuous rounds create a seamless surface, which helps your pug look neat and evenly shaped.
Ready for a sunnier project?
🐕 Golden Retriever Beautiful Golden Retriever Crochet Pattern Free pattern →Customizing Crochet Pug Projects

You can change colors, yarn types, and small details to make your pug look more realistic or more playful. Simple add-ons like collars or outfits also help you match the pug to a person, pet, or theme.
Personalizing Colors and Textures
Start with the classic pug colors: fawn with a black mask or solid black. Use tan, beige, or light brown yarn for the body, and add dark brown or black for the muzzle, ears, and paws.
If you want a custom look, try soft gray, cream, or even pastel shades. Keep the muzzle darker than the body so the face stands out. This helps define the wrinkles and short snout that give pugs their unique look.
Yarn choice also changes the final result:
- Acrylic yarn: easy to wash, holds shape well
- Cotton yarn: smooth stitches and clear detail
- Velvet or chenille yarn: soft, plush texture
Use tight stitches and firm stuffing to keep the round head and compact body shape. Add light embroidery lines around the face to suggest wrinkles without making the design too busy.
Adding Accessories and Embellishments
Small accessories can turn a simple pug into a themed gift. Add a crocheted collar with a tiny button or bead to look like a tag.
You can also create:
- A small scarf for winter
- A birthday hat
- A flower headband
- A tiny sweater in school or team colors
Sew pieces on securely, especially if the toy is for a child. Use embroidery instead of plastic safety eyes for babies to reduce choking risk.
Keep accessories in scale with the body. A pug has a short neck and wide chest, so make collars and clothing slightly wider and shorter than you would for other dog breeds. This keeps the design balanced and true to the pug’s shape.
One more curly friend to make:
🐩 Poodle 6 Curly Poodle Crochet Patterns Explore pattern →