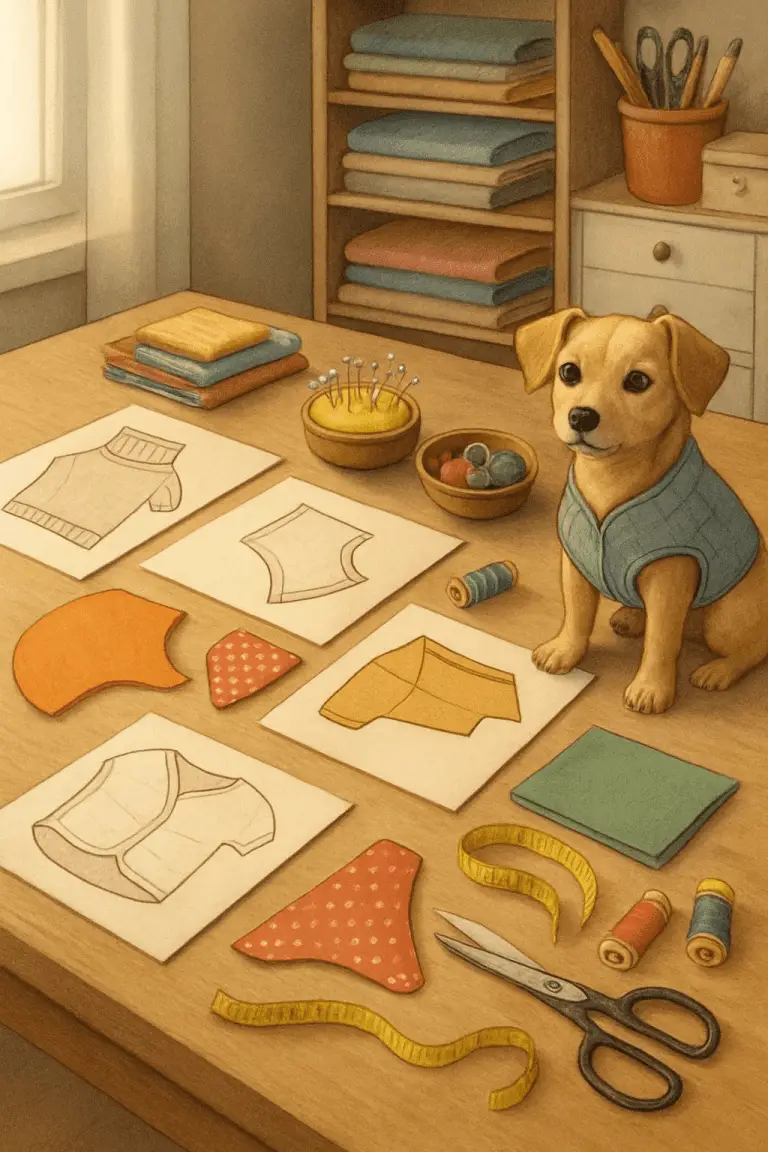
Cat Toy Sewing Pattern: 7 Creative Designs for Playful Pets
Creating handmade cat toys gives people a simple and rewarding way to care for their pets. Sewing patterns make it easy to craft toys that match any cat’s play style, from soft plush designs to textured crinkle shapes. Using a cat toy sewing pattern helps anyone make safe, personalized toys that bring fun and enrichment to a cat’s daily routine.
This guide introduces different styles of patterns, from easy beginner projects to more detailed stuffed designs. It also covers ways to customize materials, add features like catnip or durable stitching, and understand how each pattern works before starting to sew.
1) Fish-Shaped Crinkle Toy Pattern
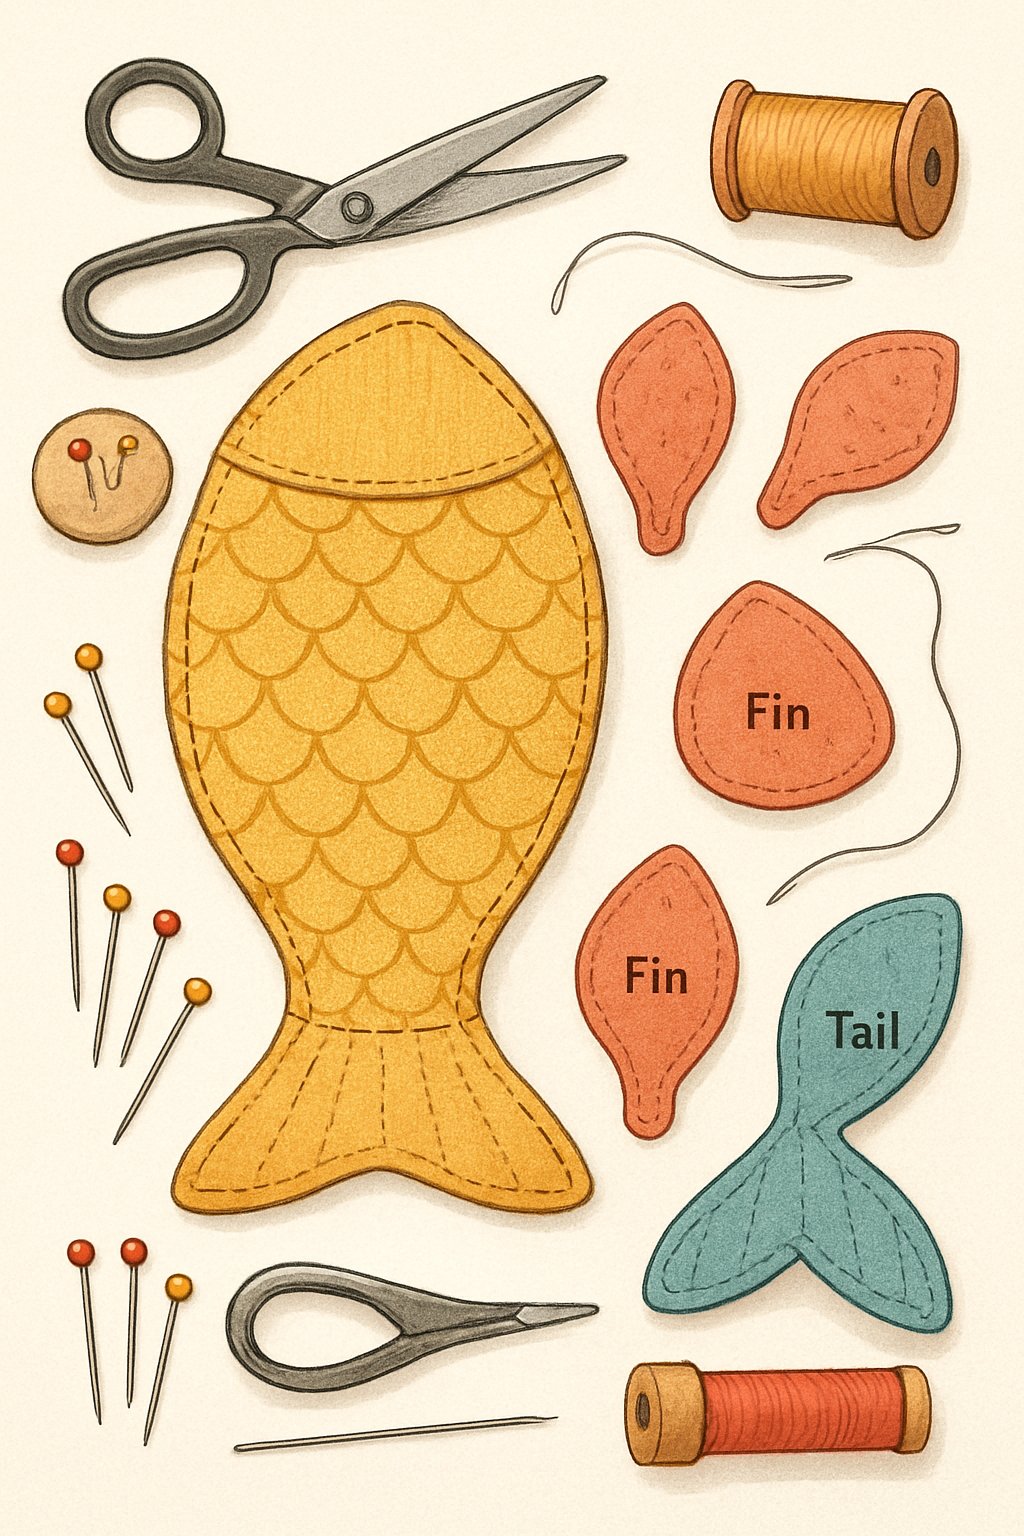
This simple sewing project uses small fabric scraps and a fish-shaped pattern. Cotton or denim works well because the fabric is durable and easy to cut.
Crafters place a piece of crinkly plastic, such as a clean chip bag, inside the toy before stitching it closed. The sound adds interest for cats who enjoy noisy play.
Some people also fill the fish with catnip for extra attraction. The pattern is easy to adjust in size, making it suitable for kittens or larger cats alike.
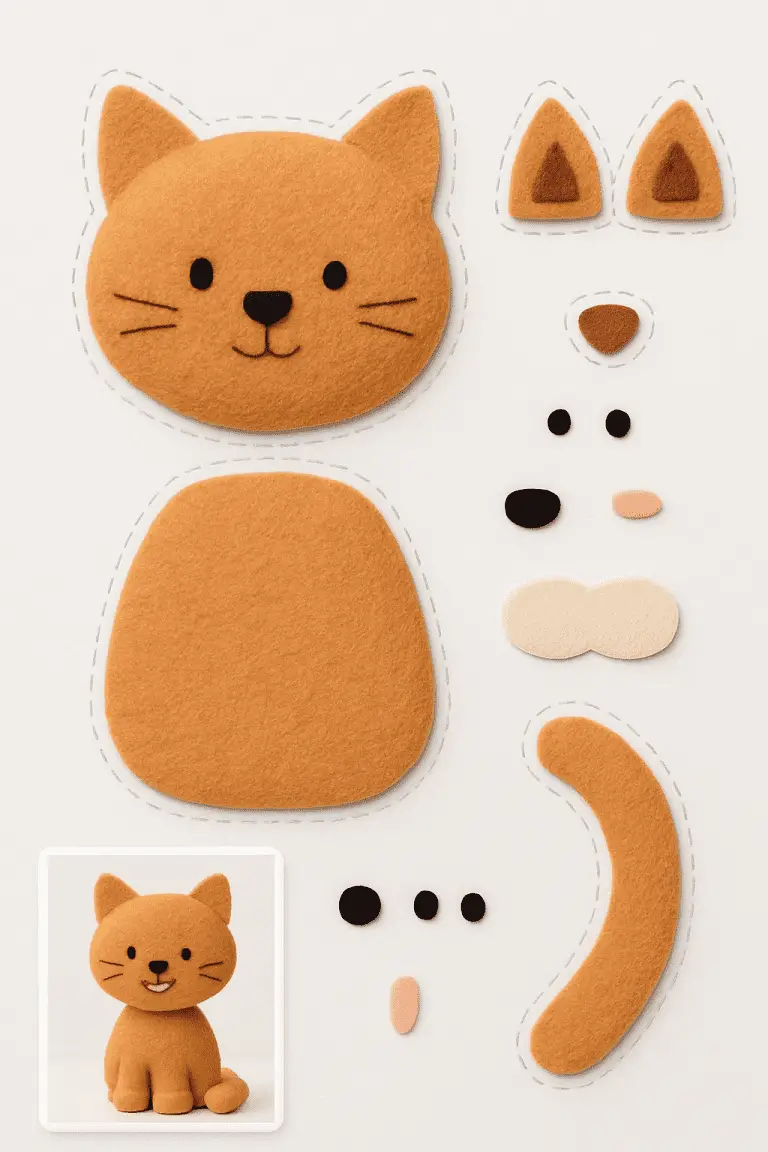
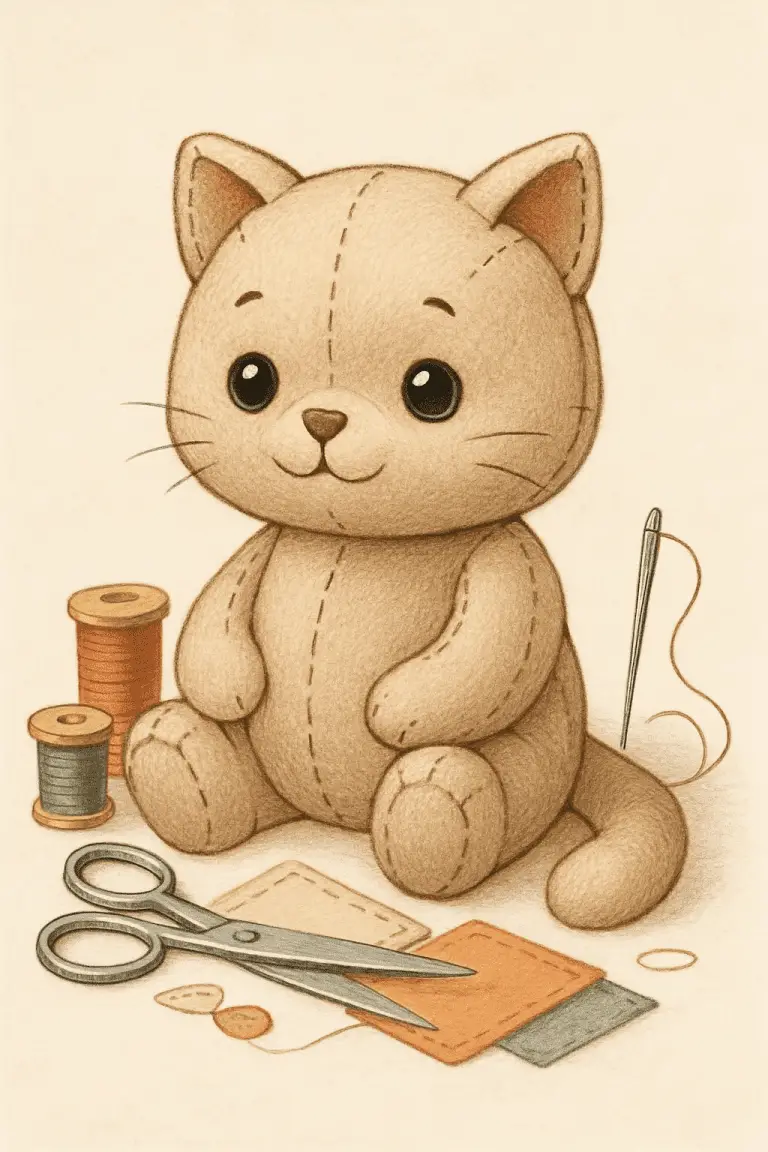
2) Stuffed Cat Plush Pattern
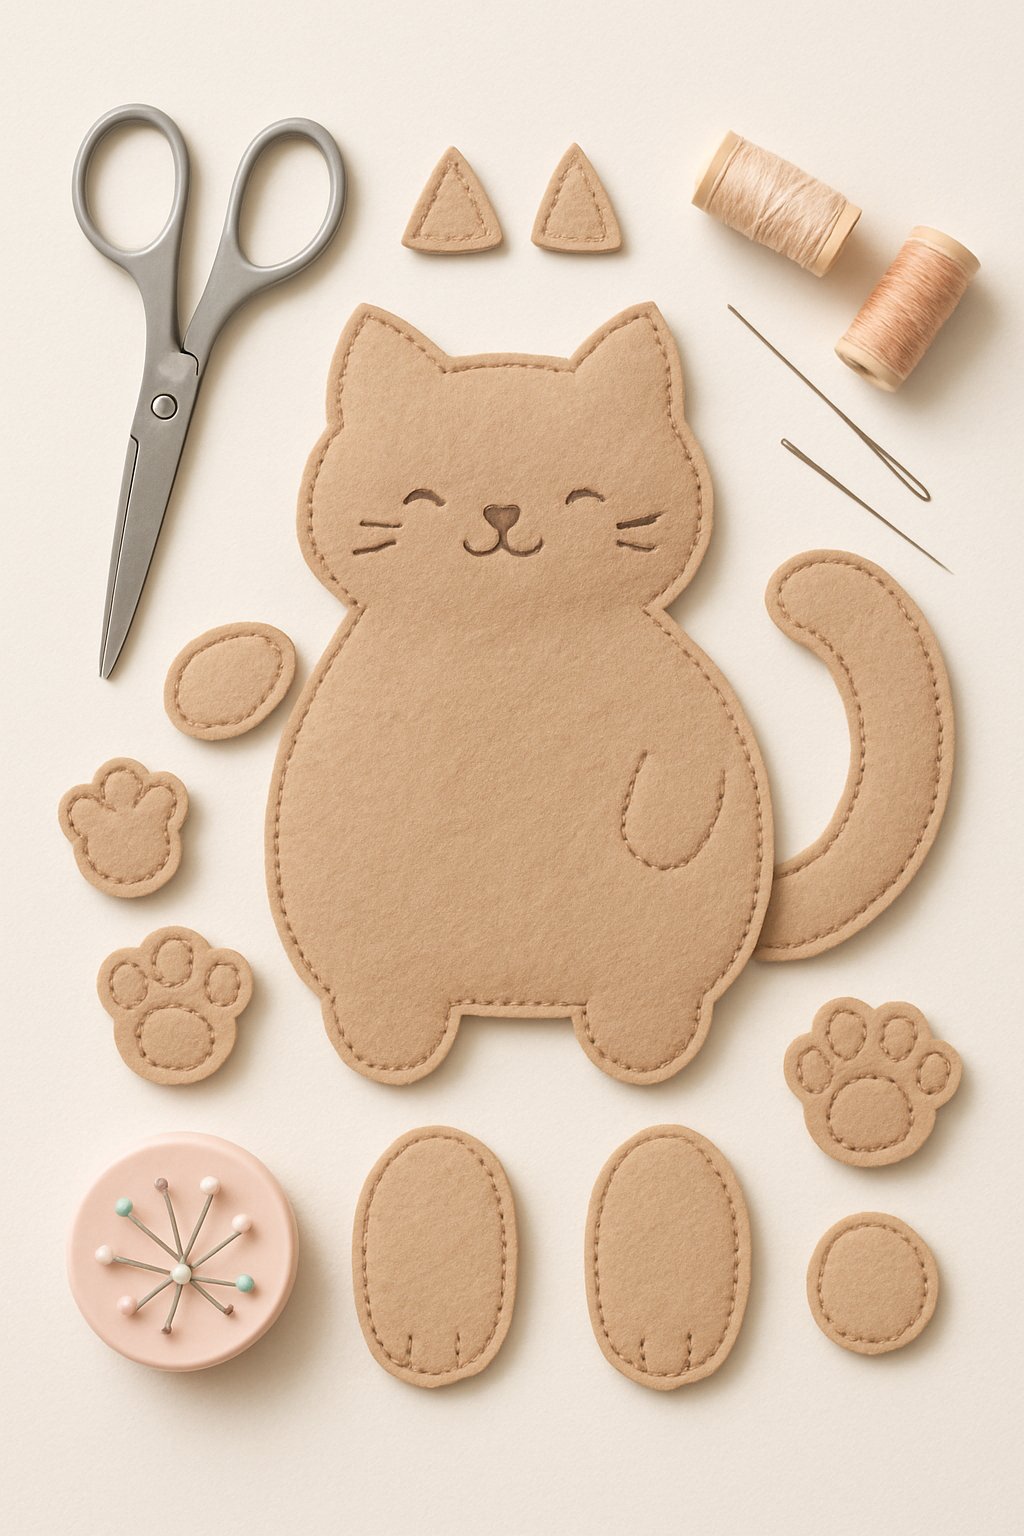
A stuffed cat plush pattern helps crafters create soft, huggable toys from fabric or felt. It usually includes printable templates and step-by-step instructions that guide sewing and assembly.
These patterns come in many styles, from simple shapes for beginners to detailed designs with embroidered faces or jointed limbs for advanced sewists.
Sewists can use materials like cotton, fleece, or socks to make cats of different textures and sizes. Many enjoy customizing them with colors, ribbons, or small accessories to add personality.
3) DIY Catnip Mouse Toy
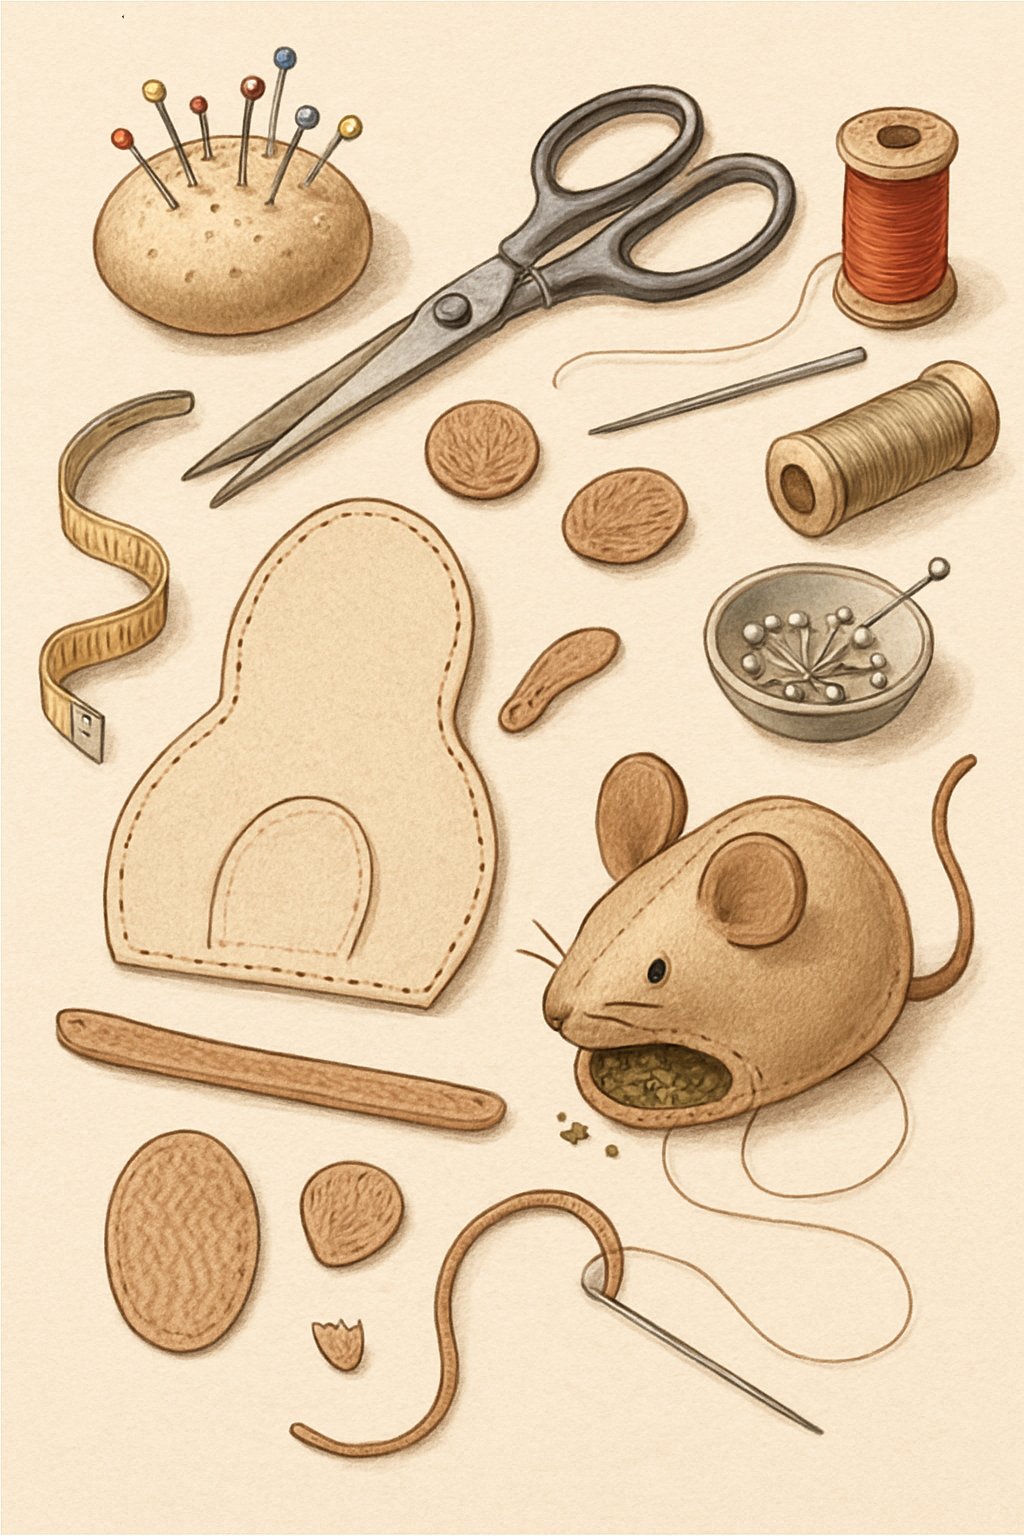
A handmade catnip mouse toy offers a simple and affordable craft project for pet owners. It uses small pieces of fabric, cotton or fiberfill stuffing, and dried catnip for scent.
Crafters cut two mouse-shaped pieces of fabric, sew them together, and leave a small opening to fill with stuffing and catnip. After closing the seam, the toy is ready for play.
This project encourages reuse of fabric scraps and provides a safe, personal alternative to store-bought toys. Many find that cats enjoy the texture and smell, making it a popular homemade choice.
4) Suede Leather Tough Cat Toy
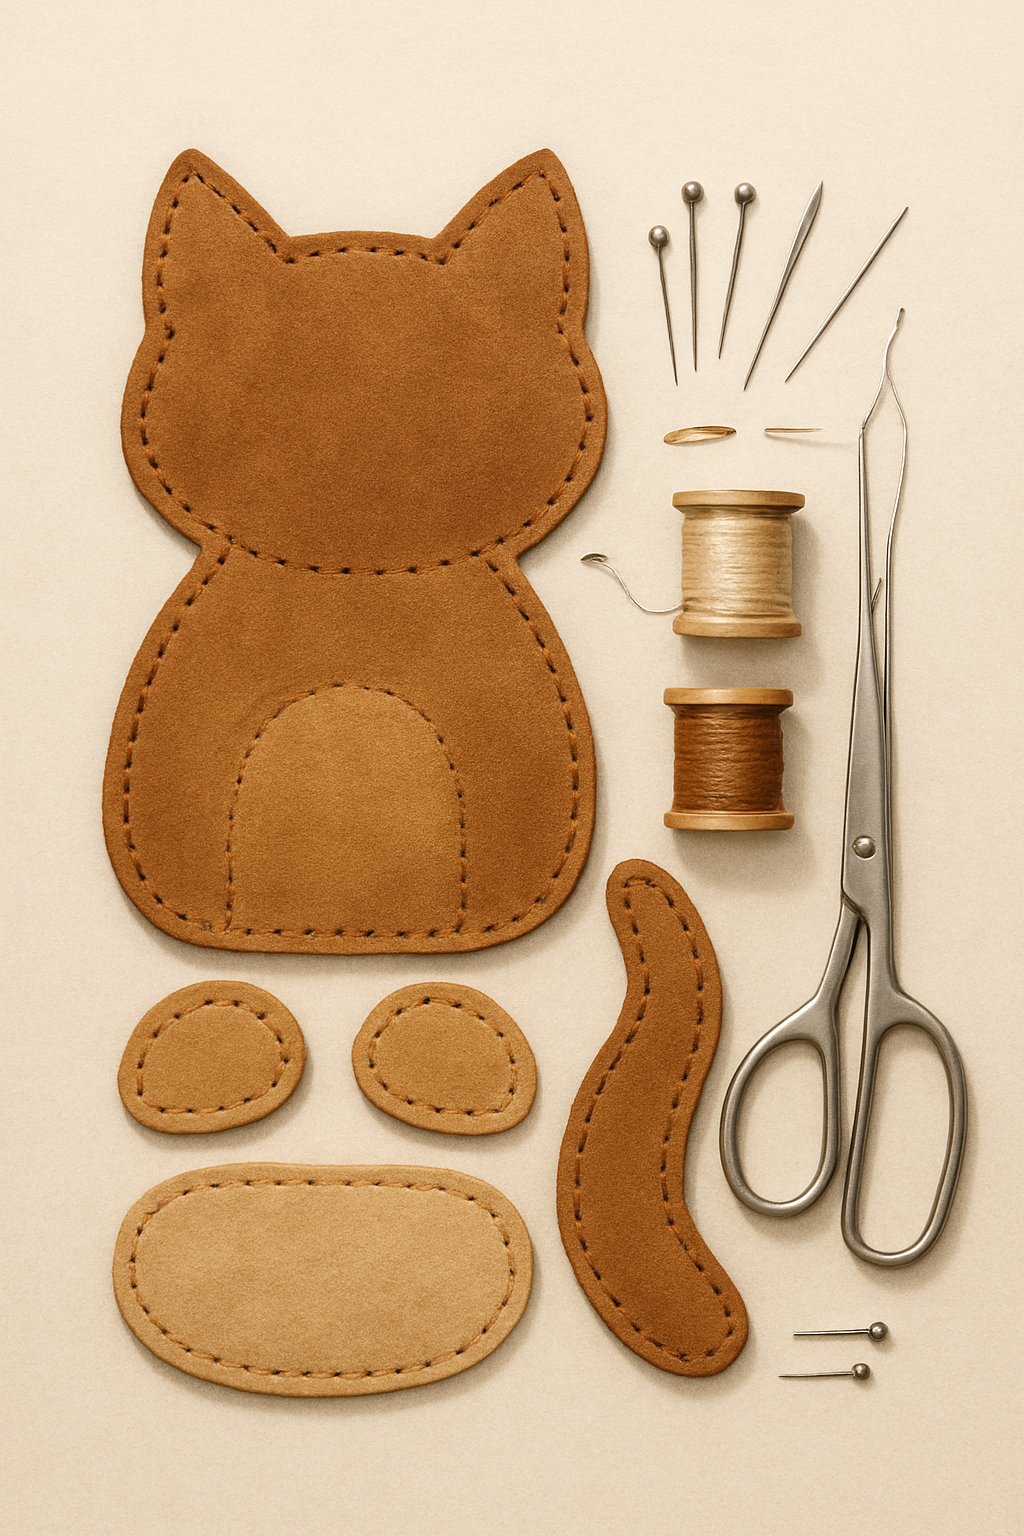
This cat toy uses real or faux suede and leather to create a sturdy play item for active cats. The material choice helps resist tearing from claws and biting during rough play.
To make it, crafters can cut simple mouse or fish shapes, punch holes for stitching, and sew the pieces together. A bit of catnip or a small bell can be added inside for extra interest.
The project typically takes a few hours, depending on skill level. Using bright or textured leather can make the toy stand out while remaining safe for cats to enjoy.
5) Lucky Waving Cat Felt Pattern
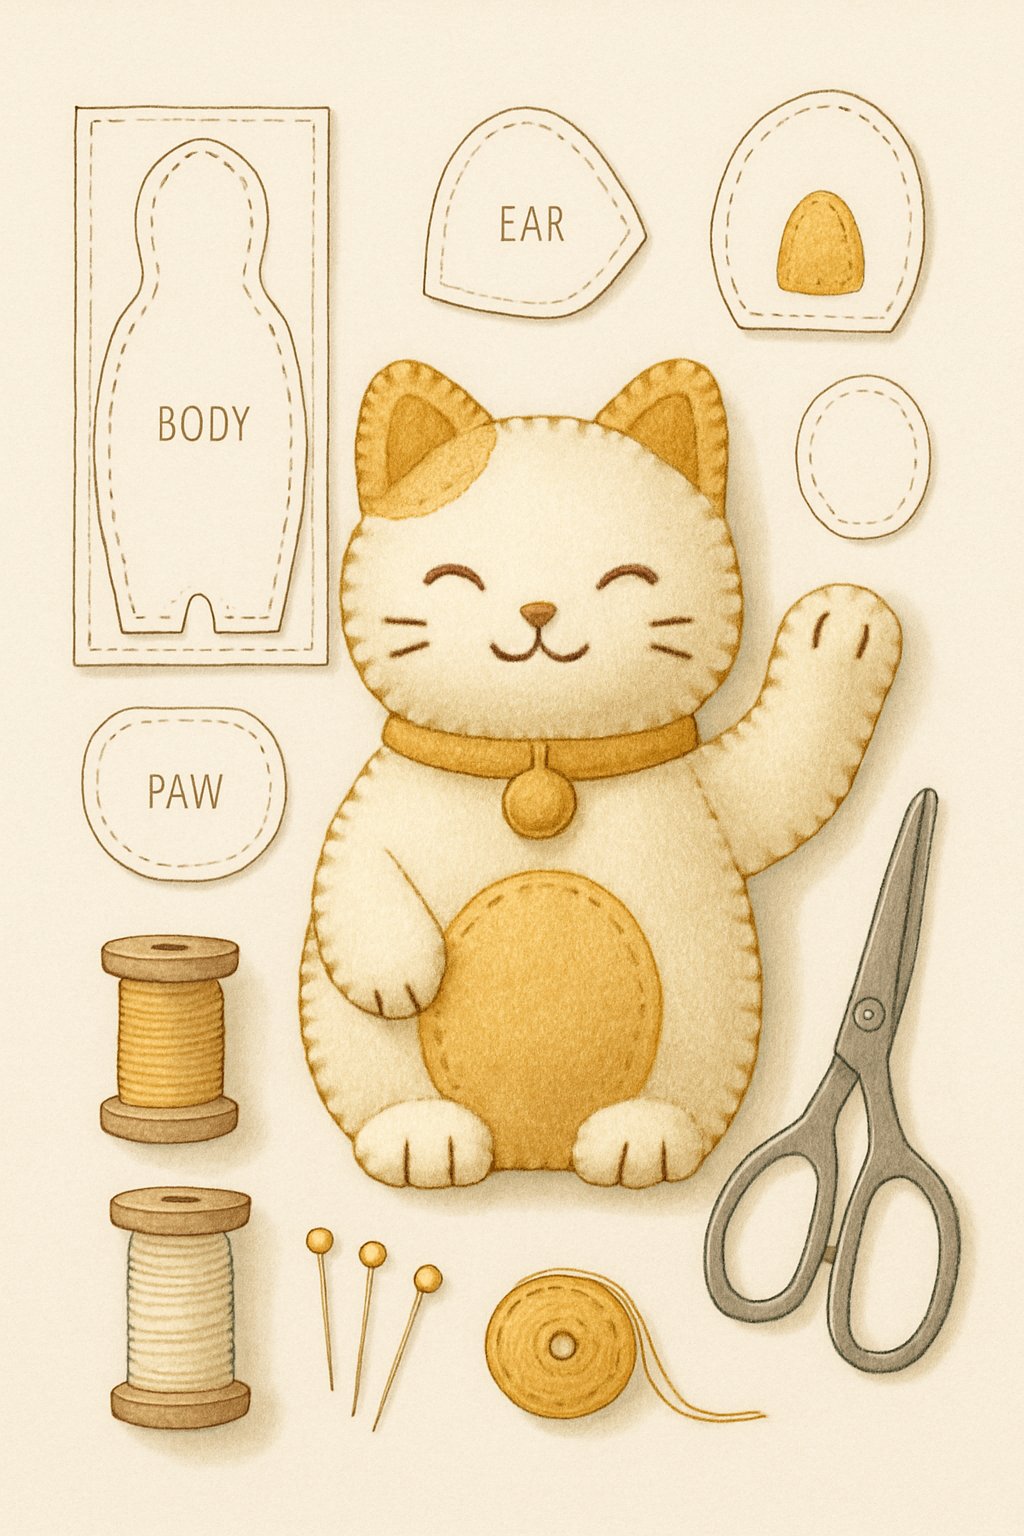
This felt pattern creates a small waving cat inspired by the traditional lucky cat figure. It works well as a decoration, keychain, or gift tag.
Crafters cut the body, arms, and facial features from felt, then sew or glue the parts together. A few stitches allow the raised paw to appear as if it’s waving.
Beginners can complete the project using simple hand-stitching skills. Felt scraps and basic tools, such as scissors, thread, and a needle, are all that’s needed to finish this cheerful piece.
6) Simple Sock Cat Toy

A simple sock cat toy takes little time and uses basic materials most people already have. One clean sock, a bit of stuffing, and a needle with thread are the main items needed.
Crafters can fill the sock with polyester fiberfill or cotton scraps, then sew the opening closed. Adding a jingle bell or crinkly plastic inside makes the toy more interesting for cats.
Soft socks work best because they stretch easily and hold shape well. This project helps reuse old socks and gives cats a fun, lightweight toy to bat around.
7) Colorful Cotton Fish Toy
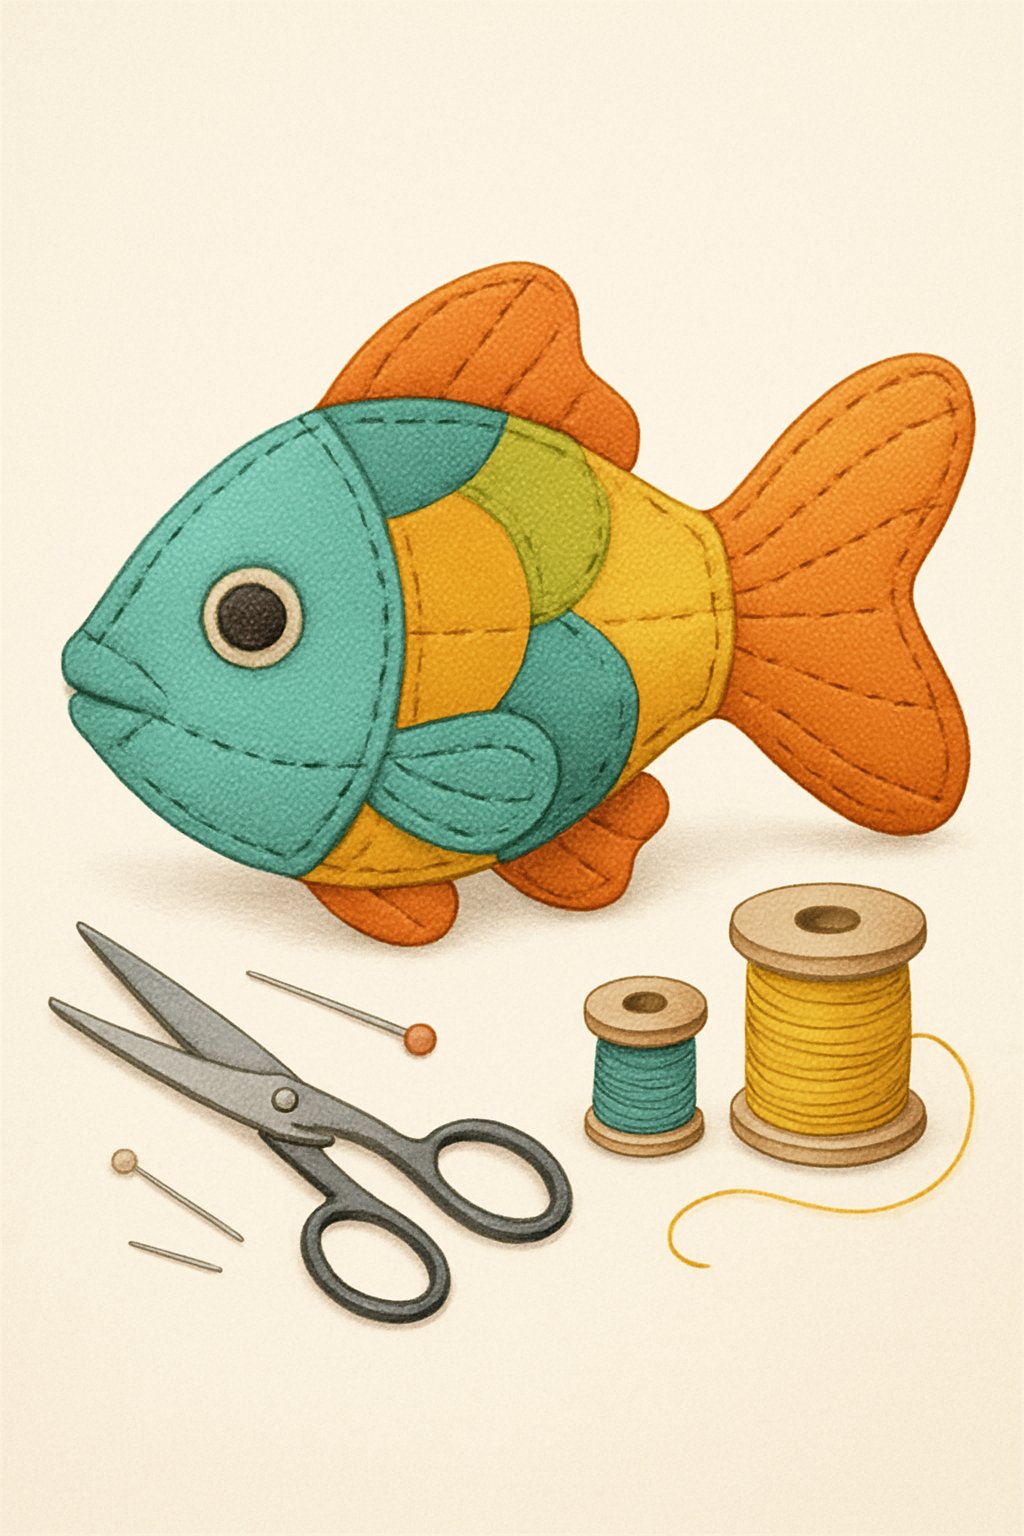
This simple fabric fish toy offers an easy way to create a fun plaything for cats. Makers can use bright cotton fabrics to give the toy an appealing look.
It typically includes a crinkly layer made from a recycled chip bag or similar material. This adds sound that keeps cats interested during play.
Stuffing the fish with fiberfill or a small amount of catnip can make it more engaging. Using fabric scraps also helps reduce waste while crafting a small, durable toy.
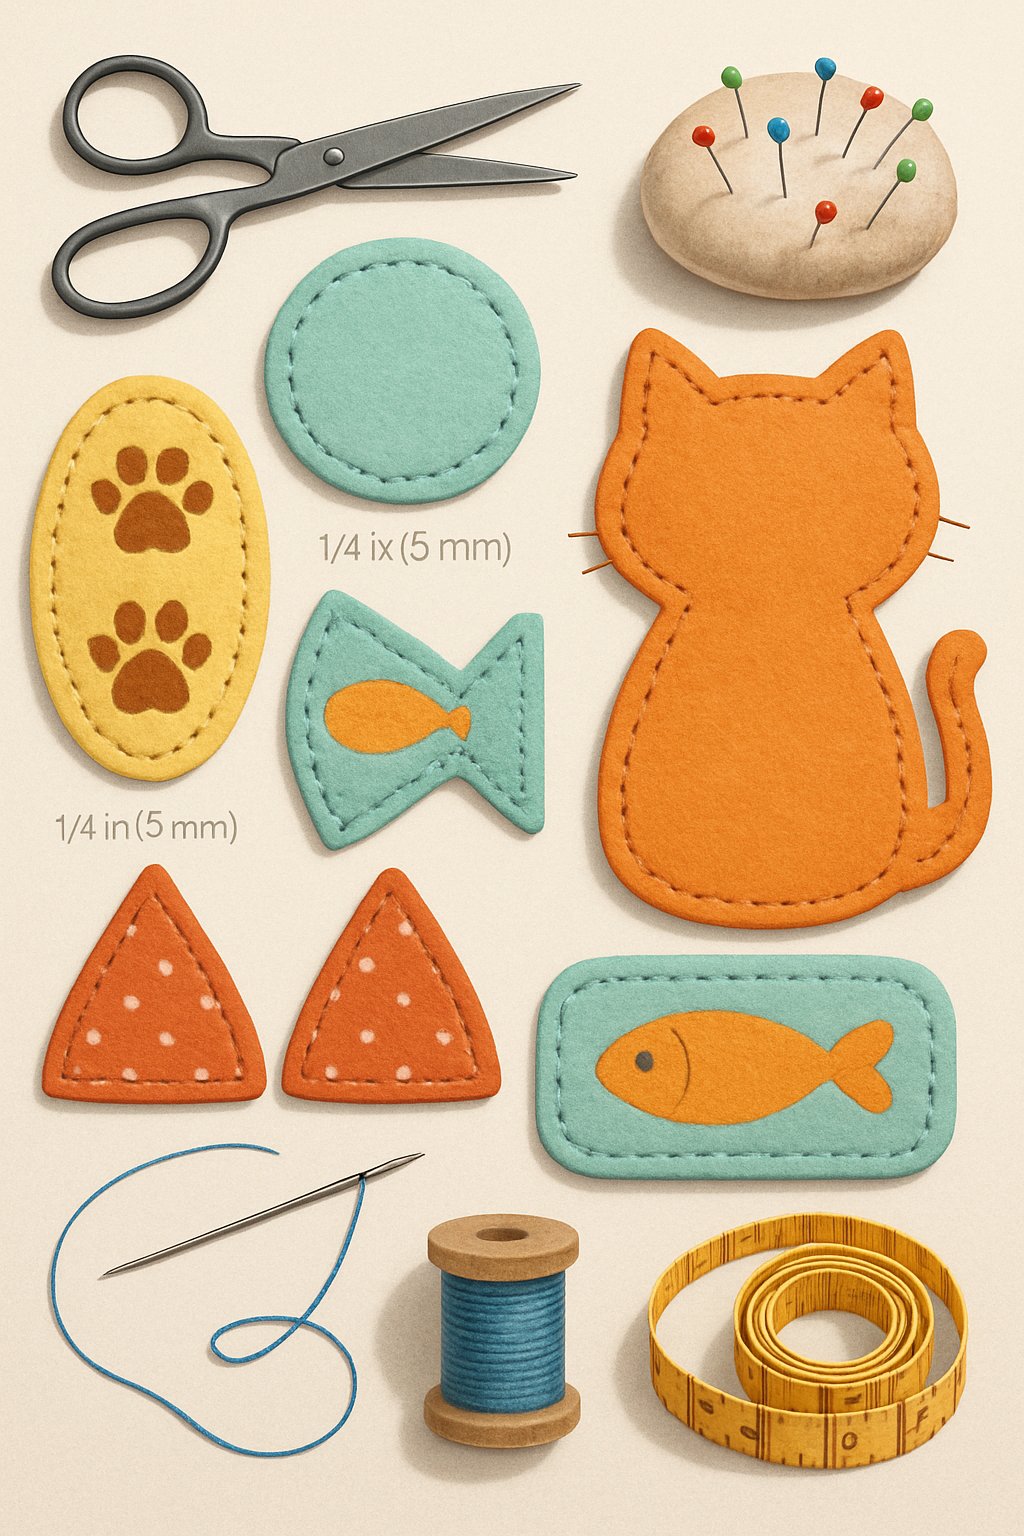
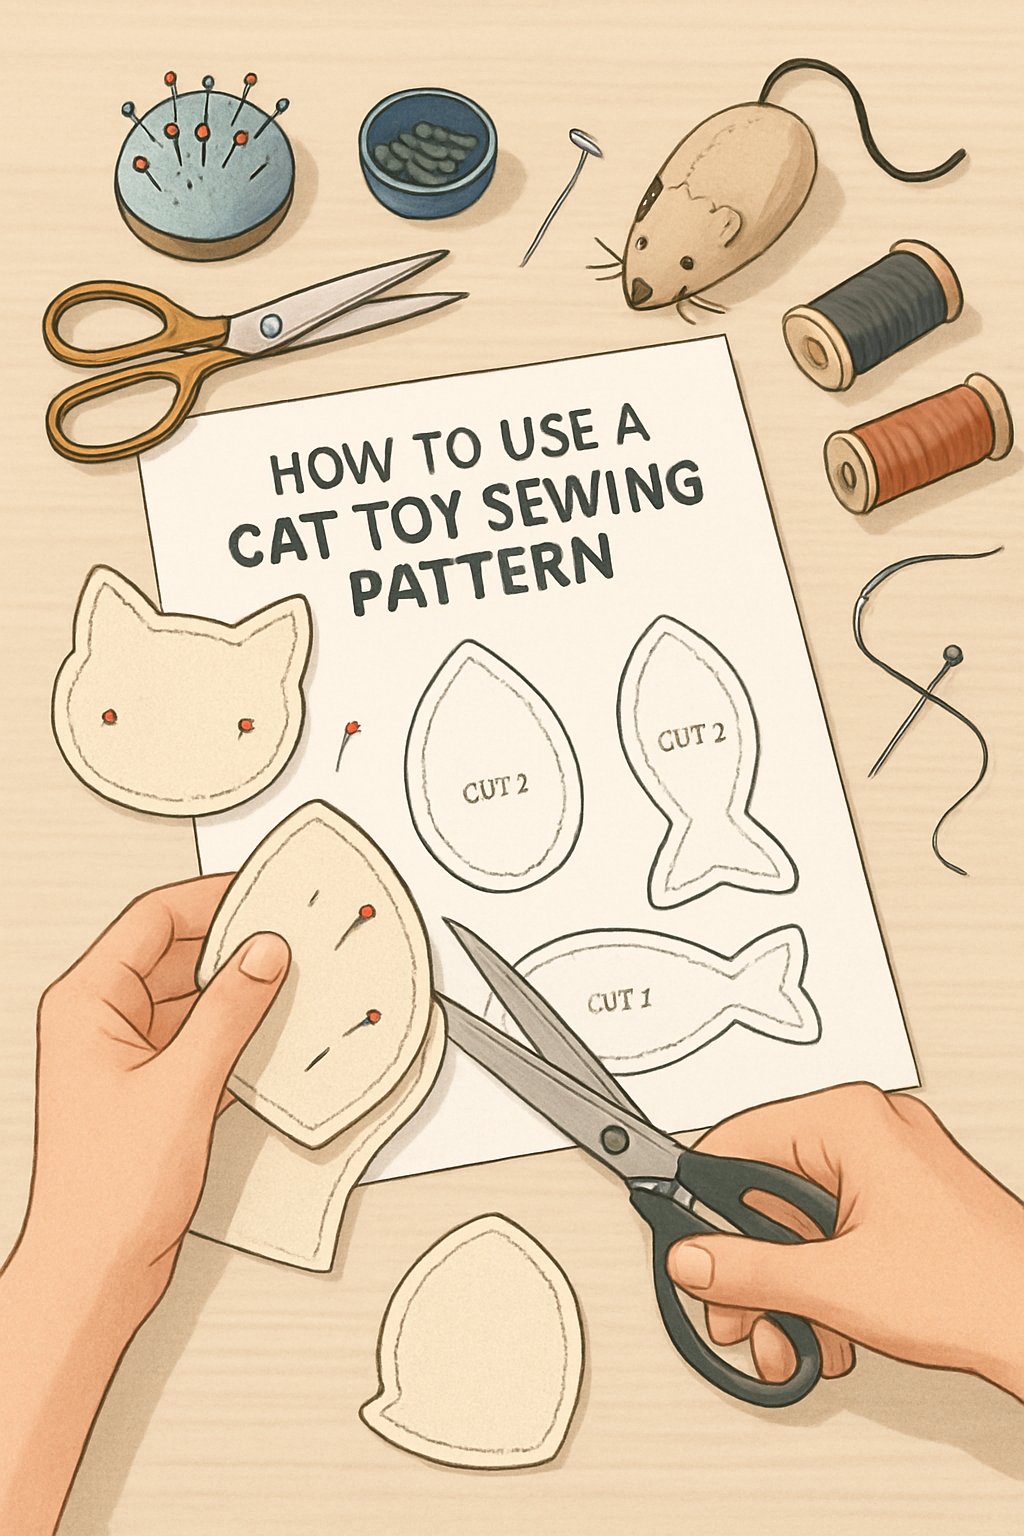
How To Use a Cat Toy Sewing Pattern
Sewing a cat toy starts with picking safe, durable materials, understanding how to read pattern pieces, and assembling them securely. Paying attention to details such as seam strength, stuffing choice, and closure method helps ensure the toy is long‑lasting and safe for play.
Choosing Fabrics and Materials
Selecting the right fabric affects how the toy feels, moves, and lasts. Lightweight cotton works well for most projects because it’s easy to handle and washable. For cats that enjoy rough play, sturdy fabrics like canvas or denim add durability. Soft fleece can make toys more comfortable to carry or cuddle.
Use non‑toxic stuffing, such as polyester fiberfill. Many crafters include catnip or small pieces of crinkly material for sensory stimulation. Avoid beads, buttons, or loose decorations since they can pose choking hazards.
Recycling fabric scraps makes this project affordable and sustainable. It’s best to wash all materials before sewing to remove dust and dyes. Keeping similar fabric weights together helps prevent uneven seams.
Reading and Cutting Patterns
A typical cat toy pattern includes outline shapes, seam allowances, and markings for folding or stuffing areas. Before cutting, read each instruction carefully and identify the cutting lines and any symbols showing where to leave openings.
Press the fabric to remove wrinkles, then lay the pattern flat. Pin or tape the pattern securely to prevent shifting. Use fabric scissors or a rotary cutter for smooth edges. Cutting accuracy affects how the pieces align when sewn together.
Label each cut piece if the pattern includes multiple parts. This simple habit reduces confusion later. For projects using symmetrical designs—like fish or mice shapes—folding fabric before cutting ensures mirrored sides.
Basic Assembly Techniques
Use short, tight stitches to make seams strong enough to withstand scratching and biting. A ¼‑inch seam allowance works for most soft toy projects. Sew with the right sides of the fabric facing together, then turn the piece right‑side out before adding filling.
Add catnip or a small crinkle sheet before closing the toy. Use a ladder stitch or a small whip stitch to seal the final opening neatly.
Finish by checking for loose threads or gaps. Reinforcing stress points, such as the tail or fins, extends the toy’s life and keeps it safe for regular play.