Amigurumi Otter Crochet Free Pattern: 7 Adorable Designs To Make
Crochet enthusiasts often enjoy projects that combine creativity with practicality, and an amigurumi otter fits both. It captures the charm of handmade art while staying simple enough for anyone interested in soft, adorable designs. An amigurumi otter crochet free pattern offers a chance to make something unique while learning or improving essential crochet skills.
Each pattern provides a different approach—from low-sew options to detailed character designs—allowing crafters to choose styles that match their experience and interest. These patterns highlight how a few stitches and the right materials can turn yarn into a playful sea-inspired figure ready for gifting or display.
1) Low-Sew Amigurumi Otter Pattern
A low-sew amigurumi otter pattern helps simplify the crochet process. It connects most pieces during crocheting, reducing the need for stitching parts later.
This type of pattern suits beginners who prefer clean, quick assembly. It still includes key details like the otter’s face, tail, and paws but avoids complex construction steps.
Crafters can finish the project faster and use it for gifts or craft sales. The result is a soft, well-shaped otter that requires less time to make while maintaining a neat appearance.
2) 8 Free Otter Crochet Patterns Collection
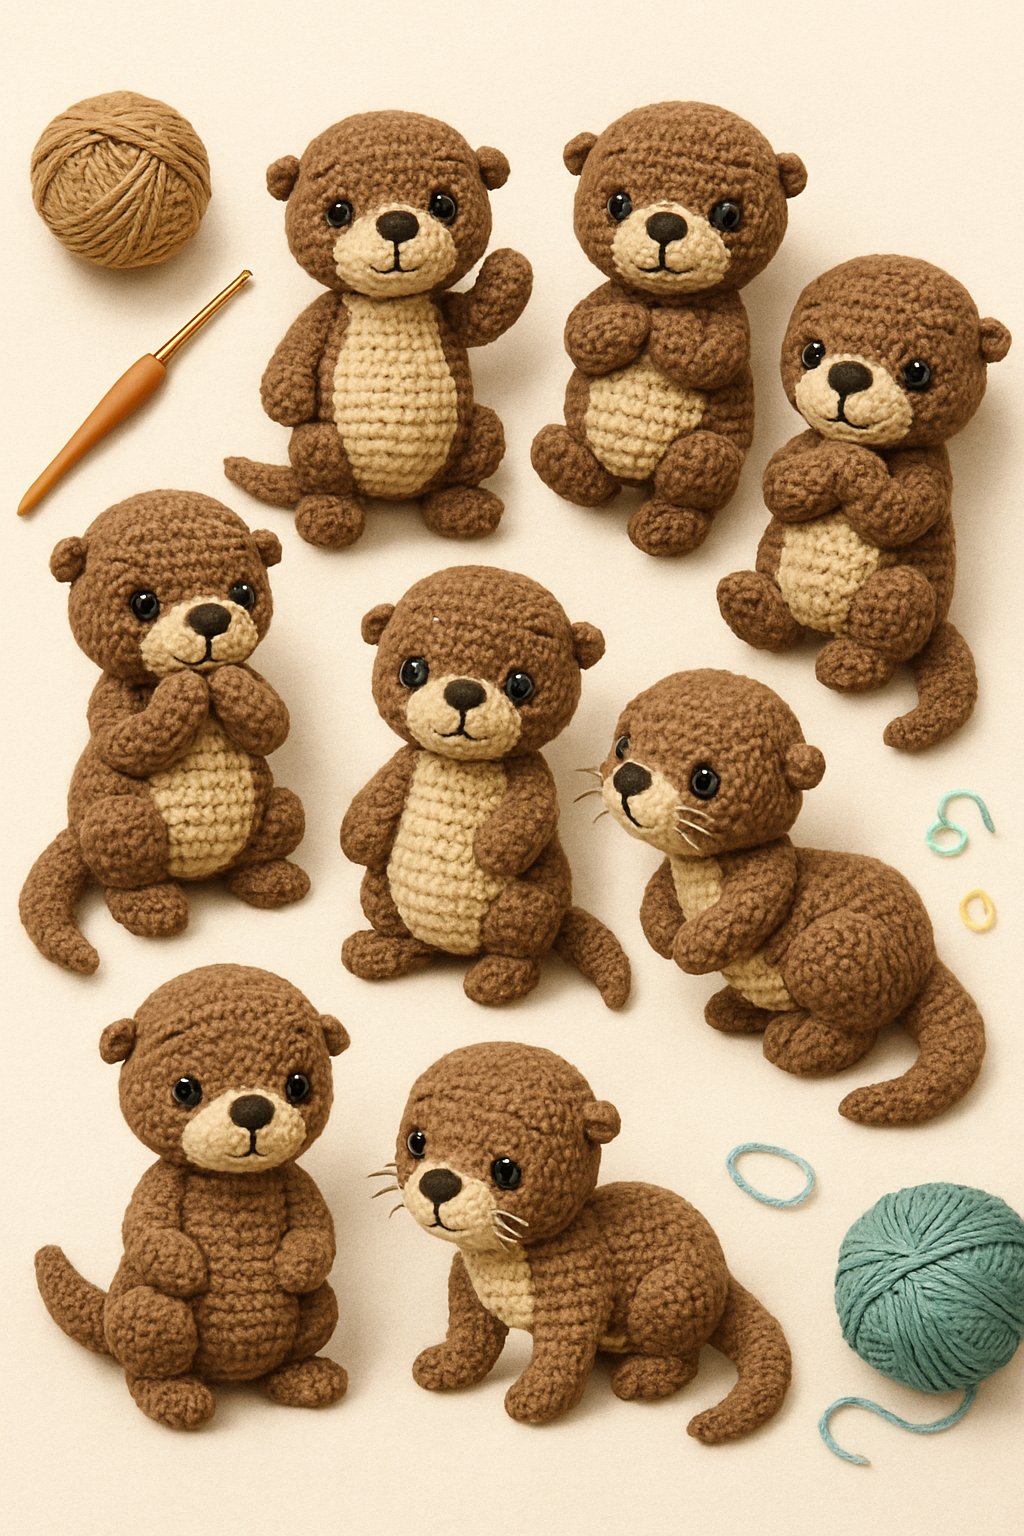
This collection includes a range of free otter crochet patterns designed for different skill levels. Each one offers clear instructions and simple materials like yarn, safety eyes, and a crochet hook.
Some patterns feature low-sew designs for faster assembly, while others include step-by-step tutorials with photos. Makers can customize colors or add small details such as accessories or hearts.
These patterns work well for gifts or small handmade collections, allowing crafters to create soft and cute otters that showcase basic amigurumi techniques.
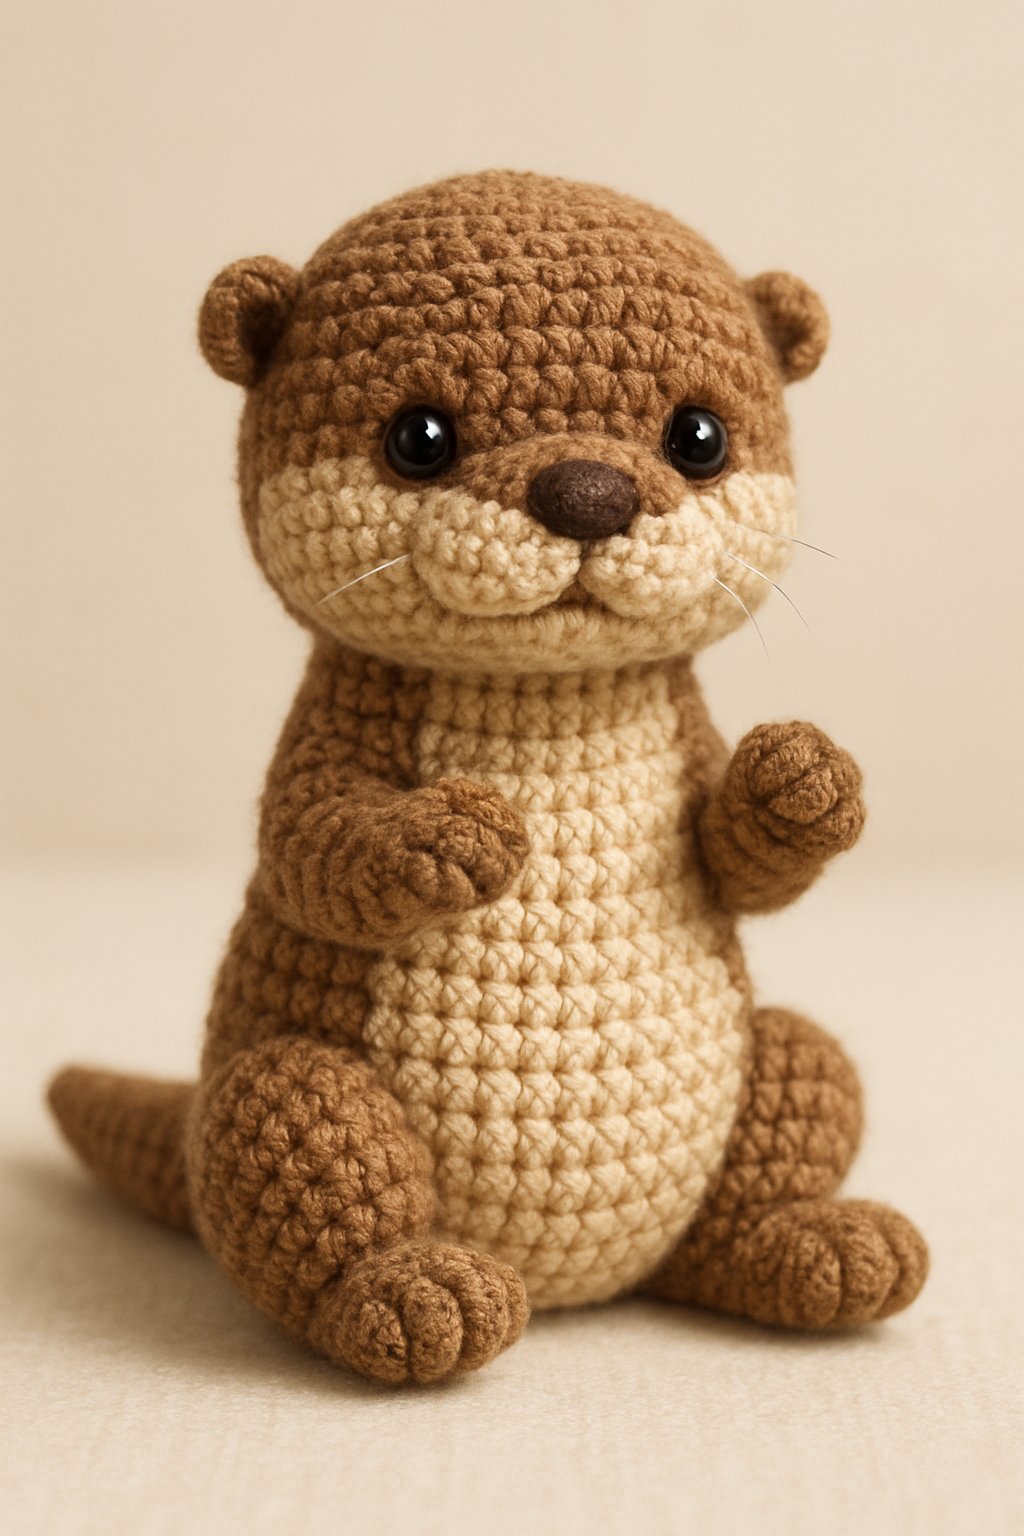
3) Adjustable Size Amigurumi Otter Pattern
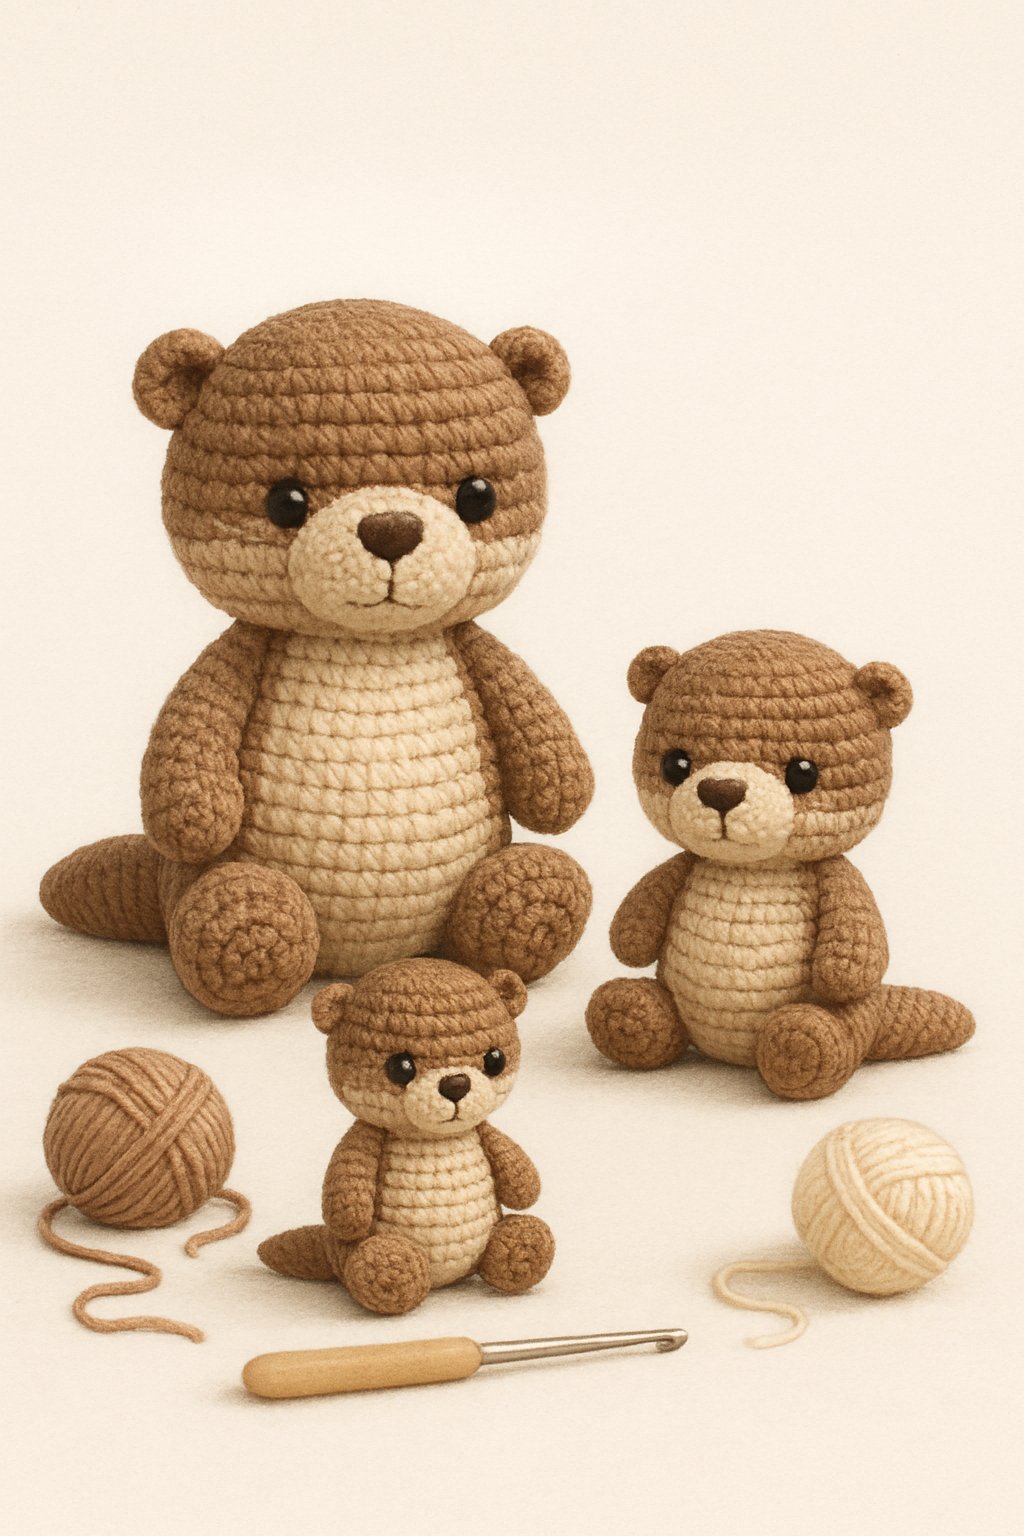
Crafters can adjust the size of an amigurumi otter by changing the yarn weight or hook size. Using thinner yarn and a smaller hook creates a smaller figure, while thicker yarn and a larger hook make it bigger.
They can also modify the number of stitch rounds in the body or limbs to fine-tune proportions. This allows flexibility without rewriting the full pattern.
Different materials, like cotton or plush yarn, affect texture and firmness. With simple adjustments, one pattern can produce otters suited for keychains, gifts, or display pieces.
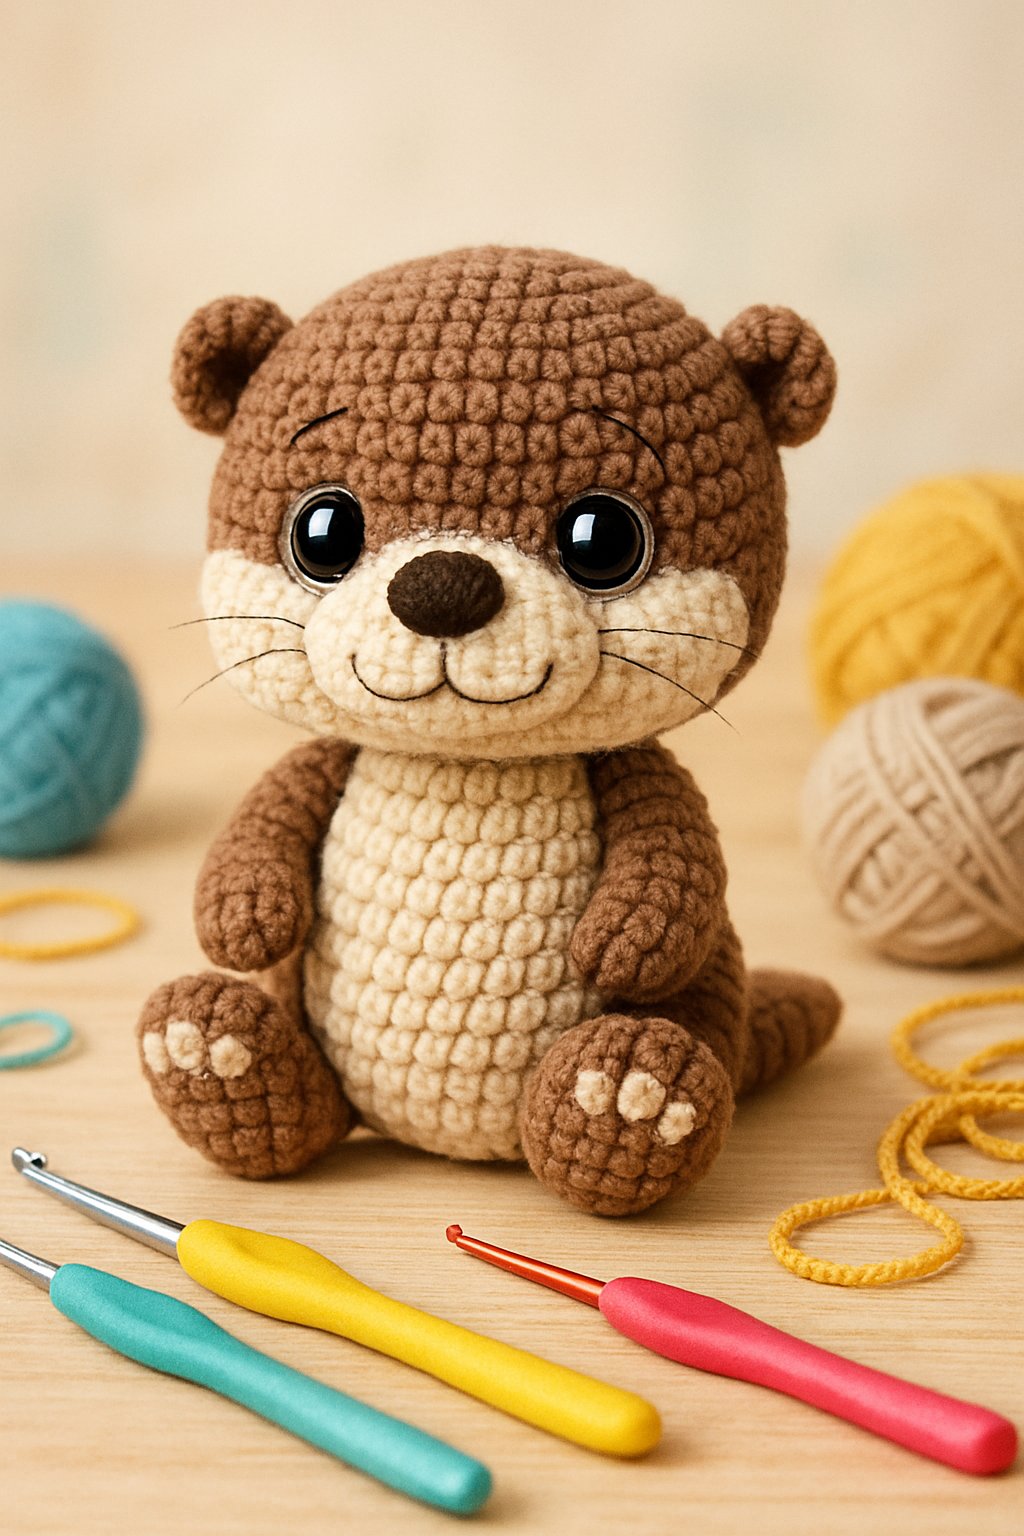
4) Beginner-Friendly Otter with Accessories Pattern
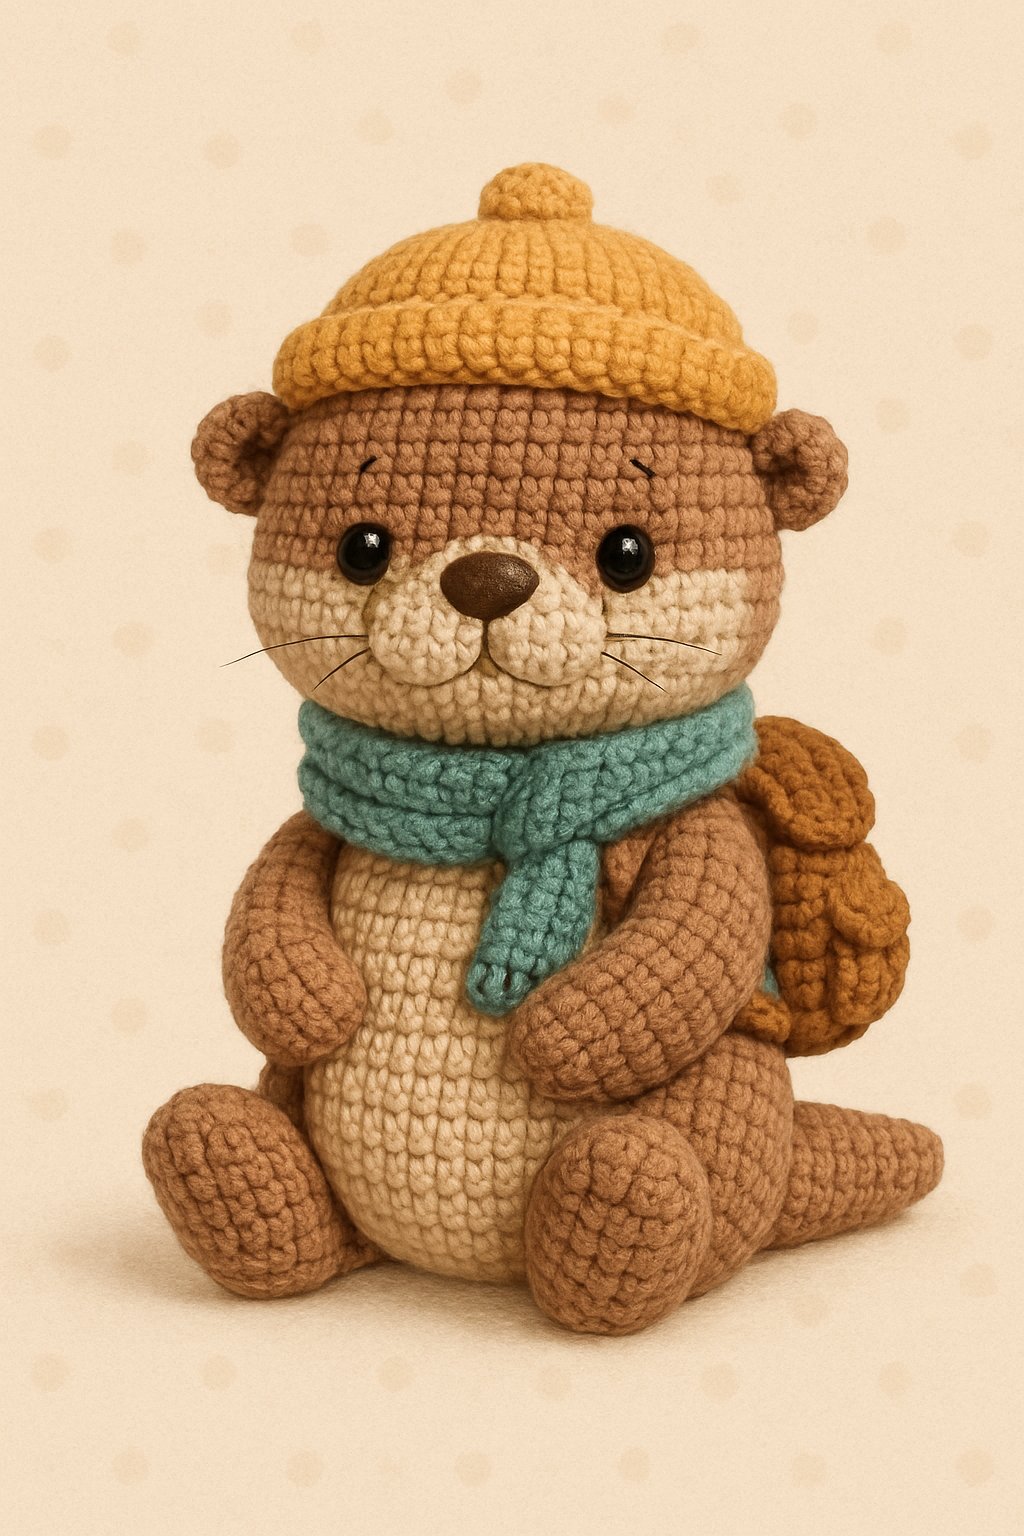
This pattern teaches beginners how to crochet an otter using simple stitches and clear steps. It guides them through shaping the body, head, paws, and tail with easy instructions.
The design includes soft brown and white tones for the main body. Makers can add color with accessories like small scarves or toys made from yellow, blue, or other yarns.
It uses common materials such as plush or chenille yarn, a crochet hook, fiberfill, and safety eyes, making the project approachable for new crocheters.
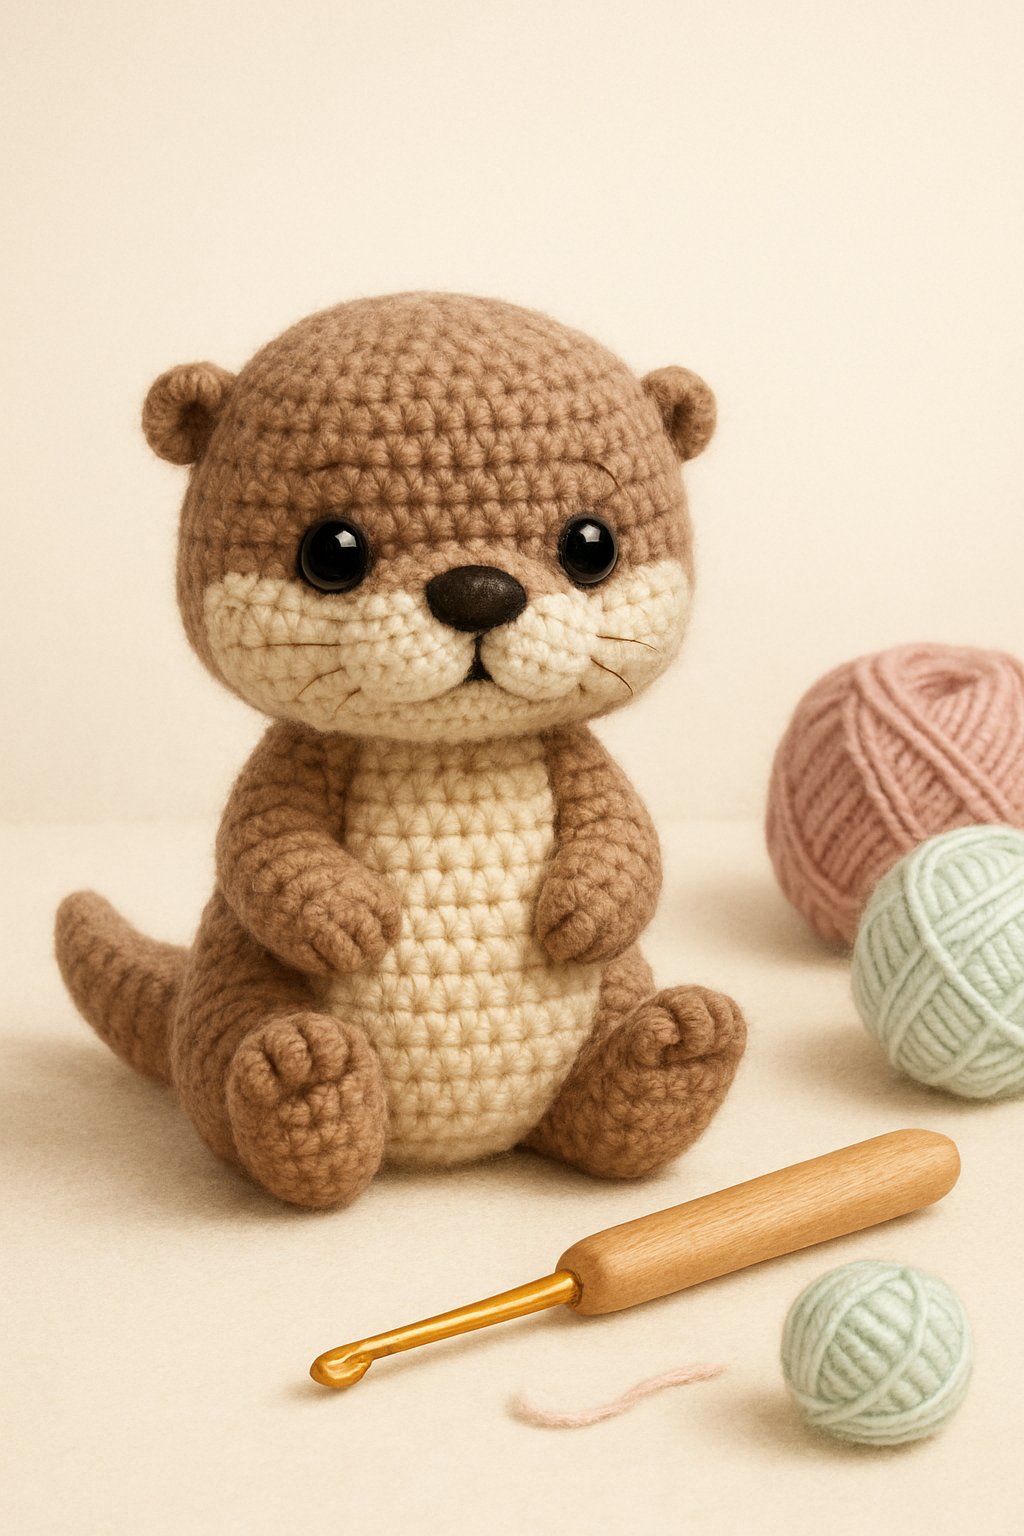
5) Quick and Easy Amigurumi Otter for Kids
This small crochet otter works well for beginners who want a simple, fun project. It uses basic stitches and can be finished in a short amount of time.
Crafters can use soft yarn and safety eyes to make it child-friendly. Adjusting the yarn weight or hook size can change the otter’s size for use as a toy or keychain.
Many free patterns follow a low-sew design, making assembly fast and tidy. It’s a great choice for a handmade gift that kids can safely enjoy.
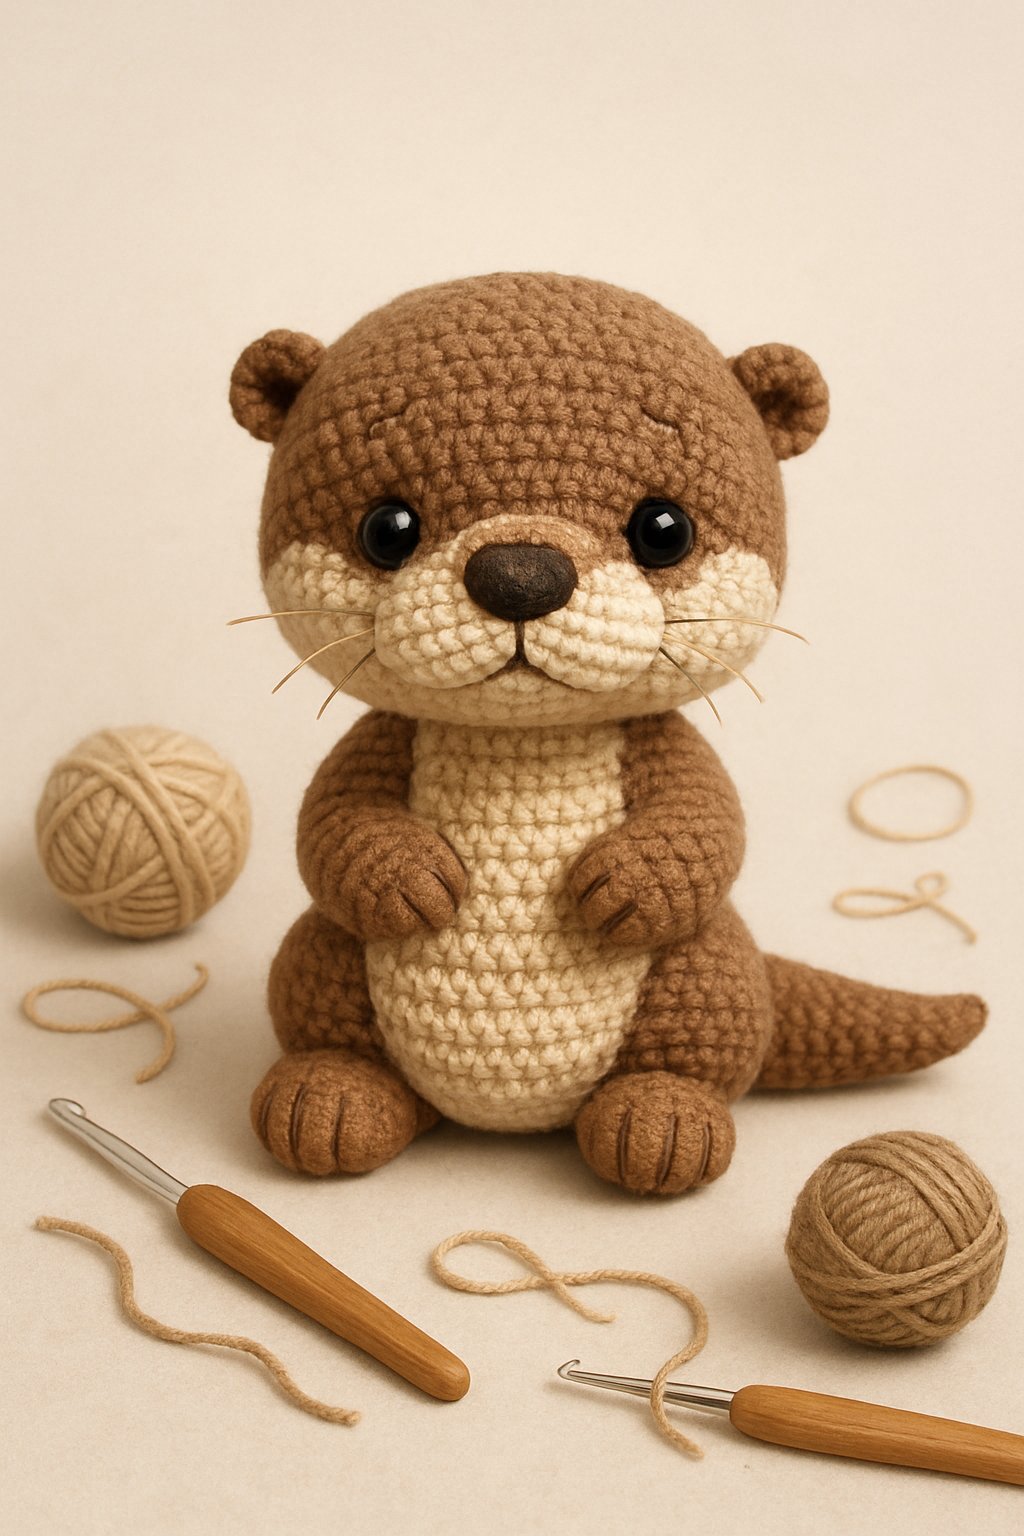
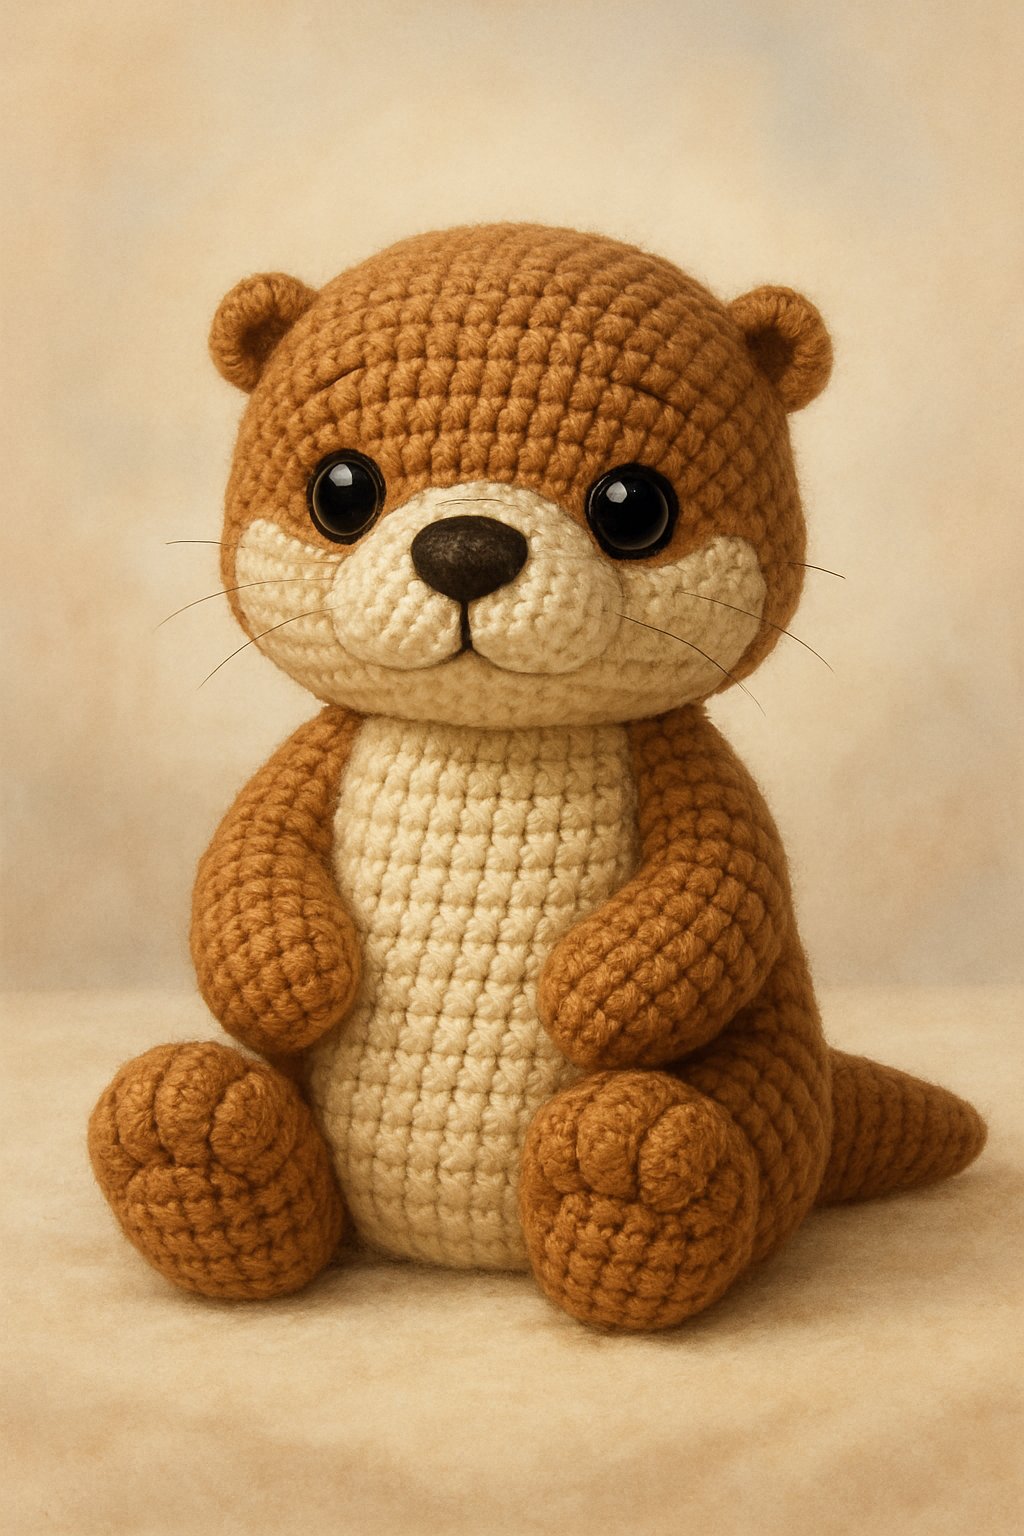
6) Ollie the Otter Detailed Crochet Pattern
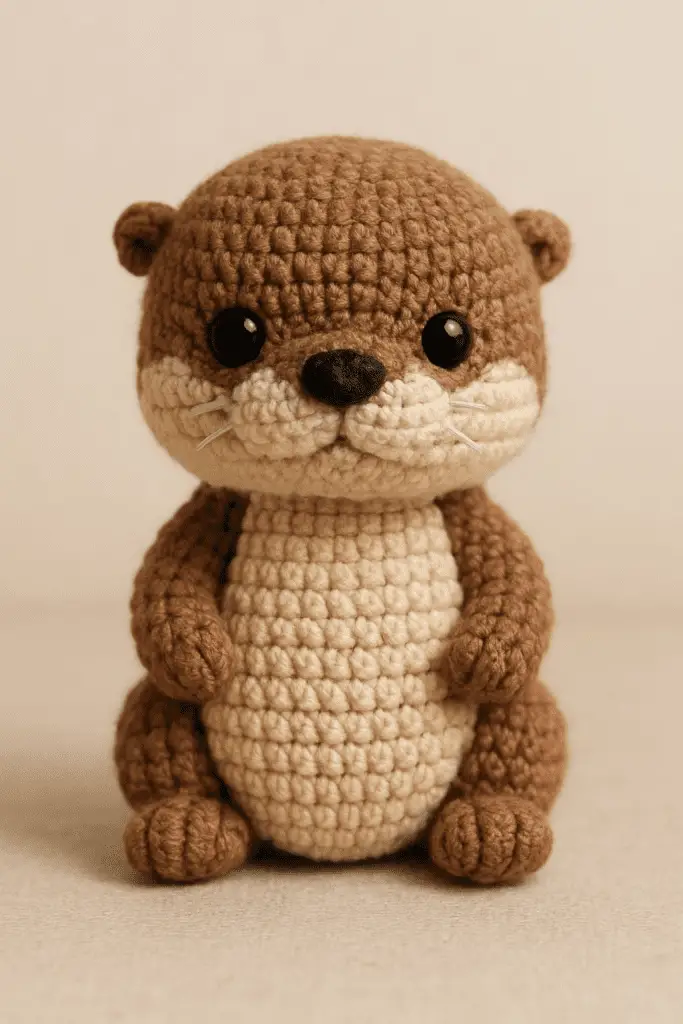
Ollie the Otter uses soft plush yarn in brown and white, with a small amount of pink for detail. The pattern calls for simple stitches like single crochet, decrease, and chain. A 3.75 mm crochet hook works well for shaping the body and tail.
Crafters add stuffing as they go to keep the shape even. Safety eyes, a tapestry needle, and minimal sewing complete the look. The pattern’s step-by-step instructions make it beginner-friendly while allowing small custom touches like color changes or added accessories.
7) Mini Otter Crochet Pattern by Sockan Crochet
The Mini Otter Crochet Pattern by Sockan Crochet offers a small and simple amigurumi project that suits both new and experienced crocheters. It uses cotton yarn size 8/4 and a 2.0 mm crochet hook for a fine, detailed finish.
The pattern includes standard tools like safety eyes, a yarn needle, and a stitch marker. It’s worked in continuous rounds, which gives the otter a smooth, seamless look. Many crafters enjoy how minimal sewing is required, making the process quick and straightforward.
CROCHET OTTER AMIGURUMI FREE PATTERN
This free crochet otter pattern helps crafters make a soft, small, and charming toy using basic stitches. It usually needs single crochet, increase, and decrease techniques. Most designs use continuous rounds instead of joined rows, which gives the otter a smooth and seamless look.
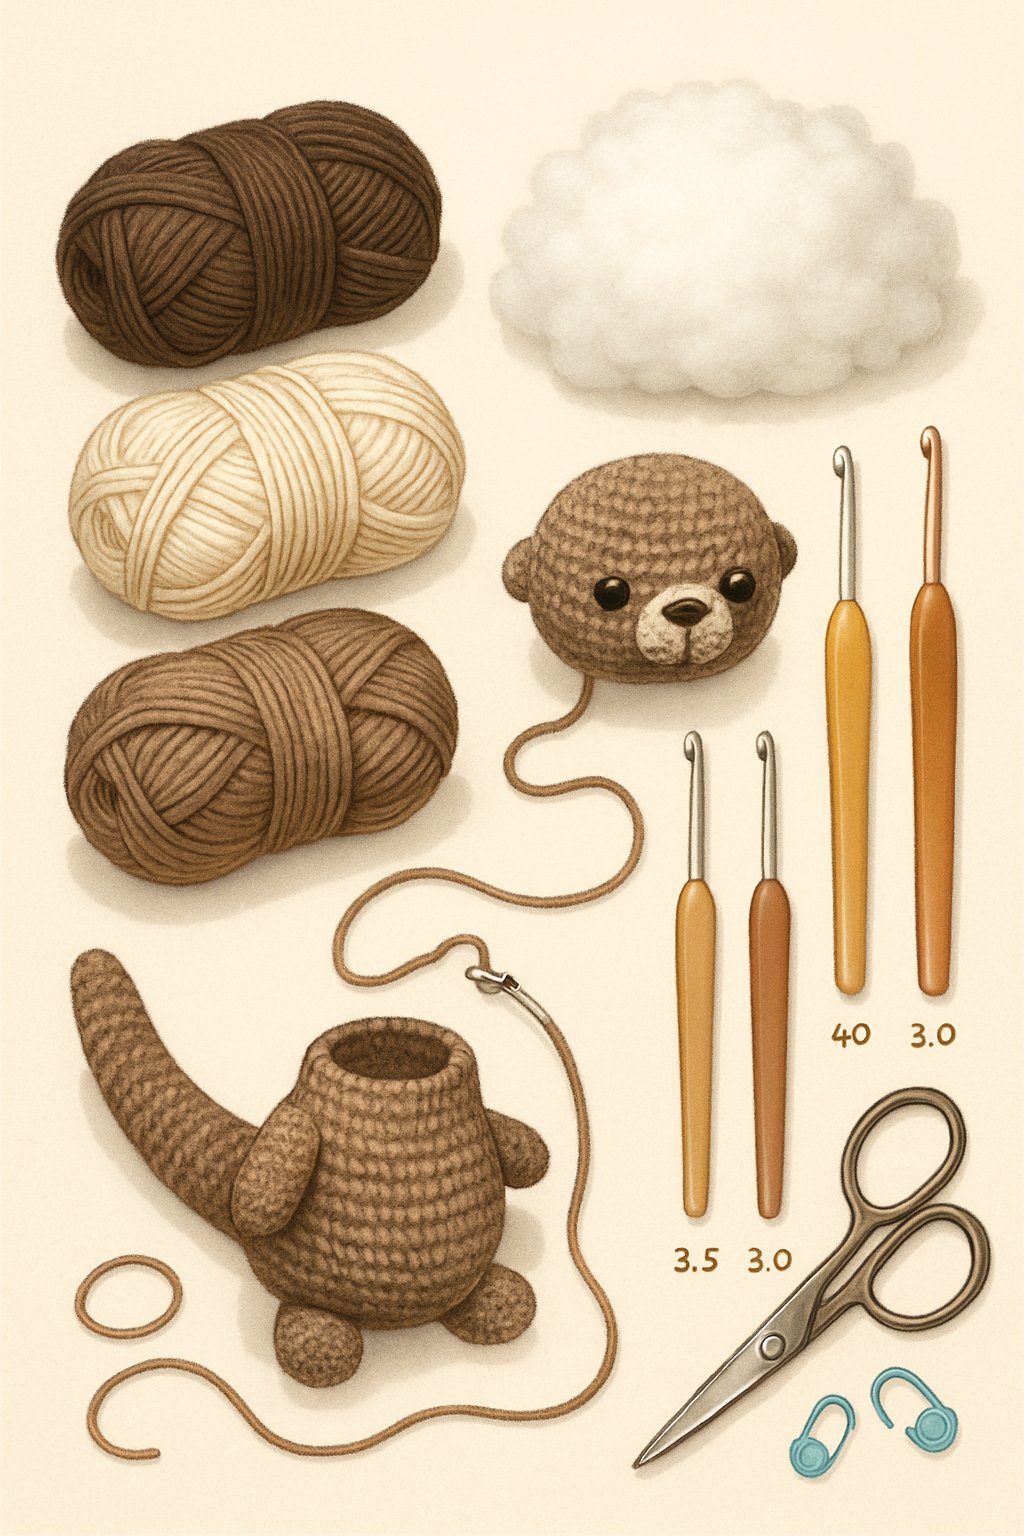
Many makers choose plush or chenille yarn in shades of brown, beige, or gray. A smaller crochet hook, such as a 3.5 mm or 4.5 mm, helps keep the stitches tight so the stuffing does not show through. Soft fiberfill, safety eyes, and black embroidery thread create a neat and friendly face.
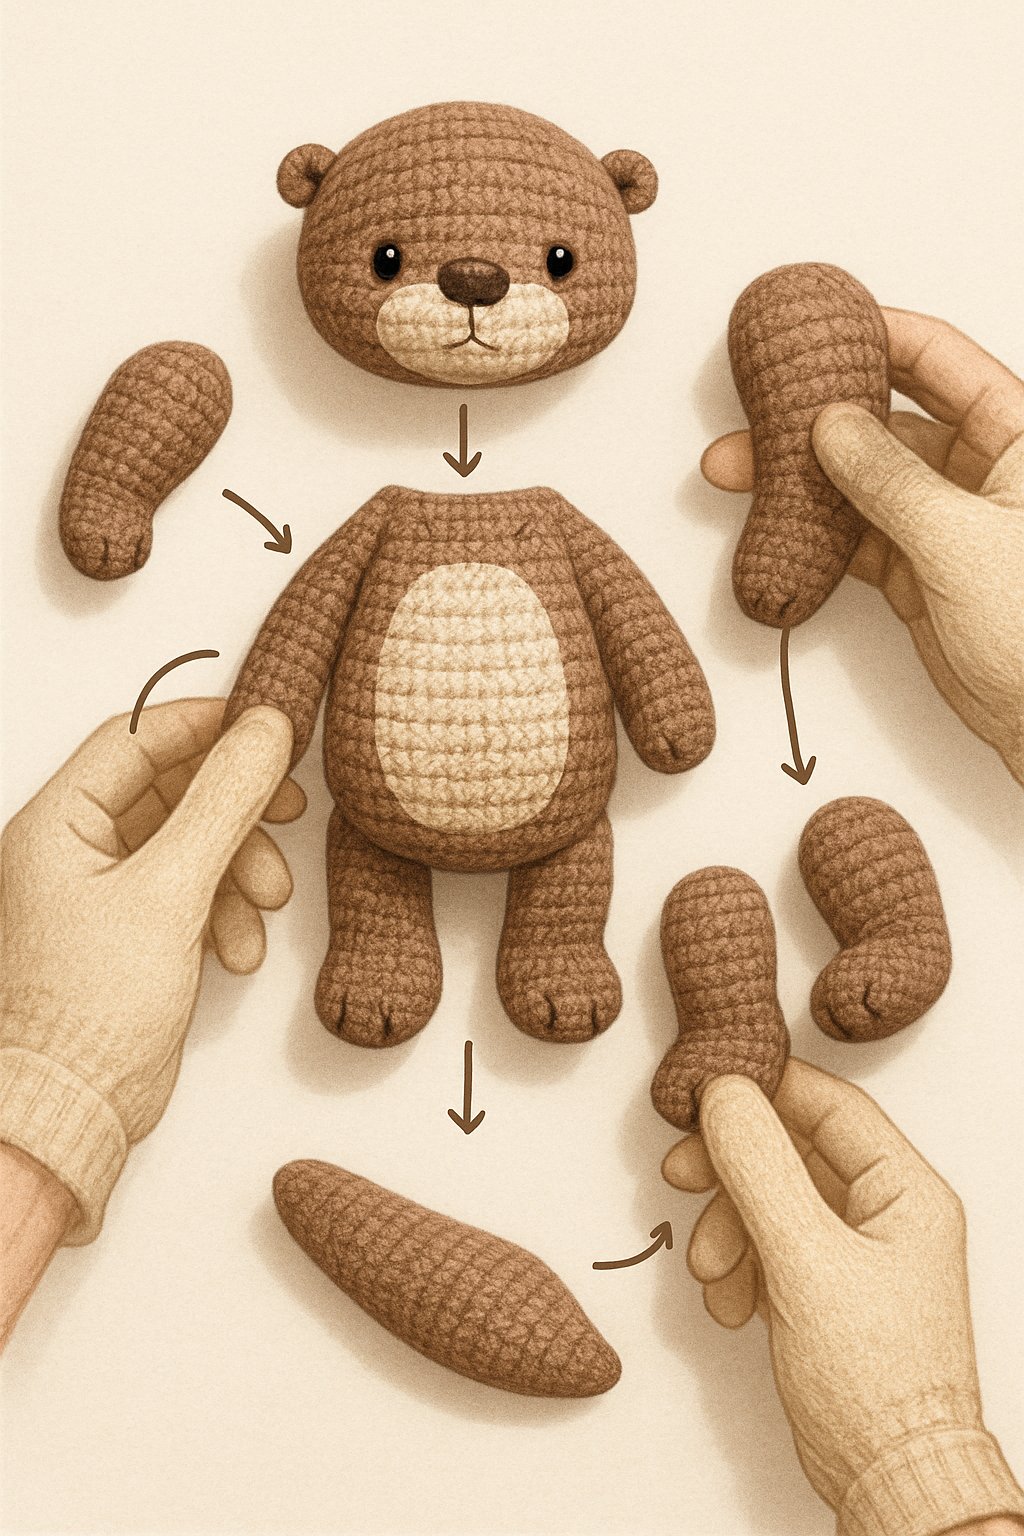
A basic otter body can be made in a few main pieces:
- Head and body: often worked together in one continuous shape
- Arms and tail: crocheted separately
- Heart or accessory: optional, for decoration
| Material | Suggested Option |
|---|---|
| Yarn | Plush or velvet, brown and white |
| Hook | 3.5–4.5 mm |
| Stuffing | Polyester fiberfill |
| Eyes | 8 mm safety eyes |
| Other | Yarn needle, scissors, stitch marker |
For low-sew versions, the arms and tail are attached as the body is made. This method saves assembly time while keeping the otter sturdy. Beginners can follow video or photo tutorials included in many pattern guides to make each step clear and simple.
Essential Materials and Tips
Creating an amigurumi otter requires the right combination of yarn, tools, and finishing details. The materials influence texture, size, and durability, while careful attention to small parts ensures safety and neat results.
Recommended Yarn and Hook Sizes
Most crocheters prefer plush or cotton yarn for otter amigurumi because these fibers hold shape well and feel soft to the touch. Cotton yarn 8/4 or similar fine-weight options create smaller, detailed otters. Plush chenille yarns, such as YarnArt Dolce or Hobbii Honey Bunny, make larger, cuddly versions.
For hook sizes, matching the hook to the yarn weight is key. A 2.0 mm hook works well for thin cotton yarns, while a 4.0–4.5 mm hook fits thicker plush types. The goal is tight stitches so the stuffing doesn’t show.
Before starting, making a gauge swatch helps check tension. Using a smaller hook can tighten loose stitches; using a larger one gives a softer texture. Keeping consistent tension prevents gaps or uneven shaping.
| Yarn Type | Hook Size | Result |
|---|---|---|
| Cotton 8/4 | 2.0 mm | Small, firm otter |
| Chenille/Plush | 4.0–4.5 mm | Soft, larger otter |
| Acrylic DK | 2.5–3.0 mm | Medium size, easy to work |
Notions and Accessories
Essential tools include a yarn needle, stitch markers, scissors, and fiberfill stuffing. A stitch marker helps track rounds, avoiding mistakes in shaping the head and body. A blunt-tipped yarn needle is important for sewing limbs or closing openings neatly.
Polyester fiberfill keeps the otter firm but squeezable. Using small pieces instead of large clumps allows for even filling and maintains shape. When securing parts, matching or coordinating yarn gives cleaner seams compared to ordinary thread.
Optional details like embroidery floss for the nose or colored yarn for small accessories (hearts, scarves, seashells) personalize the design. Craft glue is not recommended, as stitched attachments are safer, especially for toys meant for children.
Choosing the Right Safety Eyes
Safety eyes give the otter its friendly expression, but choosing the correct size and material is important. For mini otters around 4–6 inches tall, 6–8 mm eyes are ideal. Larger plush otters may use 10–12 mm eyes.
Safety eyes come with plastic washers that lock on the inside. This prevents them from being pulled out, making them suitable for children’s toys. Attaching the eyes before stuffing the head ensures a firm, secure hold.
Crafters should check for smooth edges and strong backings. If the toy is for infants or toddlers, embroidered eyes made from cotton or wool yarn are safer. Taking time to align both eyes evenly helps maintain the otter’s balanced and expressive look.
Amigurumi Otter Assembly Guide
Careful construction helps the otter look balanced and well-shaped. The placement of limbs and the amount of stuffing affect how it sits or floats, while secure stitching ensures durability for display or play.
Attaching Limbs and Tail
Once all parts are crocheted, they should be pinned in place before sewing. This allows easy adjustment so the legs and tail line up evenly on both sides. The front paws usually sit close to the belly area, while the back legs angle slightly outward for stability. The tail attaches at the bottom center of the body, pointing straight back or with a small downward curve.
Use a yarn needle and a length of the working yarn to sew each piece with a whip stitch or ladder stitch. Both create secure joins that blend into the crochet fabric. Tighten slowly as you stitch to maintain shape without distorting the body.
Always double-check symmetry from several angles before fastening off yarn ends. Hiding knots inside the body keeps the finish clean. To hold accessories, such as a heart or shell, lightly stitch or glue them between the front paws after assembly.
Proper Stuffing Techniques
Even stuffing helps the otter keep its soft shape. Polyester fiberfill works best because it stays light but firm. Begin filling the head first, pressing gently into corners such as the muzzle and cheeks. Add small pieces at a time to avoid lumps.
For the body, use slightly looser stuffing so the otter can sit flat without toppling over. The tail should be packed more firmly to help balance the figure when standing or lying on its back. A wooden stick or crochet hook end helps push stuffing into narrow parts like paws and tail tips.
Before closing seams, shape the figure with your hands to smooth out uneven areas. A little extra filling under the neck keeps the head stable once limbs are joined.