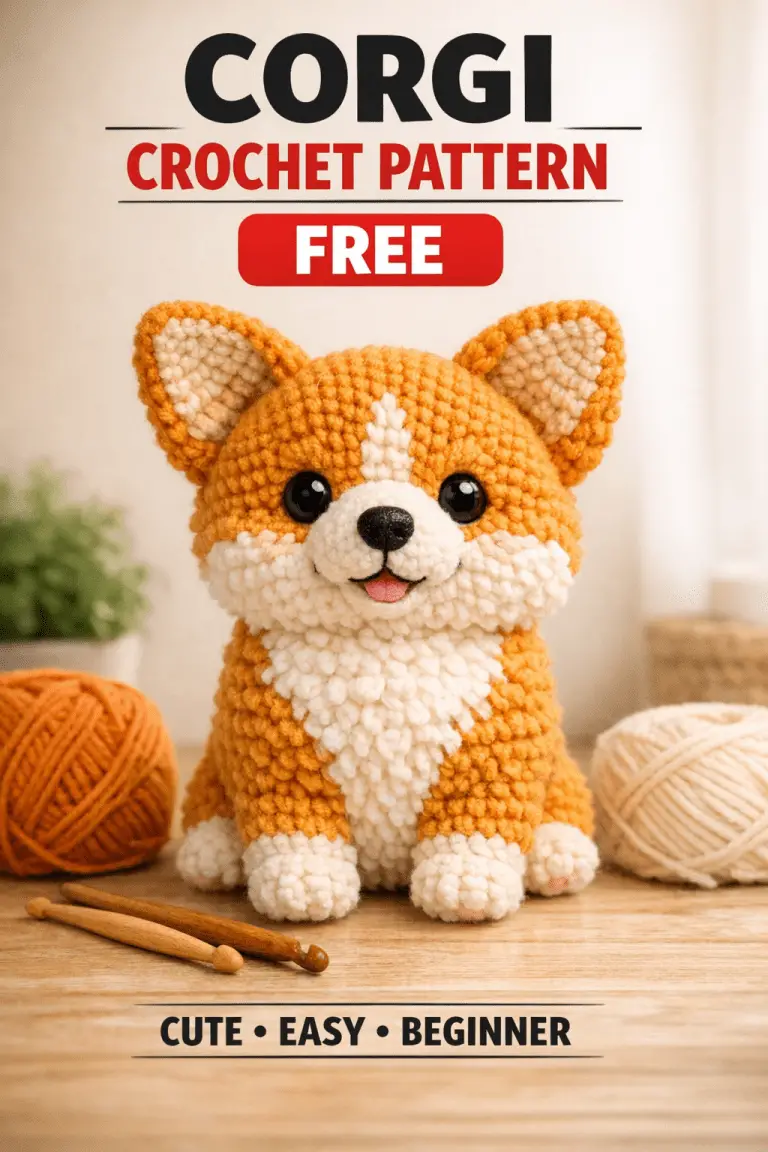
How To Crochet A Puppy Face for Beginners Step-by-Step
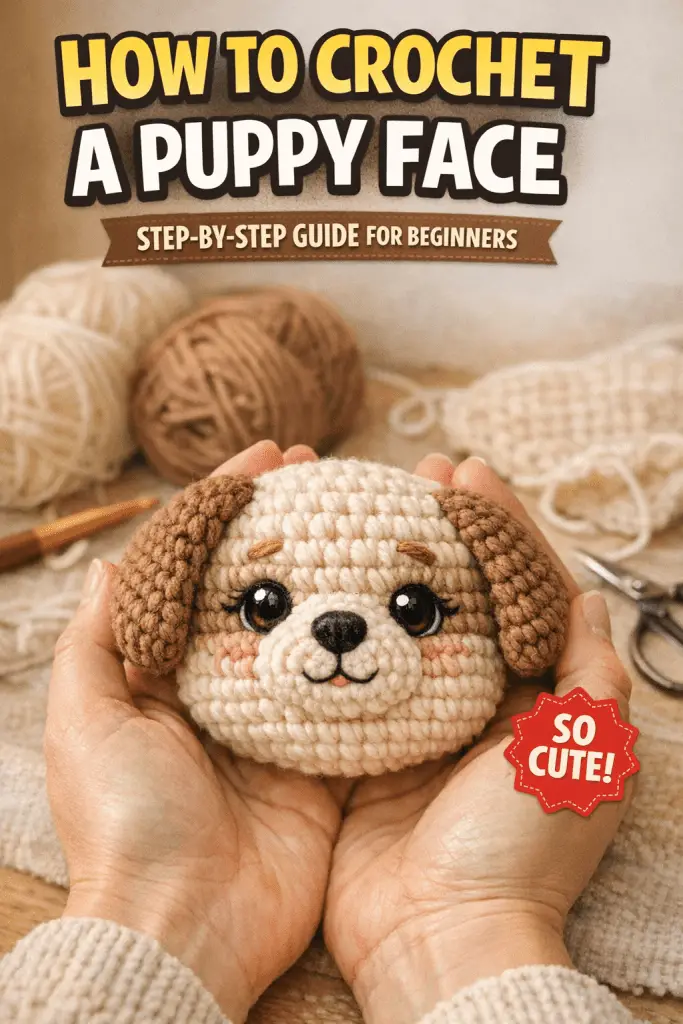
Crocheting a puppy face can feel surprisingly tricky, especially when you want it to look cute instead of awkward. Many beginners struggle with shaping, positioning the eyes, or making the muzzle look realistic. If you’ve ever finished a project and thought, “Why does this look more like a bear than a puppy?” — you’re definitely not alone.
In my experience, the small details make the biggest difference. A slight change in stitch tension, placement, or yarn choice can transform your project from average to adorable. The good news is that once you understand the basic structure, crocheting a puppy face becomes much easier and even fun.
This guide will walk you through everything step-by-step so you can create a puppy face you’ll feel proud of. Whether you’re making an amigurumi toy, applique, or decoration, you’ll find clear instructions and practical tips you can use right away.
How Do You Crochet a Puppy Face?
Crocheting a puppy face involves creating a circular base for the head, adding a raised muzzle section, attaching ears, and placing facial features like eyes and a nose to achieve a cute expression. The key is proper shaping and balanced placement.
Key Points to Remember:
• Start with a magic ring for a smooth circular base
• Use increases to shape the head evenly
• Crochet the muzzle separately for dimension
• Position safety eyes before closing the head
• Embroider facial details for personality
• Choose soft yarn for a realistic, cuddly look
• Adjust stitch tension for symmetry
Quick Tip: If your puppy face looks uneven, try repositioning the eyes slightly closer together. This instantly creates a cuter expression.
What Is a Crochet Puppy Face?
A crochet puppy face is a stylized dog face made using yarn and crochet stitches. You can use it for:
• Amigurumi stuffed animals
• Baby blankets or hats
• Applique decorations
• Keychains or accessories
• Pet-themed gifts
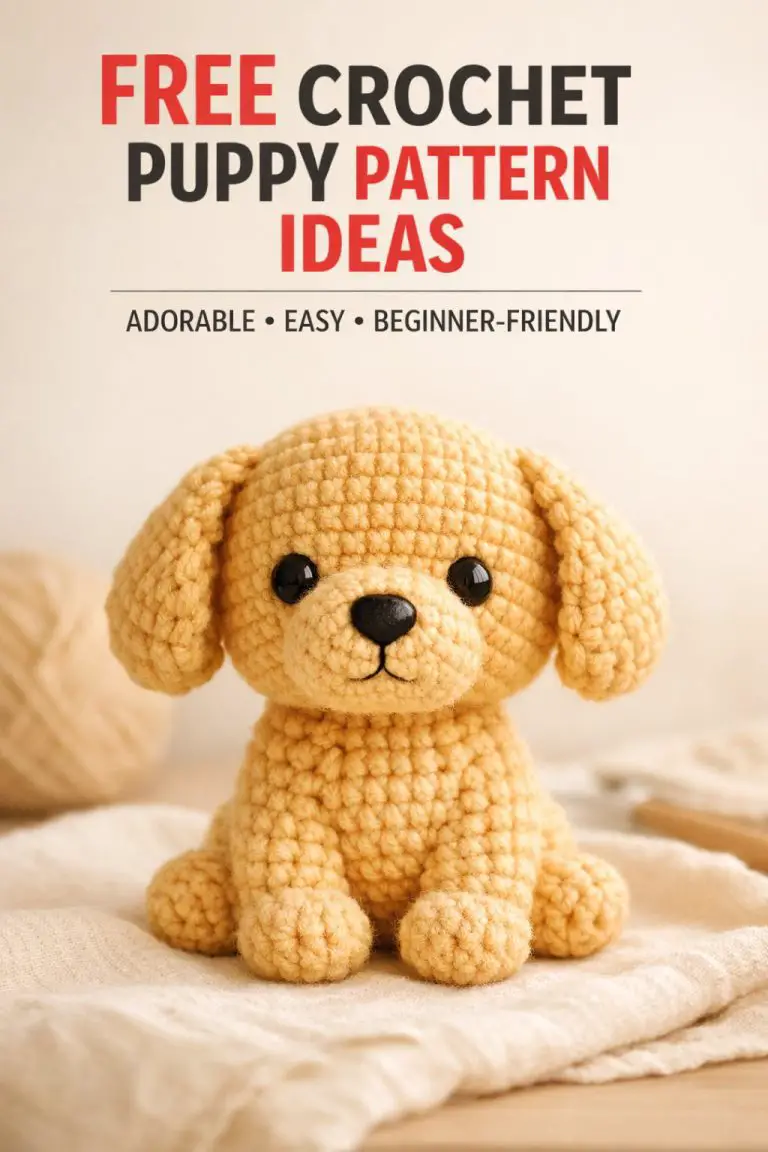
The design usually includes a rounded head, small muzzle, floppy ears, and embroidered features.
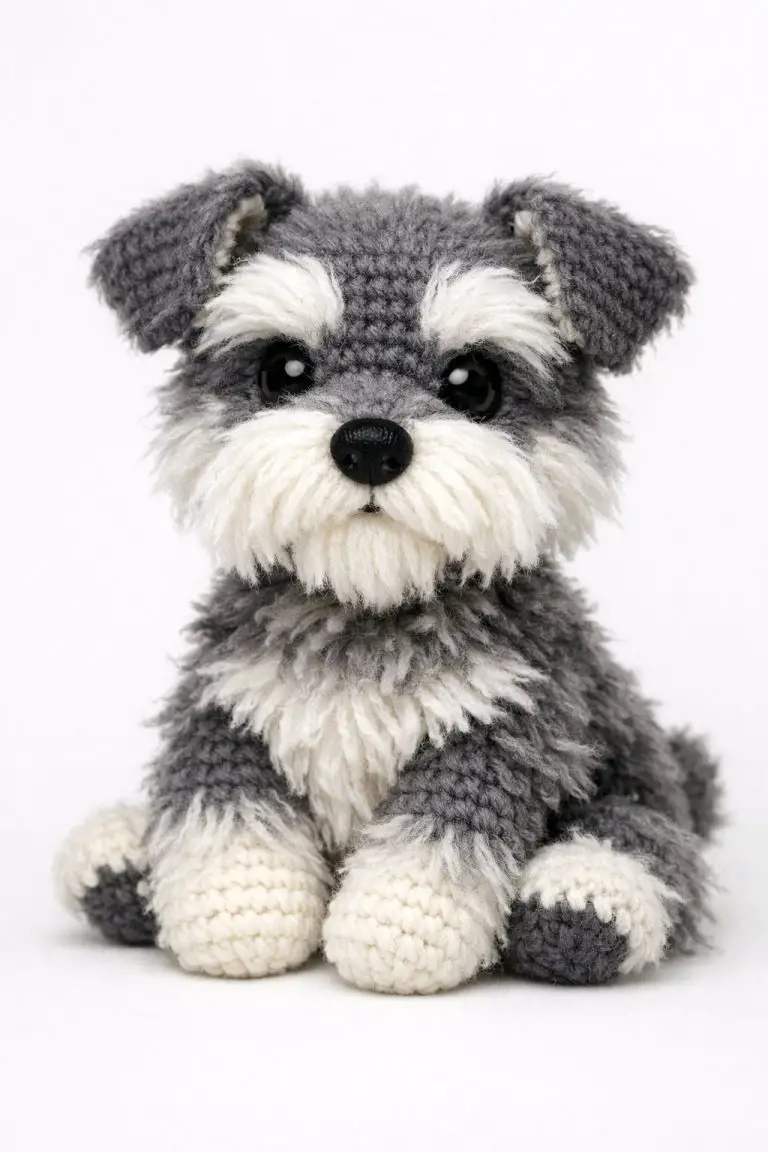
Many crafters love puppy designs because they’re expressive and customizable. You can create different breeds simply by changing colors, ear shapes, or nose size.
Materials You’ll Need
Before starting, gather your supplies. Using the right materials makes a huge difference in the final result.
Basic Supplies:
• Yarn (worsted or DK weight works well)
• Crochet hook (usually 2.5–4 mm for amigurumi)
• Safety eyes or black yarn for embroidery
• Fiberfill stuffing
• Yarn needle
• Stitch markers
• Scissors
Optional But Helpful:
• Pink yarn for tongue details
• Felt for eyes or nose
• Embroidery thread for definition
If you enjoy making crochet items for pets, you might also like learning about safe materials in our guide on choosing non-toxic dog toys and materials to ensure durability and safety.
Step-By-Step: How To Crochet a Puppy Face
This beginner-friendly method works for most puppy styles.
Step 1: Create the Head Base
- Make a magic ring.
- Crochet 6 single crochet (sc) into the ring.
- Increase evenly in each round until you reach your desired size.
- Continue crocheting without increases for several rounds to form depth.
The head should look like a small bowl before stuffing.
Step 2: Crochet the Muzzle
The muzzle gives dimension to the face.
- Create another magic ring.
- Crochet 6–8 sc.
- Increase slightly to form an oval shape.
- Stuff lightly before attaching.
Attach the muzzle slightly below the center of the head.
Tip: A lightly stuffed muzzle looks more realistic than a flat one.
Step 3: Add Safety Eyes
Place the eyes before closing the head.
Positioning guidelines:
• Between rounds 8–10 (varies by size)
• About 6–8 stitches apart
• Slightly above the muzzle
In my opinion, closer eyes create a more “cute” cartoon style, while wider placement looks more realistic.
Step 4: Attach the Nose and Mouth
You can embroider or crochet the nose separately.
Common nose methods:
• Satin stitch embroidery
• Small crocheted triangle
• Plastic safety nose
Add a simple mouth line extending downward for expression.
Step 5: Crochet and Attach Ears
Floppy ears are the most popular puppy style.
Basic ear pattern:
- Magic ring with 6 sc
- Increase once or twice
- Crochet rows without increases
- Fold slightly and sew onto the head
Attach ears around the top sides of the head for balance.
Step 6: Stuff and Close the Head
Fill the head firmly but not stiff.
Then:
• Decrease evenly
• Close the opening with a yarn needle
• Hide yarn ends securely
Your puppy face should now look complete.
Common Mistakes to Avoid
Even experienced crocheters run into these issues.
1. Uneven Head Shape
Usually caused by inconsistent tension. Try using a smaller hook.
2. Crooked Eyes
Always measure before attaching permanently.
3. Flat-Looking Face
Add more stuffing to the muzzle for dimension.
4. Loose Stitches
Amigurumi should be tight to prevent stuffing from showing.
5. Oversized Features
Proportion matters more than size.
Expert Tips for a Cuter Puppy Face
Small adjustments can dramatically improve results.
Use Color Changes Strategically
A lighter muzzle color creates contrast and realism.
Add Eyebrows or Blush
Tiny embroidery details add personality.
Shape with Needle Sculpting
Advanced crafters use thread to pull areas inward for expression.
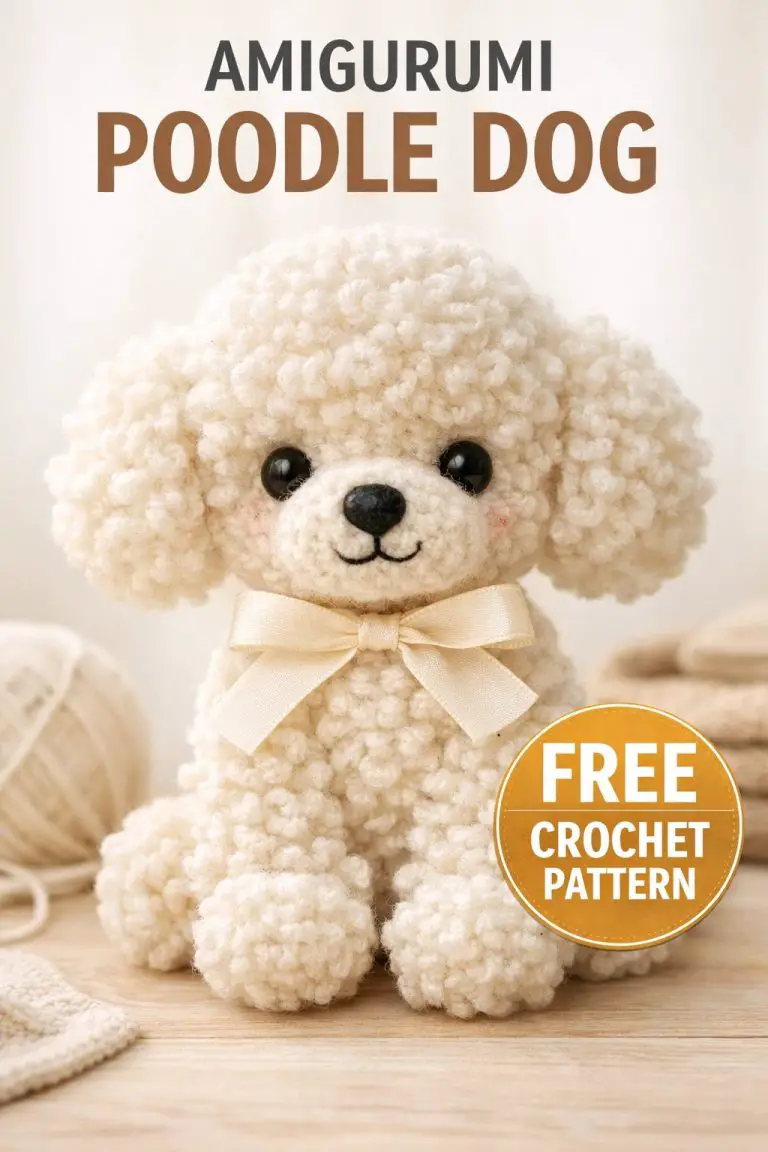
Choose Soft Yarn
Chenille or velvet yarn gives a plush look.
According to crafting trend reports from Etsy (2024–2025), handmade plush toys and amigurumi animals continue to grow in popularity, especially cute animal faces designed for gifts and nursery decor.
Puppy Face Variations You Can Try
Once you learn the basics, you can experiment.
Popular variations:
• Cartoon puppy face
• Realistic dog breed style
• Sleeping puppy expression
• Puppy applique for blankets
• Keychain mini puppy
If you love breed-specific projects, you may enjoy reading about French Bulldog characteristics and appearance to help design accurate crochet versions.
Safety Considerations
Safety matters, especially for children’s toys.
Important Safety Tips:
• Use embroidered eyes for babies under 3 years
• Secure all parts tightly
• Avoid loose embellishments
• Use washable yarn if needed
The American Academy of Pediatrics emphasizes avoiding small detachable parts in toys for young children to prevent choking hazards.
When to Modify Your Pattern
Sometimes adjustments are necessary.
Consider changes if:
• Yarn weight differs
• Hook size changes
• Desired size is larger
• You want a specific dog breed look
Don’t be afraid to experiment. Crochet is flexible.
FAQ: How To Crochet A Puppy Face
Is crocheting a puppy face beginner friendly?
Yes. Basic stitches like single crochet and increases are enough. Beginners can succeed with patience and practice.
What yarn is best for a crochet puppy face?
Cotton yarn gives clean stitch definition, while acrylic or chenille provides softness. Choose based on your goal.
How do you make a puppy face look cute?
Place the eyes closer together, use a small nose, and add blush or eyebrow details. Expression is everything.
Can I crochet a puppy face without safety eyes?
Absolutely. Embroidery works well and is safer for children’s toys.
Why does my crochet puppy look uneven?
This usually happens from inconsistent tension or uneven increases. Using stitch markers helps maintain symmetry.
How long does it take to crochet a puppy face?
Most beginners can complete one in 1–3 hours depending on size and complexity.
Conclusion
Crocheting a puppy face might seem intimidating at first, but once you understand the structure, it becomes surprisingly enjoyable. The key is taking your time with shaping, placement, and small details. Those tiny adjustments are what bring your puppy to life.
Remember, every project improves your skills. Even if your first attempt isn’t perfect, you’re learning techniques that will make your next one better.
If you keep practicing and experimenting with different styles, you’ll soon be creating adorable puppy faces that people can’t resist smiling at — and that’s one of the best feelings in crafting.