Amigurumi Crochet Dog Kimora Pattern: 6 Step-by-Step Variations
The Amigurumi Crochet Dog Kimora Pattern focuses on creating a small crochet dog with a friendly look and clear structure. It fits well for anyone who enjoys making soft toys and wants a project with simple steps and room for personal style.
This article explains what the Kimora pattern offers, what it takes to make it, and how the design comes together from start to finish. It also points toward choices for yarn, color, details, and extras, so the finished dog can match different tastes while staying true to the pattern’s core design.
Amigurumi Crochet Dog Kimora Pattern
The Amigurumi Crochet Dog Kimora Pattern guides makers through a small dog toy with a soft, rounded shape. Many crafters describe Kimora as a pug-style dog with short legs and a calm face. The pattern often appears as a free design shared on amigurumi sites.
The pattern uses clear, step-by-step instructions. It builds the dog in simple parts, then joins them together. This structure helps beginners follow the process without confusion.
Common features of the Kimora pattern include:
- Worked in continuous rounds
- Separate head, body, ears, and legs
- Simple facial details added at the end
The size stays small and easy to manage. Most finished dolls fit well in a child’s hand, depending on yarn and hook choice.
Typical materials used:
| Item | Notes |
|---|---|
| Yarn | Medium weight acrylic or cotton |
| Hook | Size matched to tight stitches |
| Stuffing | Polyester fiberfill |
| Eyes | Safety eyes or stitched details |
Crafters often adjust colors to match different dog looks. The pattern allows small changes without changing the main structure.
This design suits gift projects, display items, or practice for animal amigurumi. The clear layout helps users focus on stitch control and shaping.
Model and how to make Amigurumi Crochet Dog Kimora Pattern
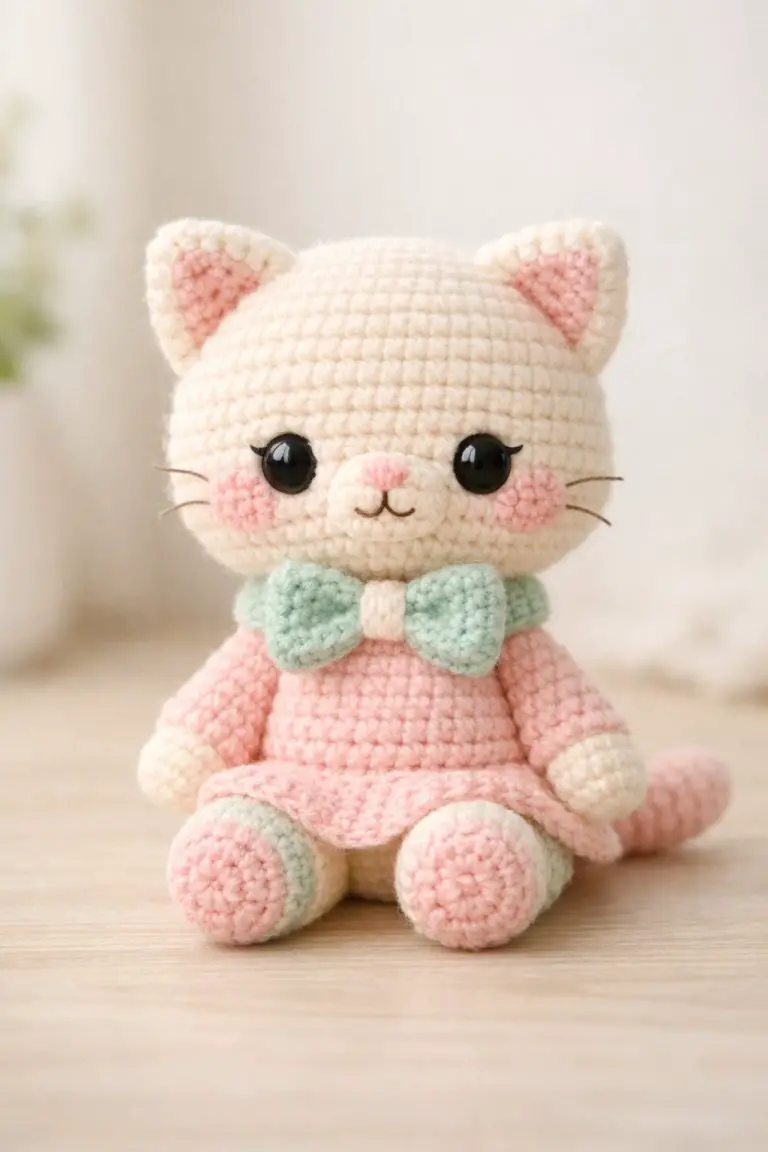
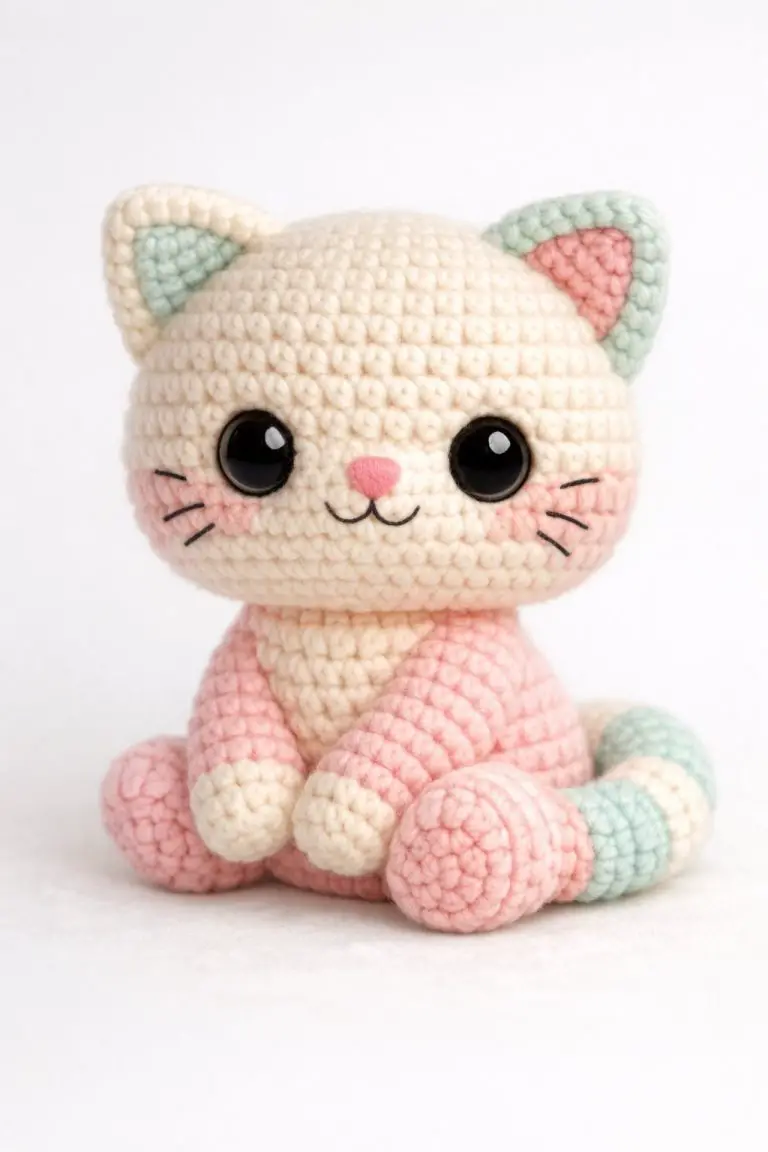
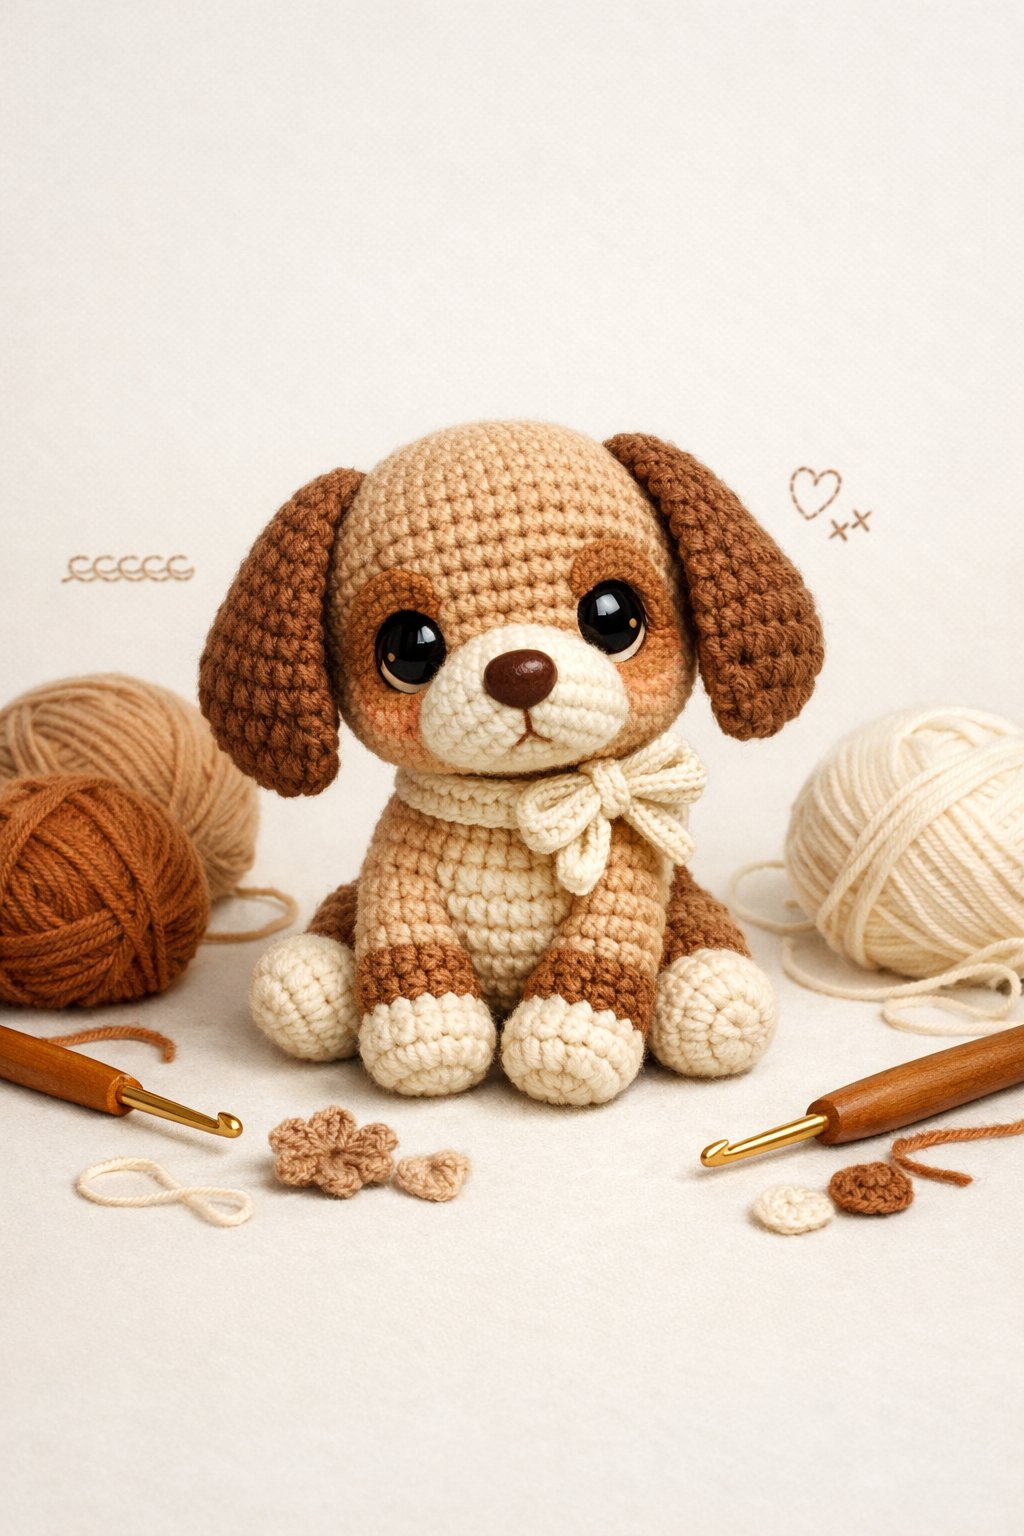
The Kimora crochet dog features a soft, rounded head, long ears, and a small body with short legs. The design uses smooth stitches and gentle color changes to shape the face and paws. The finished model fits well as a small toy or display piece.
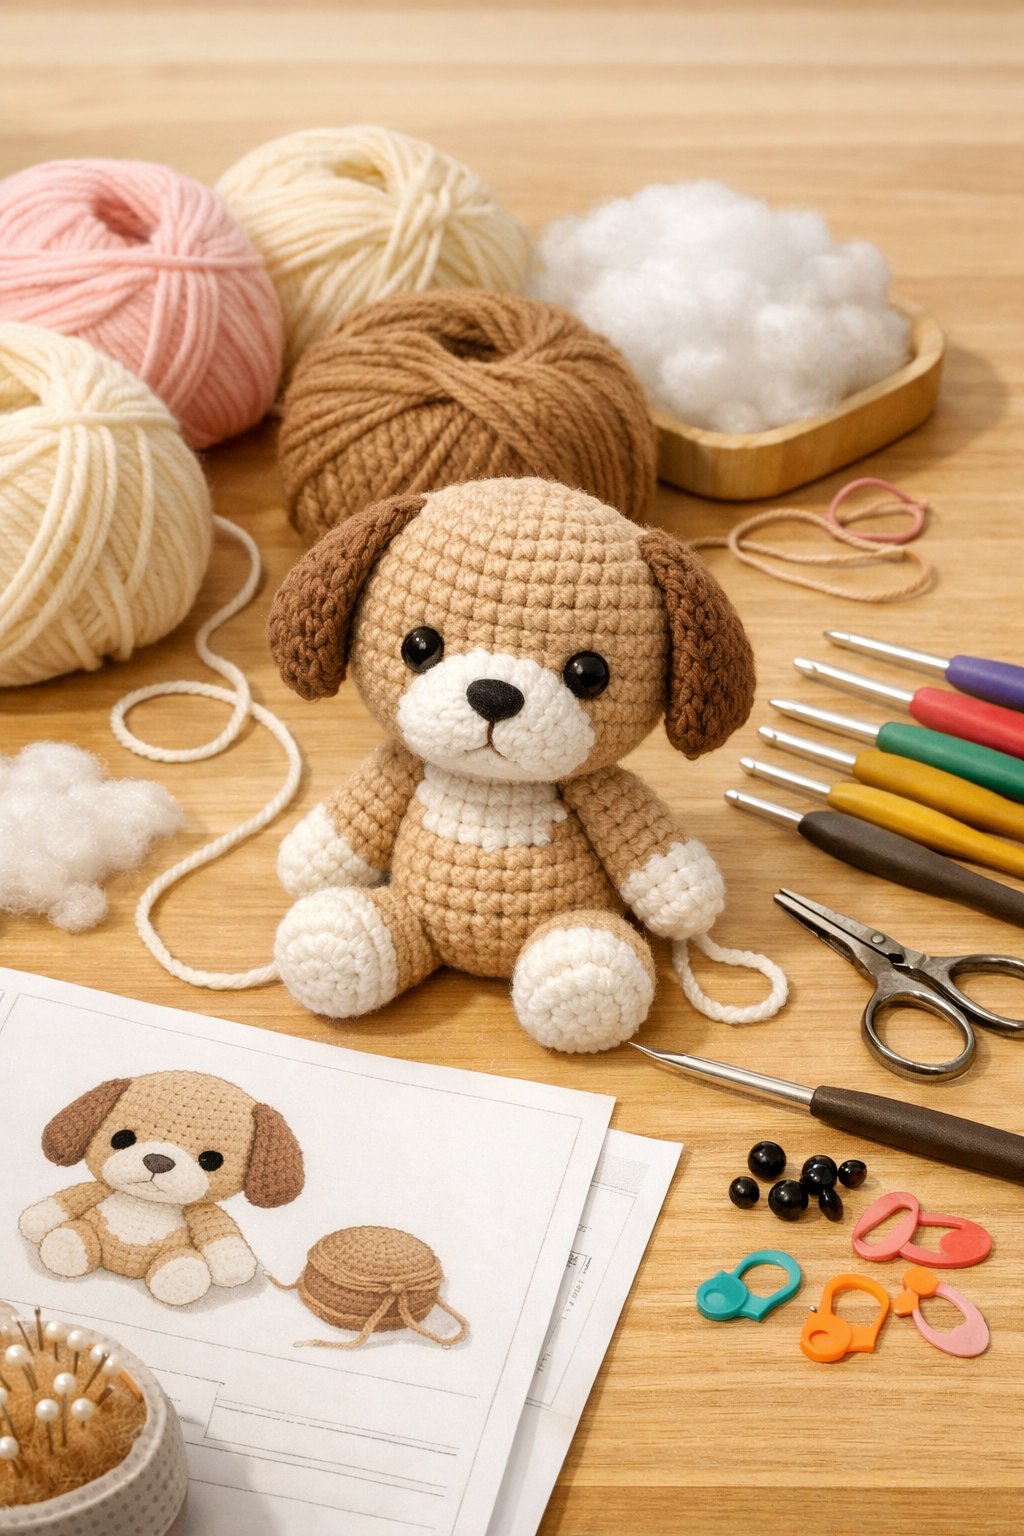
Materials used for this model include:
| Item | Details |
|---|---|
| Yarn | Light cotton yarn in cream, beige, black, pink, brown, blue, and orange |
| Hook | 2.5 mm crochet hook |
| Extras | Stuffing, stitch marker, needle, scissors |
| Eyes | 8 mm black safety eyes |
The head starts in a magic ring and grows in even rounds with steady increases. The shape stays wide through the middle, then closes slowly with decreases. The maker places the safety eyes at mid-head before fully closing and stuffing.
The ears use beige yarn with darker accents and grow in a flat oval shape. The maker folds each ear and sews the edges before attaching them to the head. Proper spacing keeps the face balanced.
Arms and legs begin with soft pink details, then switch to cream for the main shape. The legs connect first, and the body builds upward in joined rounds. The maker stuffs the legs and body firmly as the shape forms.
Small details, like eye circles and a simple leash, finish the model. Light embroidery adds facial features and final touches.
1) Overview of the Amigurumi Crochet Dog Kimora Pattern
The Amigurumi Crochet Dog Kimora Pattern guides makers in creating a small stuffed dog with clear shapes and soft details. It uses standard amigurumi methods and common stitches.
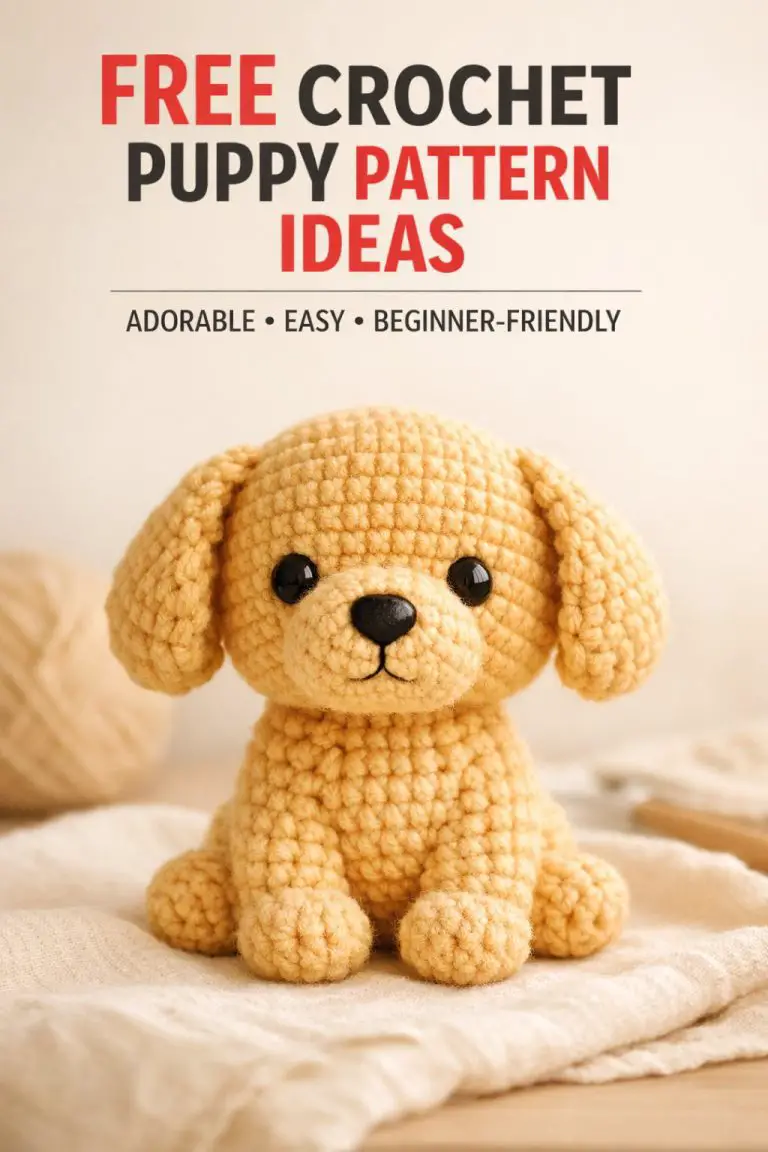
The design shows a friendly dog with rounded features and simple limbs. Makers can adjust colors to match different dog looks.
The pattern suits beginners and experienced crocheters. It focuses on step-by-step construction and clean assembly.
2) Materials Needed for Kimora Crochet Dog
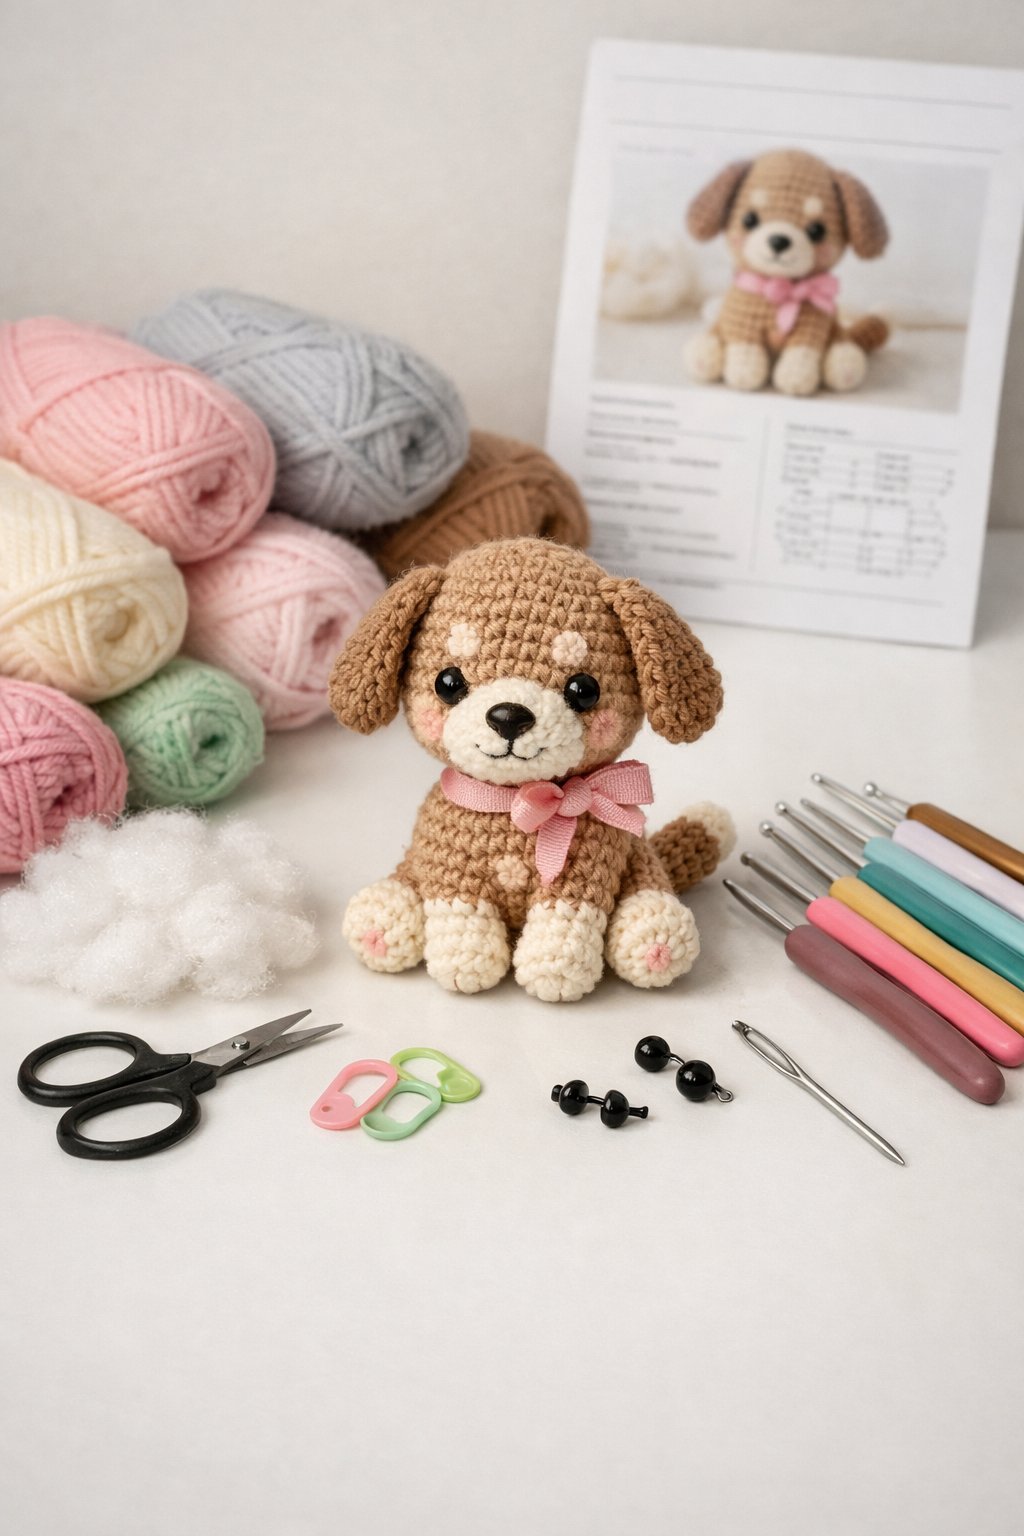
They use medium weight yarn for Kimora. Common colors include cream, beige, black, and blue. Cotton or cotton blend yarn works well and holds shape.
They need a crochet hook that matches the yarn, often 2.5–3 mm. A stitch marker helps track rounds.
They also need fiber filling, safety eyes, a yarn needle, and scissors. These tools support clean assembly and firm shaping.
3) Step-by-Step Instructions for Kimora
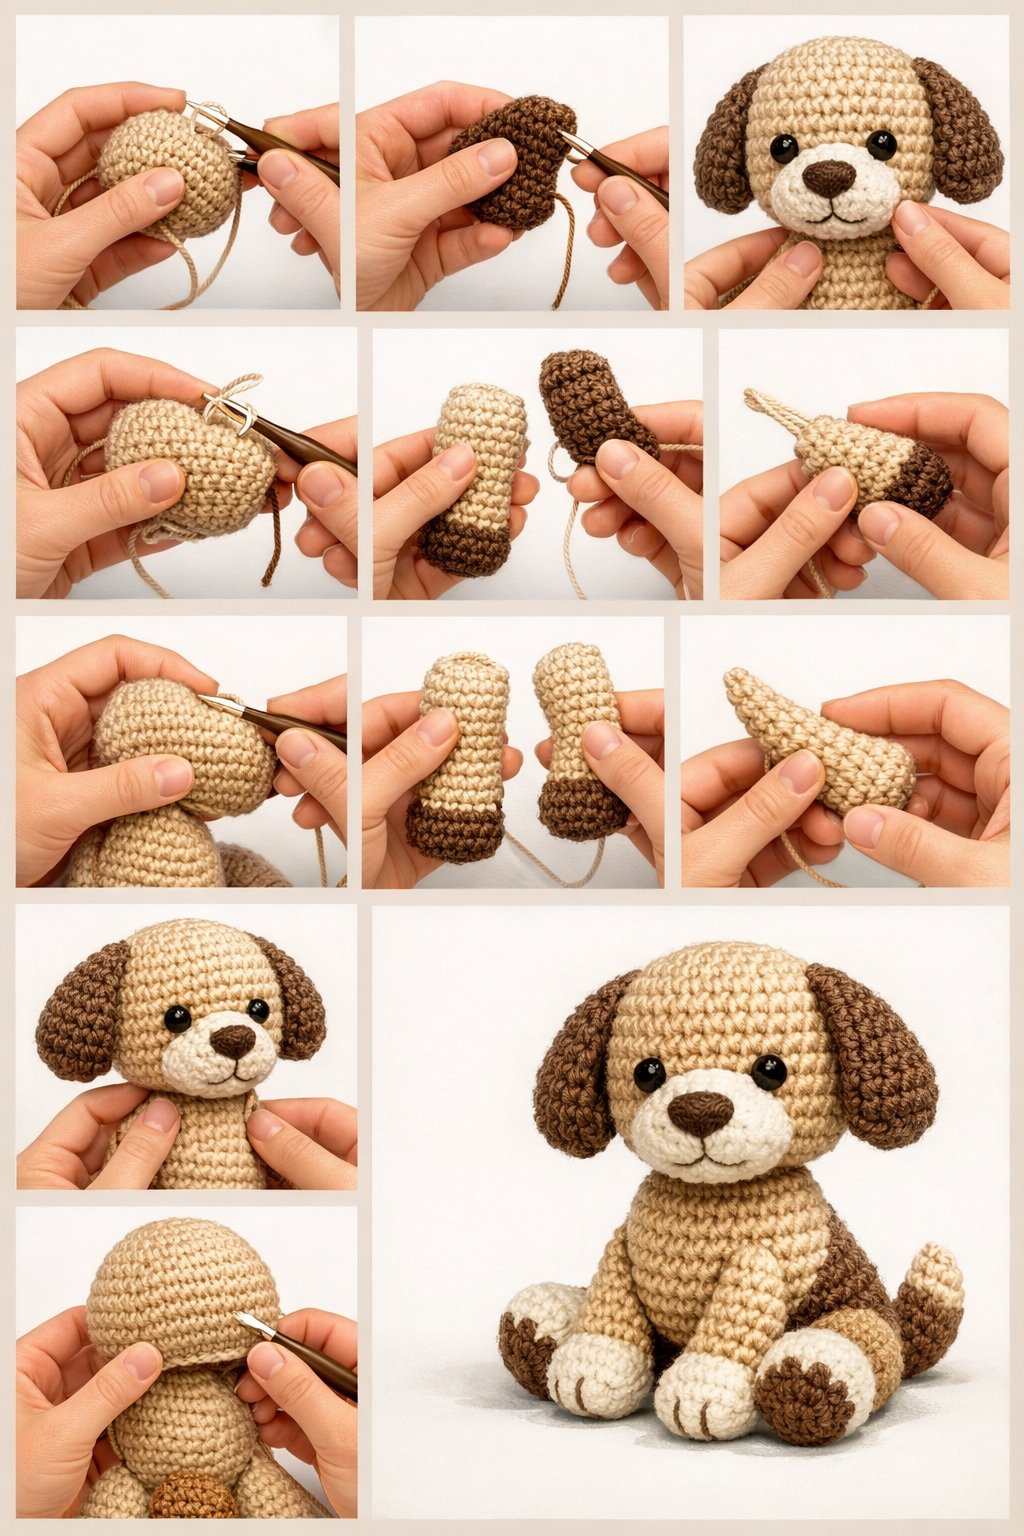
They start with a magic ring and work single crochet in the round to form the body. They increase evenly, then add decreases to shape the base.
They crochet the head next, using the same round method for a smooth finish. They make the legs, arms, ears, and tail as separate pieces.
They stuff each part firmly, then sew the pieces together. They add simple facial details to finish Kimora.
4) Tips for Color Choices and Yarn Selection
They should choose solid colors to show stitch detail and shape. Light shades help beginners see stitches, while darker tones create strong contrast for facial features.
They can use DK or worsted yarn for balanced size and structure. Softer yarns add a plush feel but may hide stitches.
They should keep colors limited to two or three. Simple palettes give Kimora a clean, friendly look.
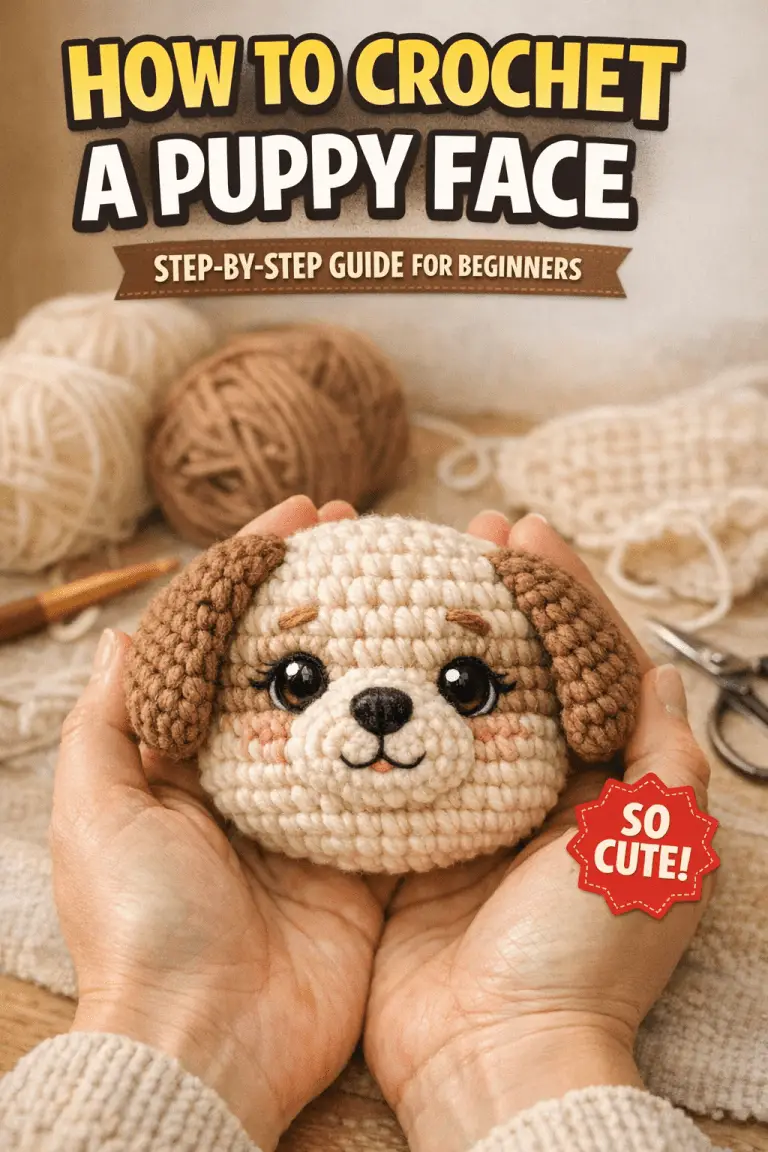
5) How to Crochet Kimora’s Cute Pug Features
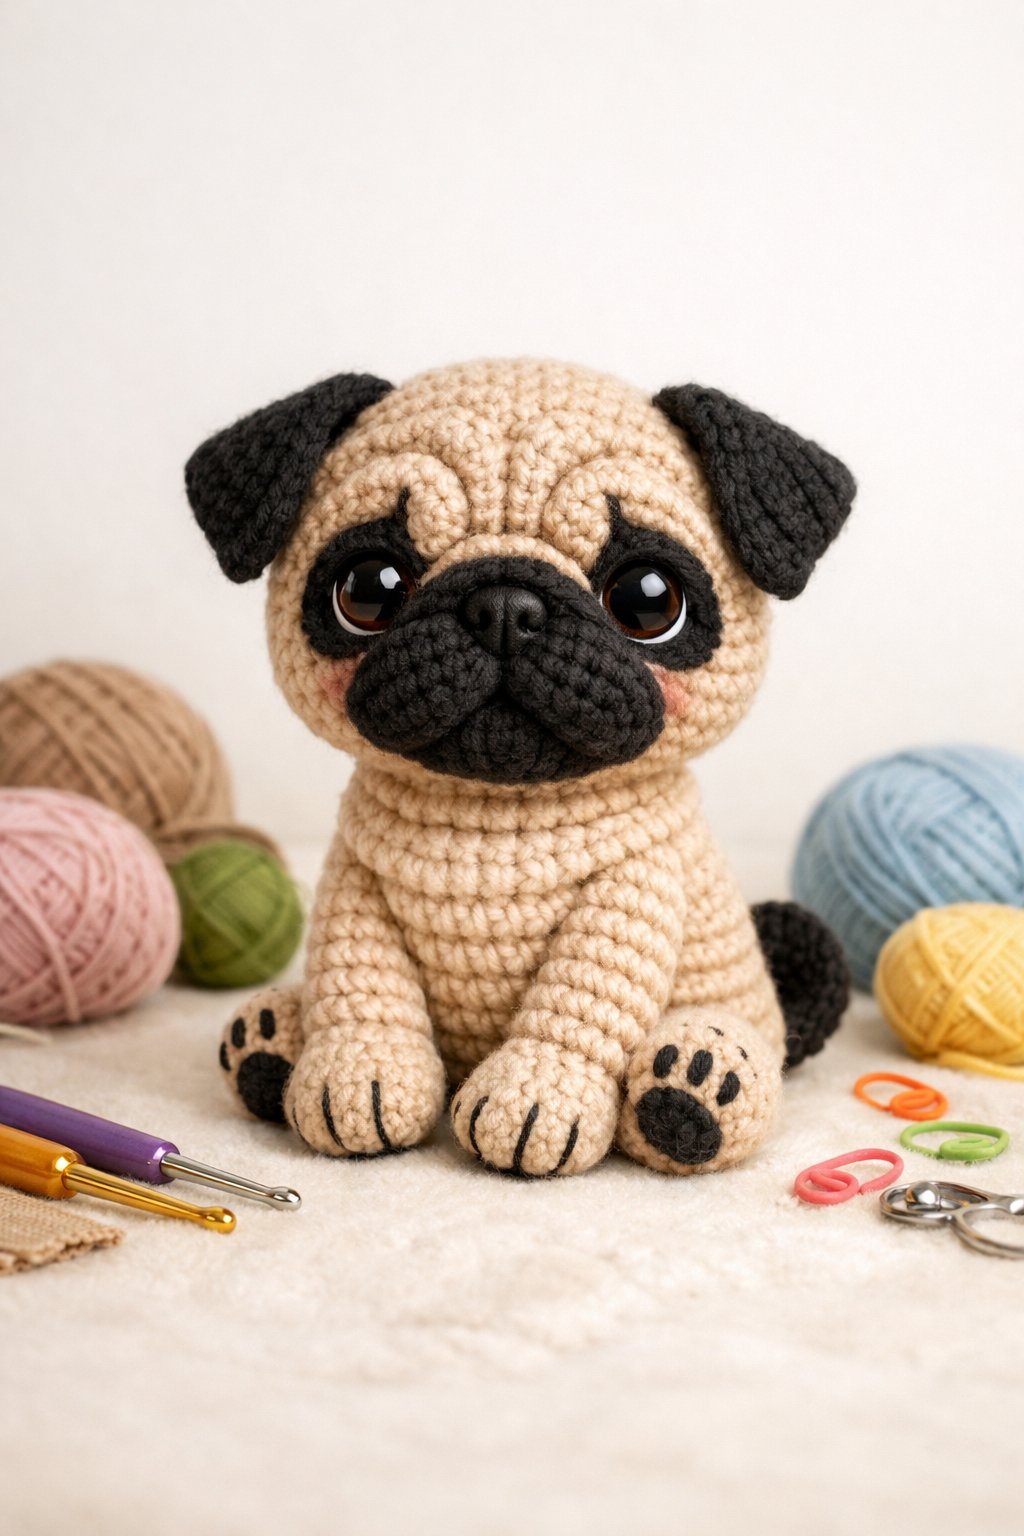
Kimora’s face starts with a short muzzle made using tight single crochet. She shapes the wrinkles with small decreases and light surface stitching to keep the look soft.
They add safety eyes or stitched eyes before closing the head. This step helps place the eyes low and wide, which suits a pug.
The tail curls with a short chain and slip stitches. Small ears fold and sew close to the head for a compact look.
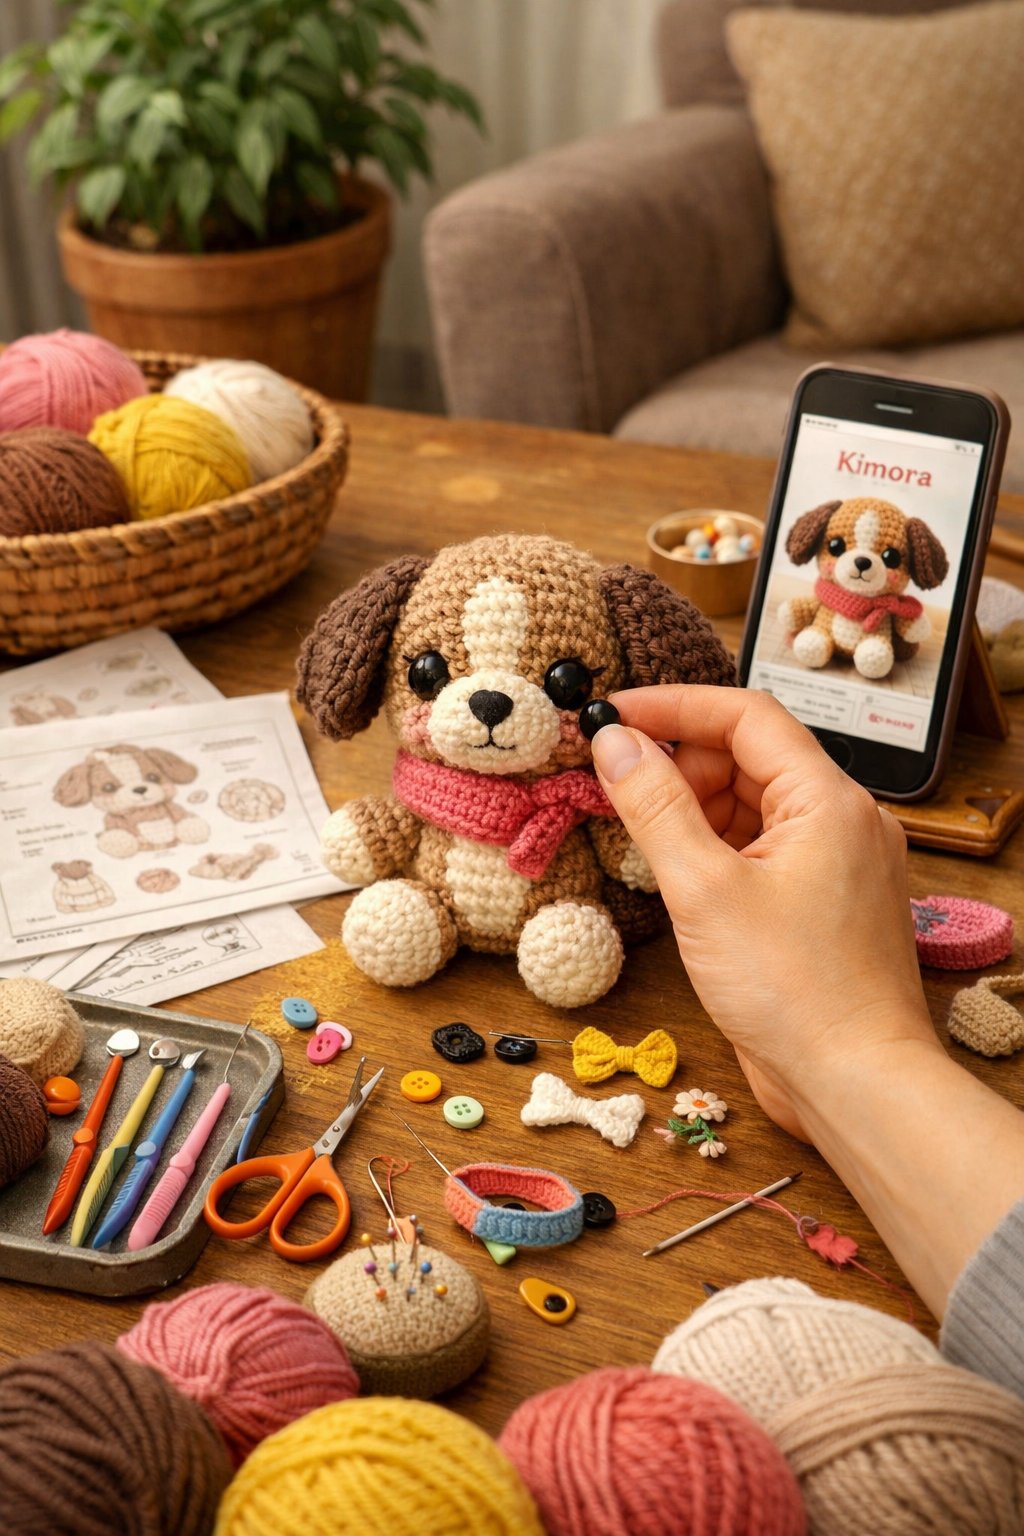
6) Adding Accessories to Your Kimora Amigurumi
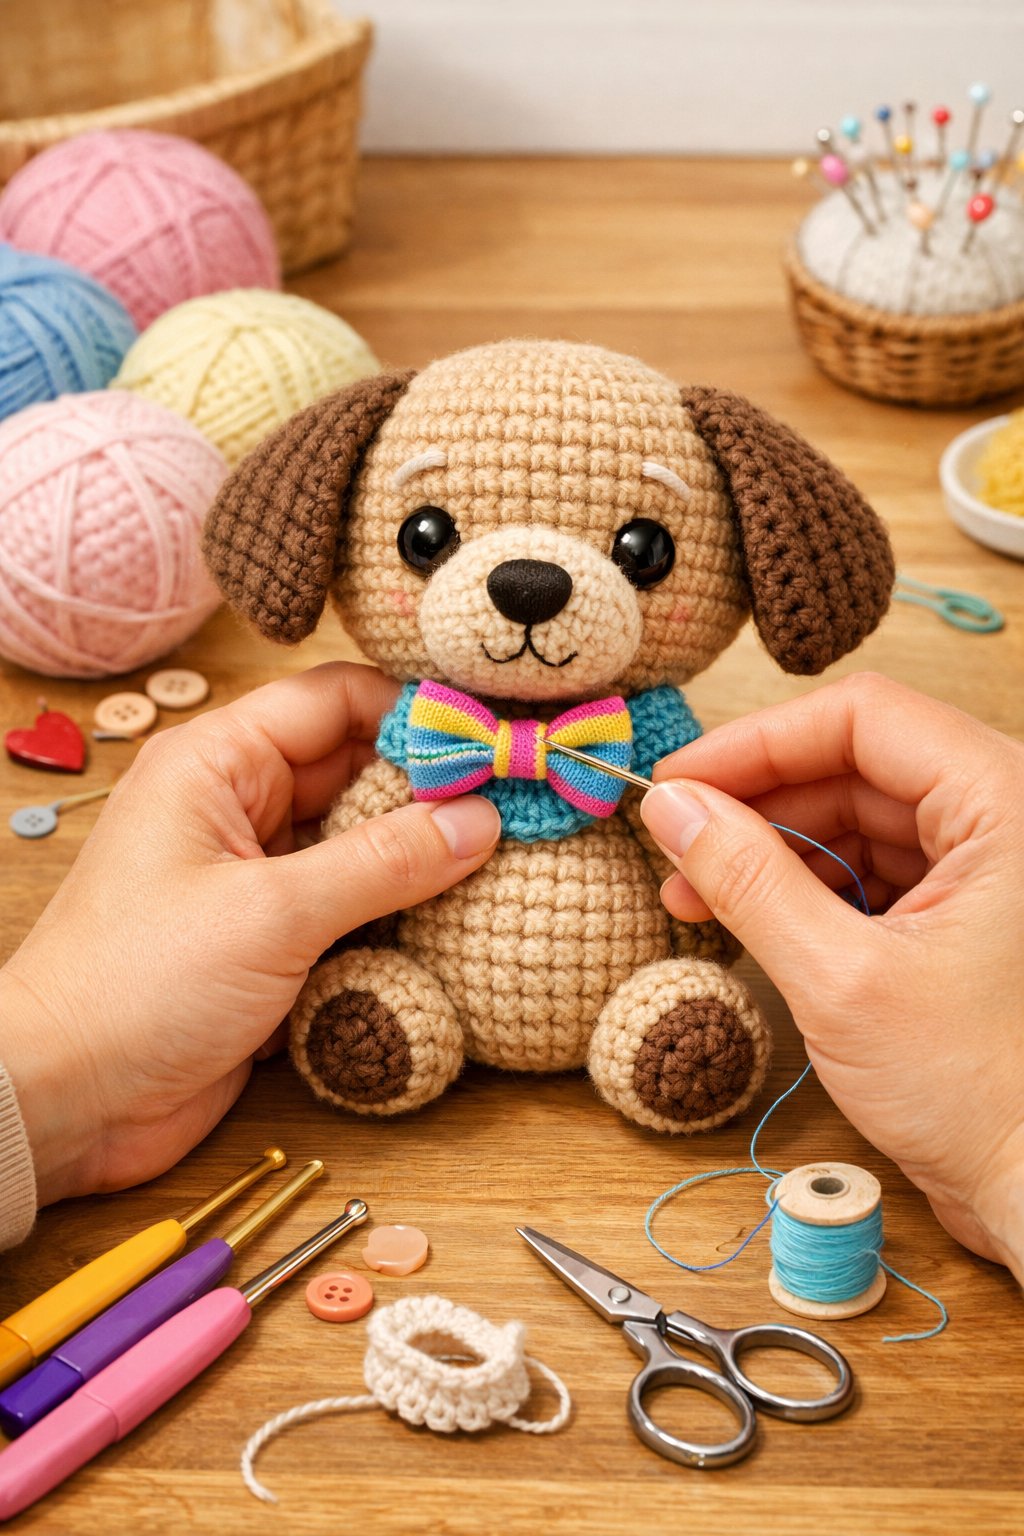
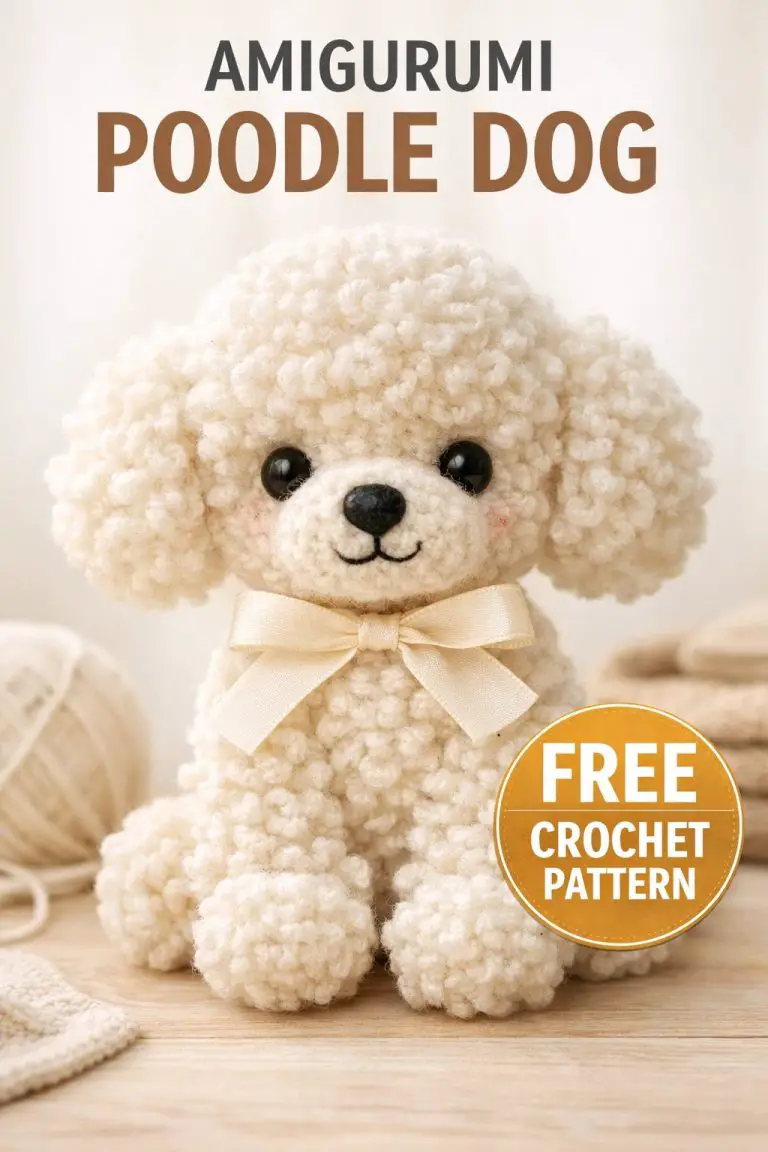
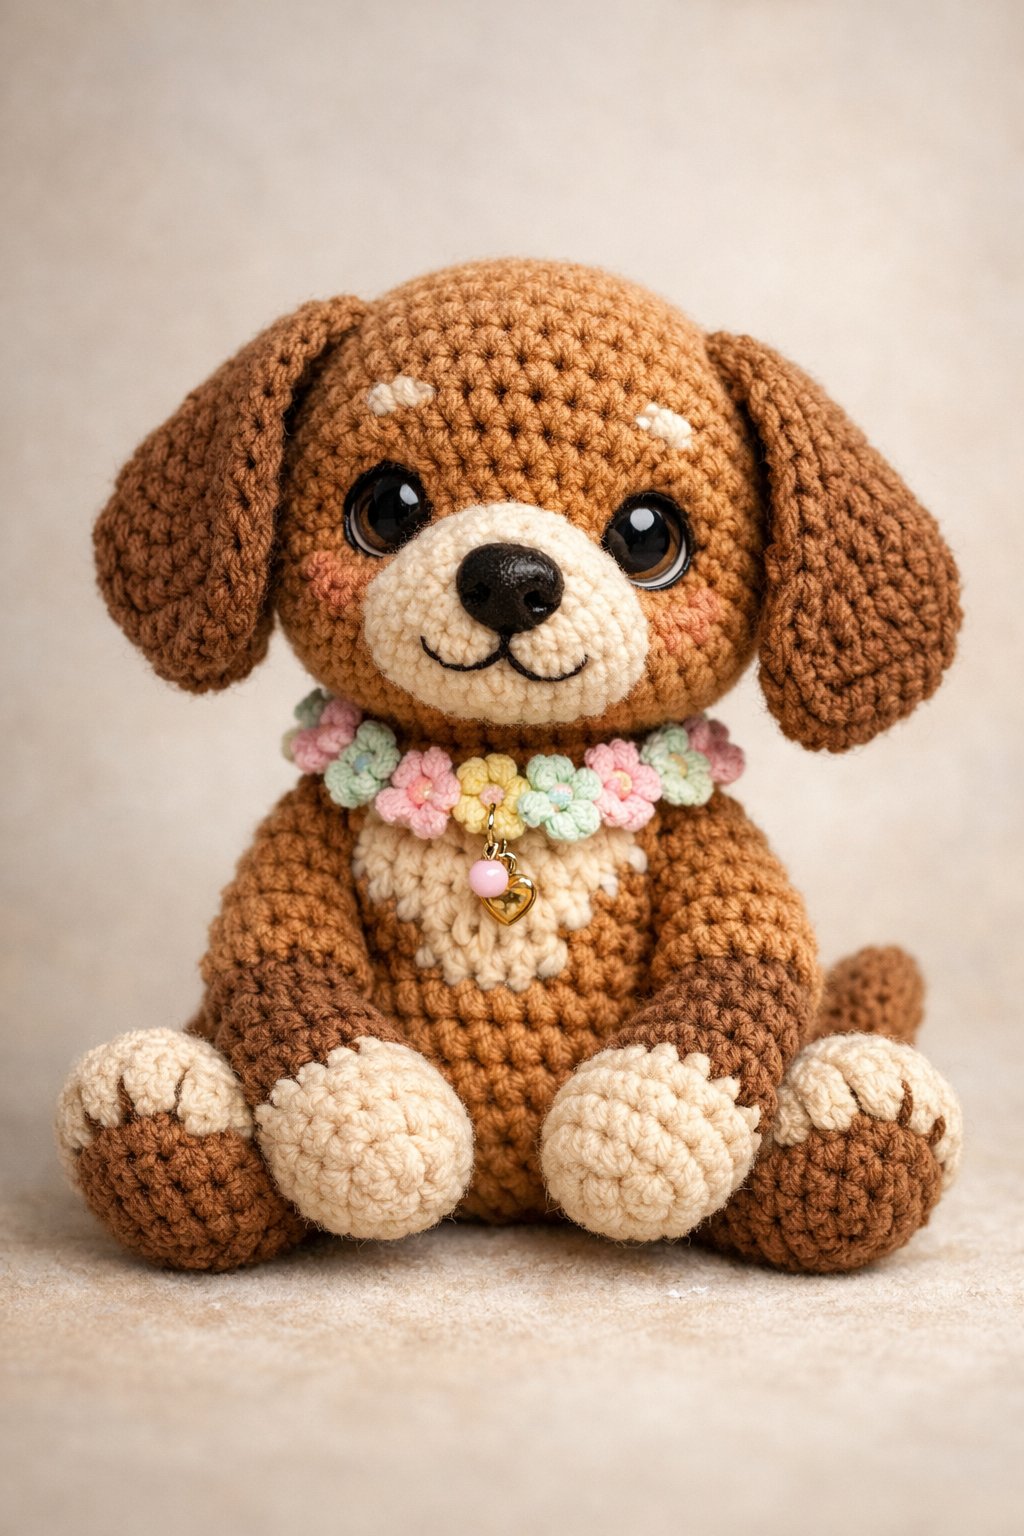
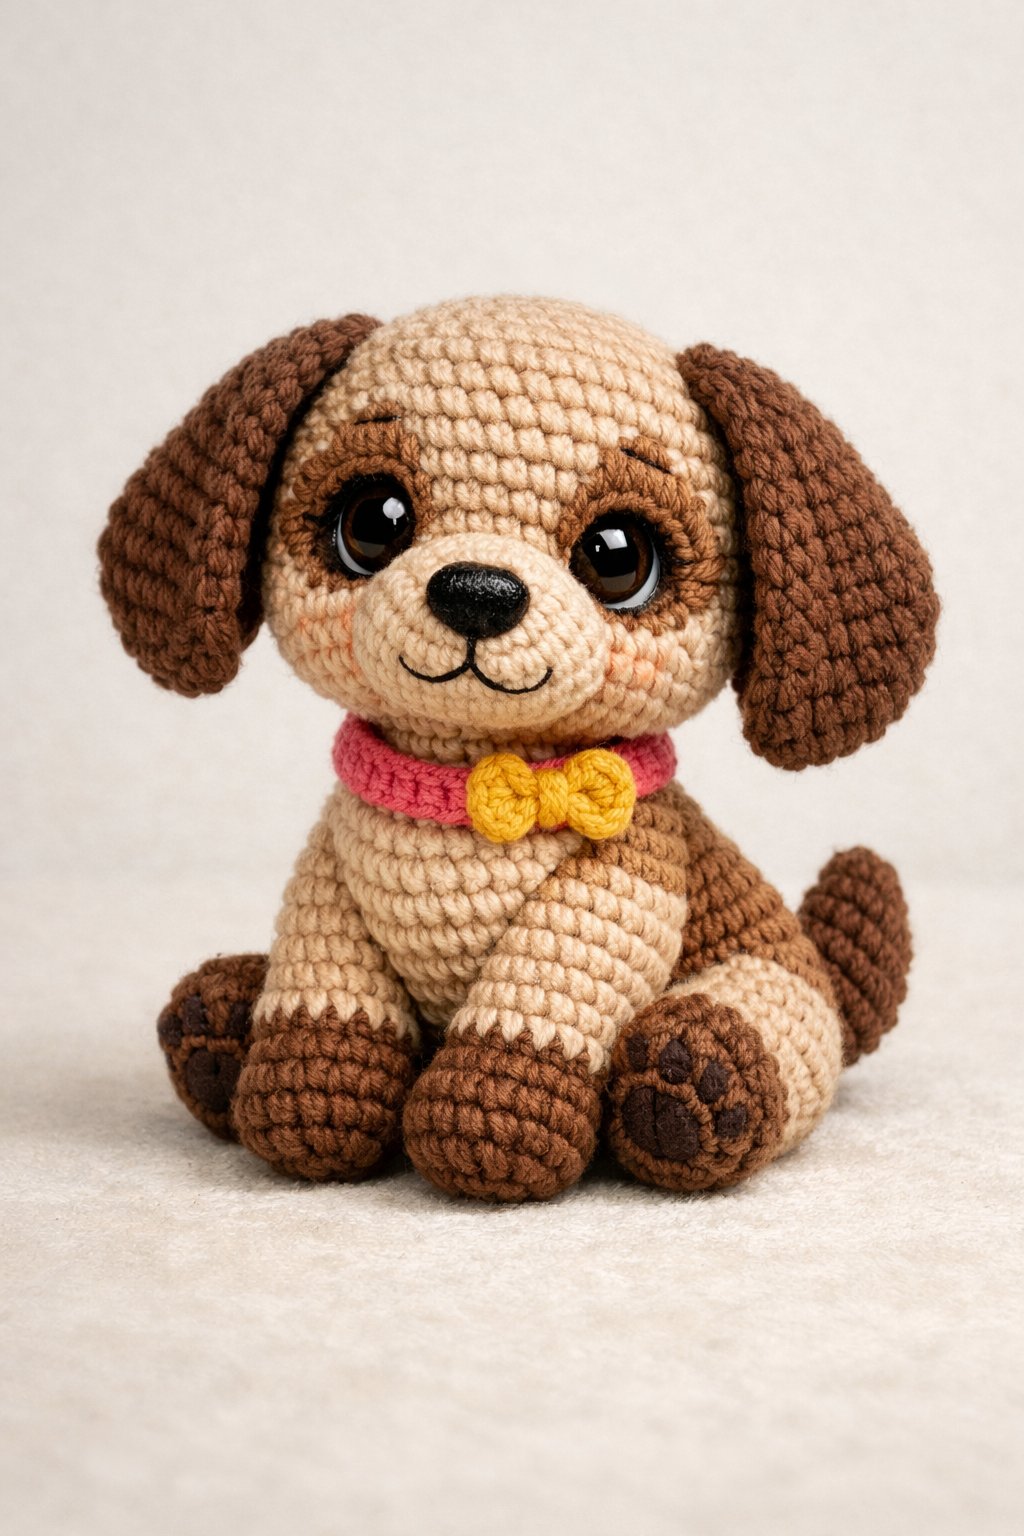
Simple accessories give Kimora a clear personality. Makers often add a small collar, scarf, or bow using scrap yarn.
Buttons, felt eyes, or embroidered details work well for the face. They should secure all parts tightly, especially for toys meant for children.
Tiny items like a tag, leash, or mini bone add charm without clutter. Colors should match the dog’s body to keep the design balanced.
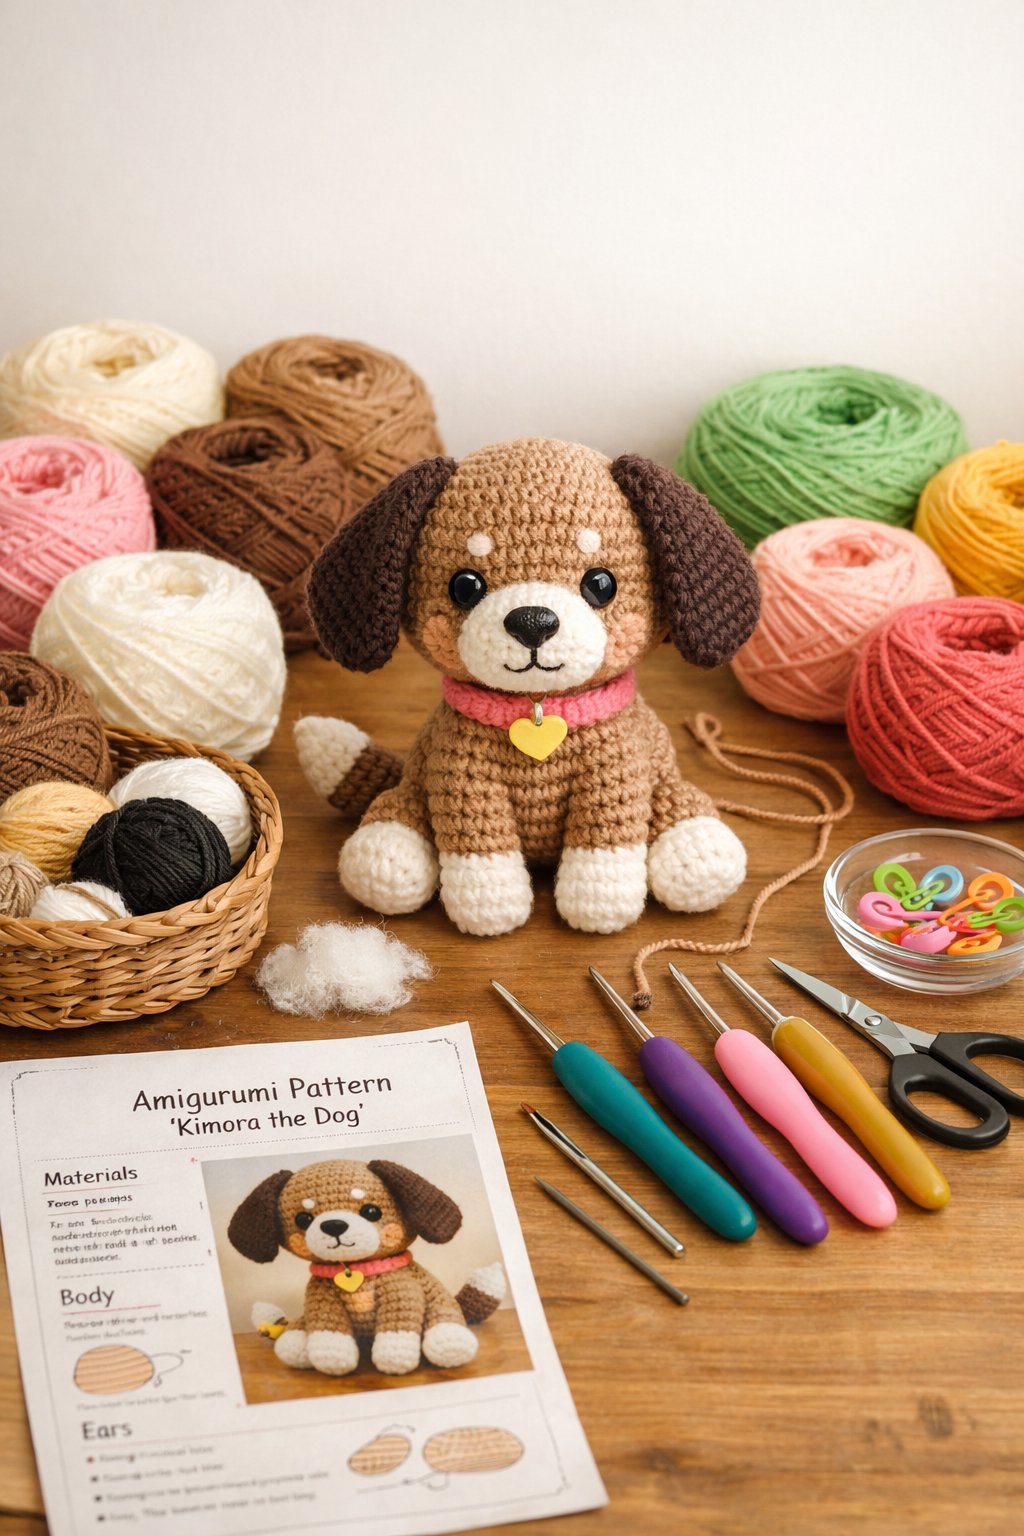
Materials and Tools for the Kimora Crochet Dog Pattern
The Kimora crochet dog uses common amigurumi supplies that support tight stitches and clean shaping. The right yarn, hook size, and a few add-ons help keep the dog sturdy, smooth, and safe for handling.
### Recommended Yarn Types
Kimora works best with sport or light worsted yarn that holds shape without stiffness. Many makers choose cotton-blend or acrylic yarns made for amigurumi. These yarns show stitches clearly and resist fuzz.
Popular options include YarnArt Jeans or similar yarns with smooth texture and even twist. Crafters often use a main body color like cream or beige, plus small amounts of black or brown for details. Bright colors work well for collars or accents.
Key yarn traits to look for:
- Smooth surface with low fuzz
- Strong twist to prevent splitting
- Consistent thickness
Avoid very soft or fluffy yarns. They hide stitches and make shaping harder, especially for small parts like ears and legs.
### Essential Crochet Hooks
A small hook helps create tight stitches that keep stuffing inside. Most Kimora patterns use hooks between 2.0 mm and 2.75 mm, based on yarn thickness and tension.
| Yarn Type | Common Hook Size |
|---|---|
| Sport weight | 2.0–2.25 mm |
| Light worsted | 2.5–2.75 mm |
Metal hooks slide easily and help maintain even tension. Plastic or bamboo hooks also work if they feel comfortable in the hand.
The maker should size down if gaps appear between stitches. Tight fabric gives the dog a clean and firm finish.
### Optional Accessories
Several extras improve detail and durability without adding much cost. Safety eyes give a polished look, usually in 6–8 mm sizes for Kimora’s head shape. For toys meant for young children, embroidered eyes offer a safer option.
Other useful items include:
- Polyester fiberfill for even stuffing
- Stitch markers to track rounds
- Tapestry needle for sewing parts
Some makers add a small bell or ribbon collar for style. These items stay optional and depend on the final use of the finished dog.
Tips for Customizing Your Amigurumi Crochet Dog
Small changes can give the Kimora crochet dog a unique look. Color choices, size changes, and facial details shape the final result. Careful planning before starting helps avoid rework later.
Choosing Color Variations
Color sets the mood and breed style of the dog. A maker can use one main color with a lighter shade for the muzzle and paws. This choice keeps the design simple and clean.
For a realistic look, many use two to three neutral tones. Tan, brown, gray, and cream work well together. Bright colors suit playful or gift designs.
When changing colors, the maker should keep yarn weight the same. Mixing weights can cause uneven stitches.
Popular color ideas
- Solid color with white chest
- Dark ears with a lighter face
- Spotted body using small color changes
They should weave in ends tightly to keep the surface smooth.
Adjusting the Size
Size depends on yarn weight, hook size, and stitch count. The maker can scale the pattern up or down without changing the shape.
| Change Made | Result |
|---|---|
| Thicker yarn | Larger dog |
| Smaller hook | Firmer, smaller dog |
| Extra rounds | Longer body or legs |
When increasing size, they should add stuffing slowly. Overstuffing can stretch stitches and show gaps.
If the dog is for a child, a tighter stitch helps hold shape. A smaller hook often works best. They should keep stitch counts even on both sides to avoid leaning parts.
Personalizing Features
Facial details give the dog character. Eye size and placement matter most. Closer eyes create a softer look. Wider spacing gives a playful face.
The maker can swap safety eyes for embroidered eyes for babies or pets. Black or dark brown thread works well.
Other features to adjust include:
- Ear length and angle
- Tail curl or length
- Nose shape using yarn or felt
Small stitches make clean lines. They should test placements with pins before sewing. This step helps balance the face and avoid uneven results.