Free Crochet Puppy Pattern Ideas: Six Easy, Cute Designs for Beginners
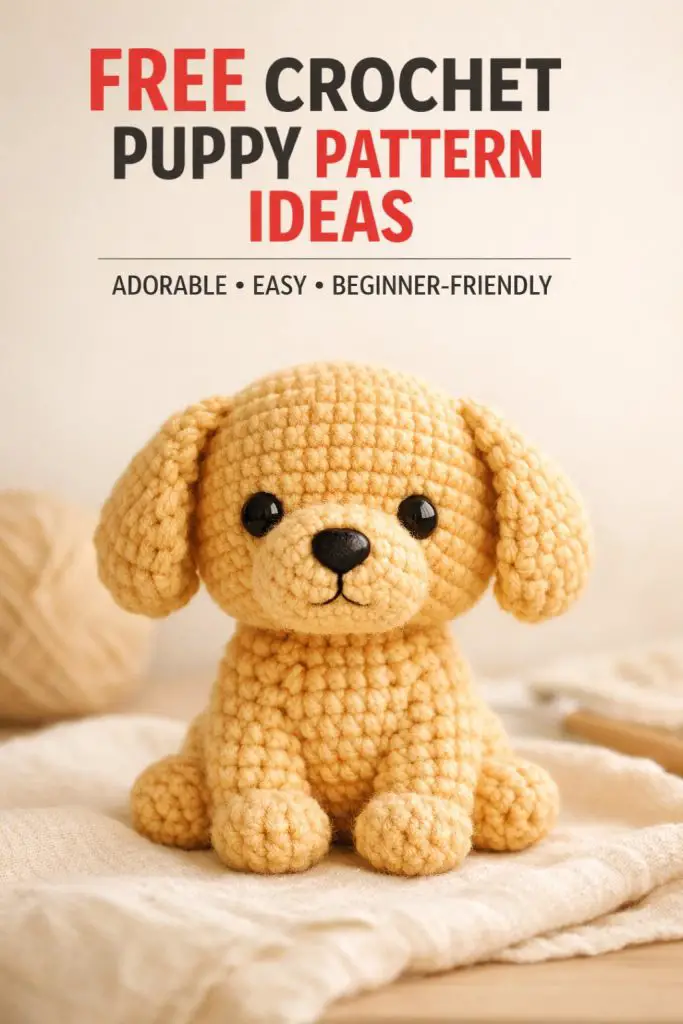
You’ll find a wide range of free crochet puppy patterns that suit different skill levels and styles, so you can pick a project that matches your time and tools. You can start a quick amigurumi pup today or choose a detailed pattern that teaches new stitches and realistic features.

This article guides you through easy options, step-by-step tutorials, and ways to customize each puppy so your finished toy fits your vision. You’ll learn which patterns work best for beginners, which add charming details, and how to tweak designs for size, color, or personality.
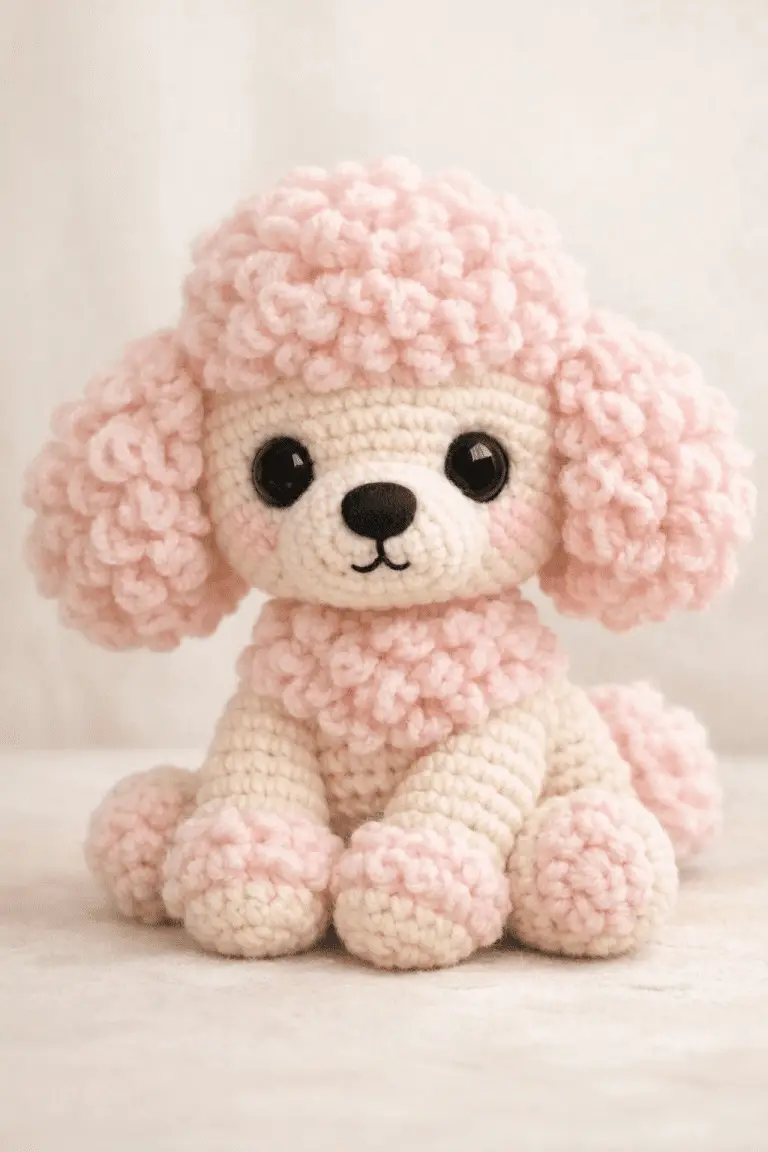
1) Easy Crochet Animals Puppy Amigurumi Pattern
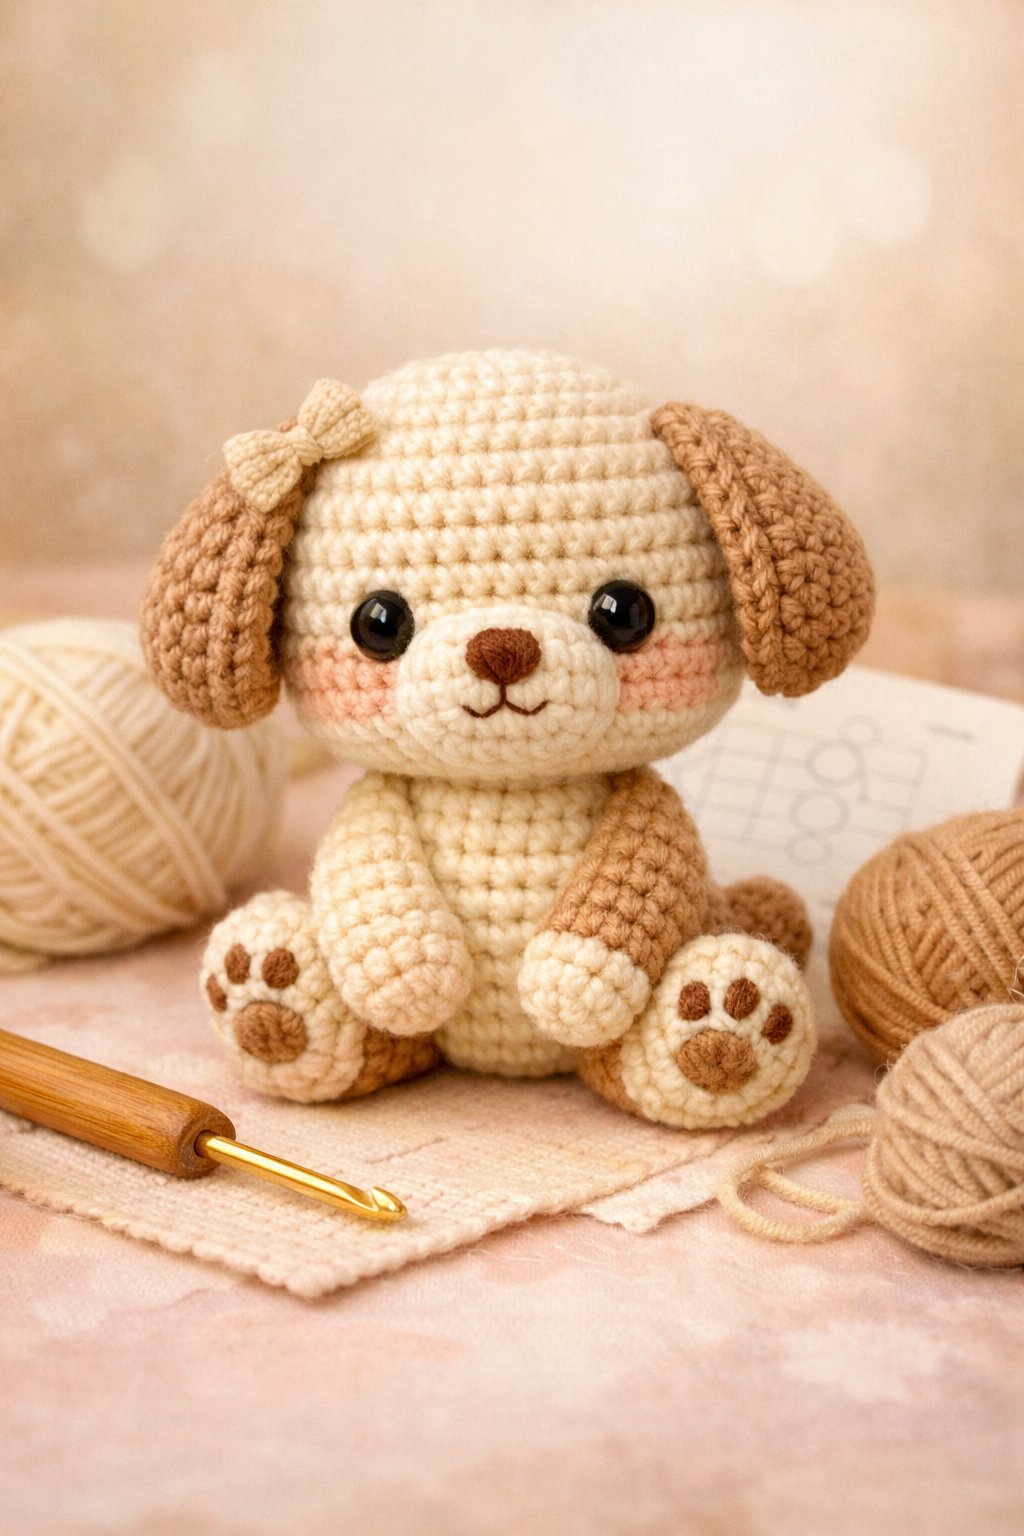
You can make a small puppy quickly with basic stitches like single crochet and increases. The pattern suits beginners and helps you learn shaping for head and body.
Use soft yarn and a safety eye set for a child-safe toy, and stuff firmly for a neat finish. Adjust color and size to match your style.
2) Free Red Heart Puppy Crochet Pattern
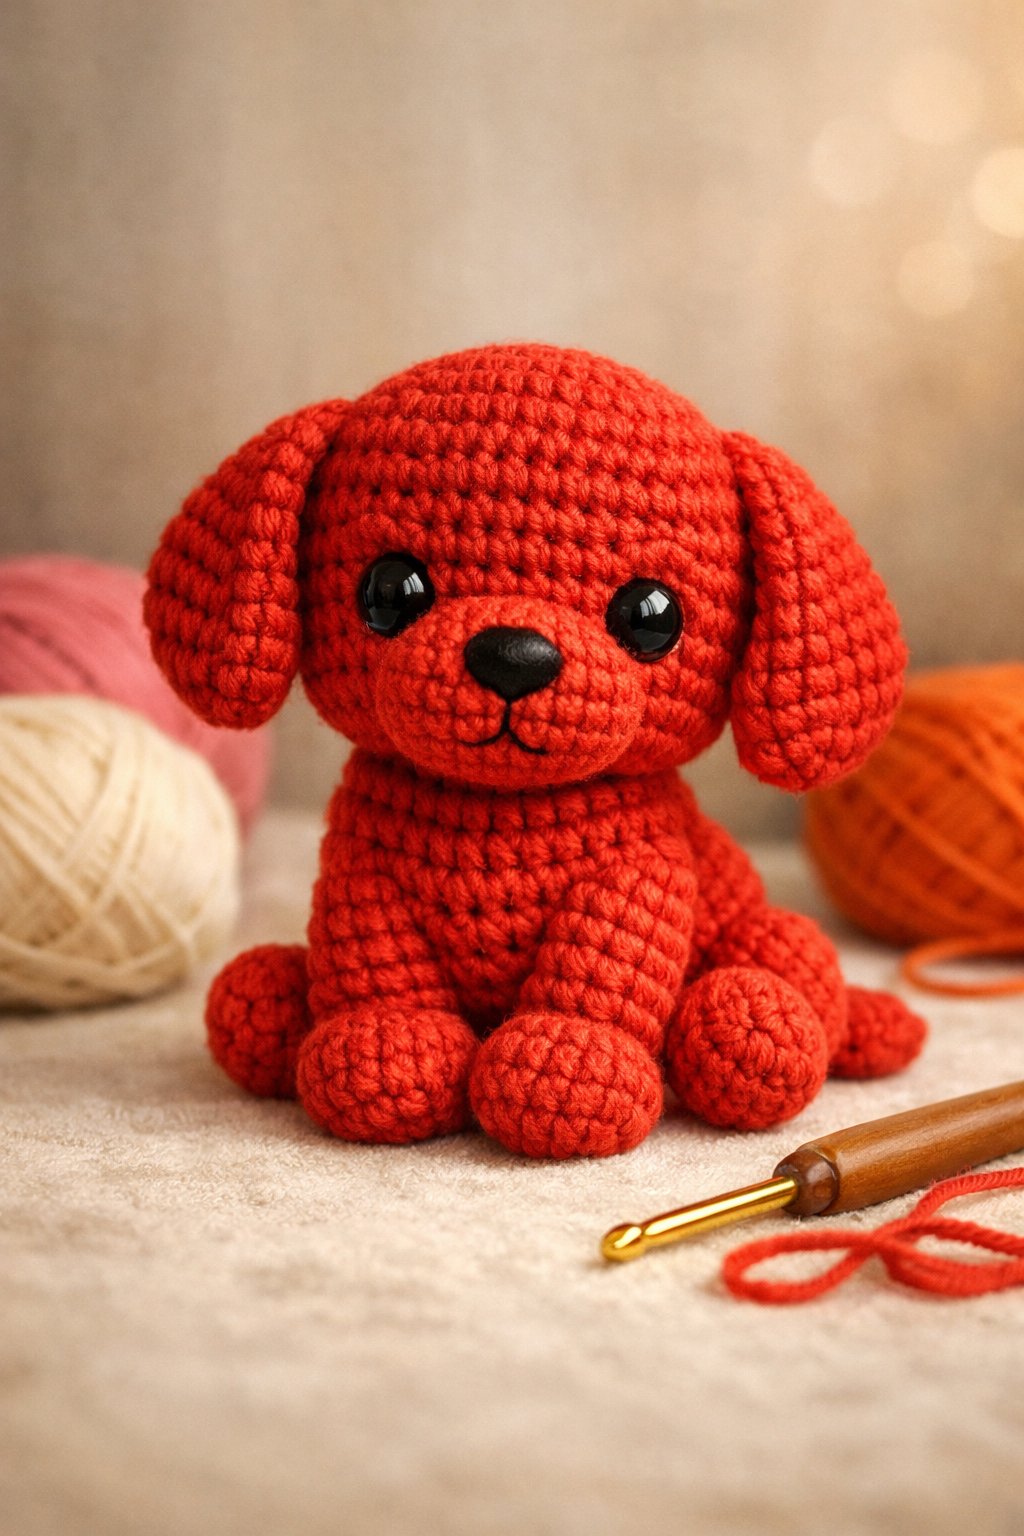
You can make a soft, cuddly puppy using the free Red Heart pattern. The instructions are clear and suit beginners who know basic stitches.
The pattern often offers options for size and fur texture, so you can customize your pup. Follow the step-by-step guide and add safety eyes or embroidery to finish your toy.
3) Small Dog Amigurumi for Beginners
You can make a small dog amigurumi with simple stitches and basic shaping.
Patterns often use single crochet, increases, and decreases, so you learn core skills fast.
Choose a no-sew or low-sew pattern if you want fewer finishing steps.
Pick worsted or DK yarn and a slightly smaller hook for a neat, cuddly result.
4) Irresistible Crochet Puppy Pattern by yarnspirations

You can make a soft, cuddly puppy using the free Yarnspirations pattern. The design uses faux fur yarn for a plush finish and simple stitches for an easy project.
You’ll find yarn amounts and color suggestions listed, plus step-by-step instructions to follow. This pattern works well for gifts or quick amigurumi practice.
5) Cute Amigurumi Puppy with Step-by-Step Tutorials by HorgoladaDesign
You can follow HorgoladaDesign’s clear video tutorials to crochet a small, cuddly puppy. The lessons show each stitch and assembly step, so you can follow along even if you are still learning.
Patterns focus on simple shapes and basic techniques. You’ll finish a neat amigurumi puppy suitable for gifts or play.
6) Easy-to-Follow Cuddly Crochet Puppy Pattern
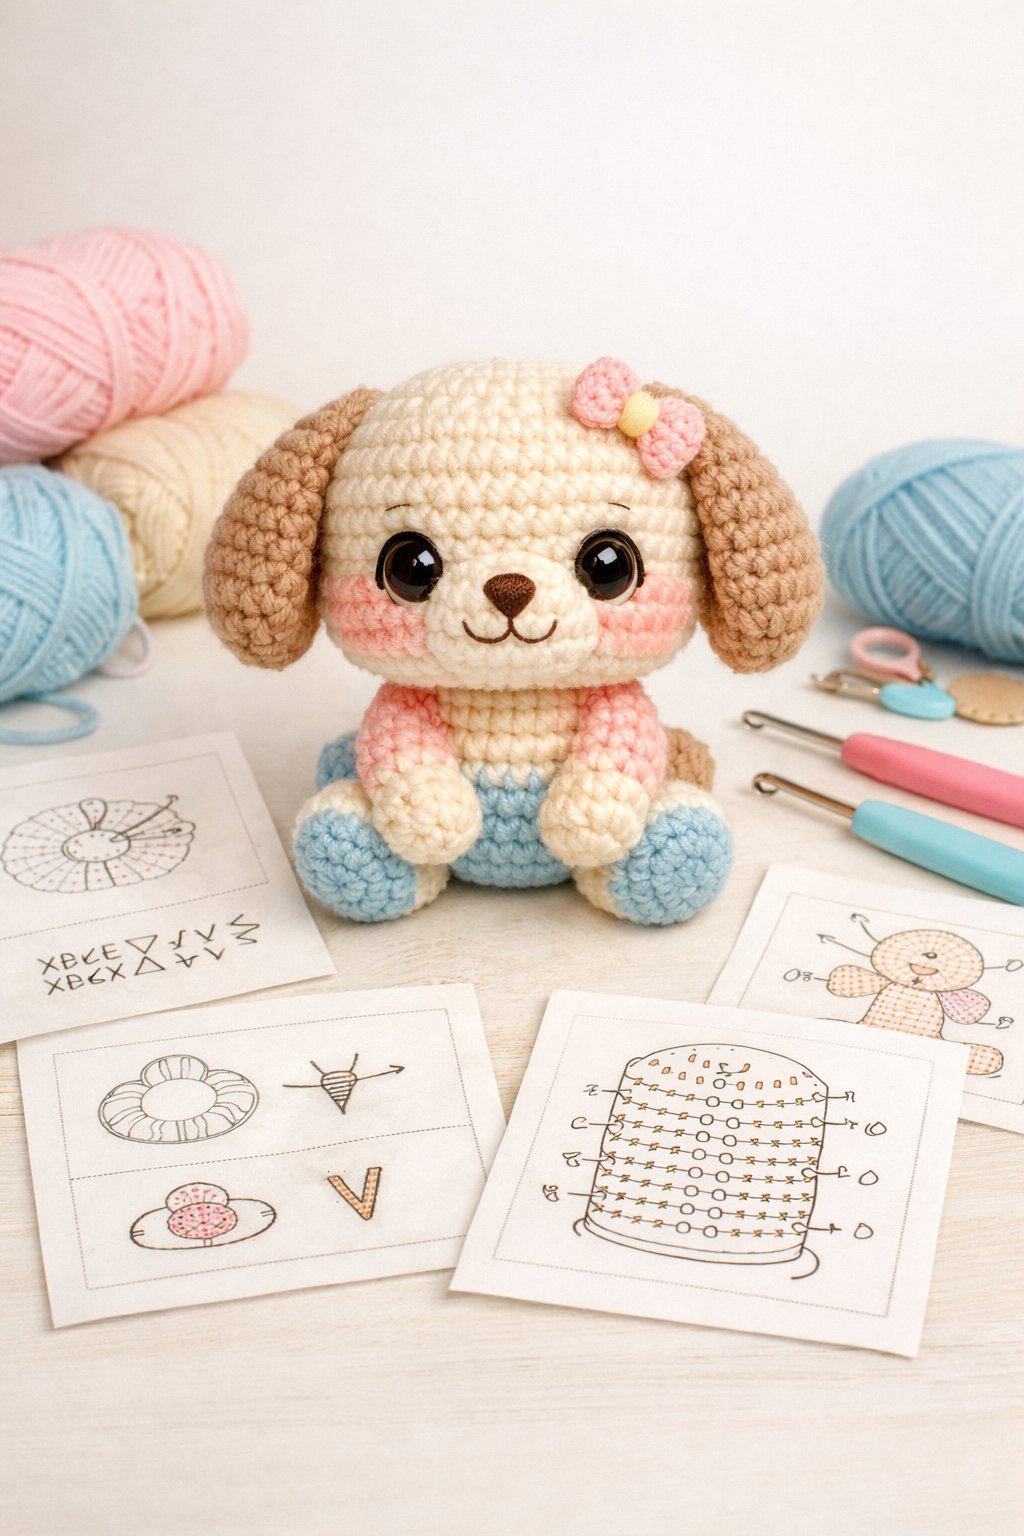
You’ll find a simple, step-by-step amigurumi puppy pattern that uses basic stitches and clear photos. The pattern works well with plush or worsted yarn and makes a soft, huggable toy.
You can finish it in a few evenings. Gauge, hook size, and stuffing tips are included so your puppy turns out just right.
Crochet Techniques for Realistic Puppy Features
Focus on shaping, fur texture, and face details that make your puppy look lifelike. Use stitch counts, yarn type, and placement of features to control size and expression.
Sculpting With Increases and Decreases
Use increases and decreases to shape the head, muzzle, and limbs precisely. For a rounded head, work even rounds then add 6–12 evenly spaced increases over 2–4 rounds. For a defined muzzle, crochet a separate oval piece or make a short tube: increase for the front, then decrease toward the back to create a tapered shape.
Place decreases under the chin or at the sides to pull fabric inward and form cheeks. Use invisible decreases (sl st dec or sc2tog) for smooth contours. Add short rows or back-loop-only rows to create a flat forehead or a raised brow.
Count stitches each round and mark the start with a stitch marker. If the shape looks off, stuff lightly and adjust increases/decreases before closing. Small changes of 2–4 stitches per round make big differences in profile.
Texturing Fur With Yarn Choices
Choose yarn fiber and weight to match the puppy’s coat. Use smooth yarns (sport to worsted) for short-haired pups and loop or boucle yarns for fluffy coats. You can also mix a smooth base yarn with a fuzzy eyelash or mohair held together for a soft, realistic finish.
Change hook size to affect stitch density: a larger hook gives a looser fabric and more fluff, while a smaller hook creates tighter stitches that hold shape. Try surface techniques like broomstick lace, loop stitches, or brushed-out single crochet to add volume and direction to fur.
Trim or brush the finished piece to shape fur direction. Use small scissors or a pet brush to fluff fibers carefully. Test on a small swatch to see how the yarn responds before working the whole amigurumi.
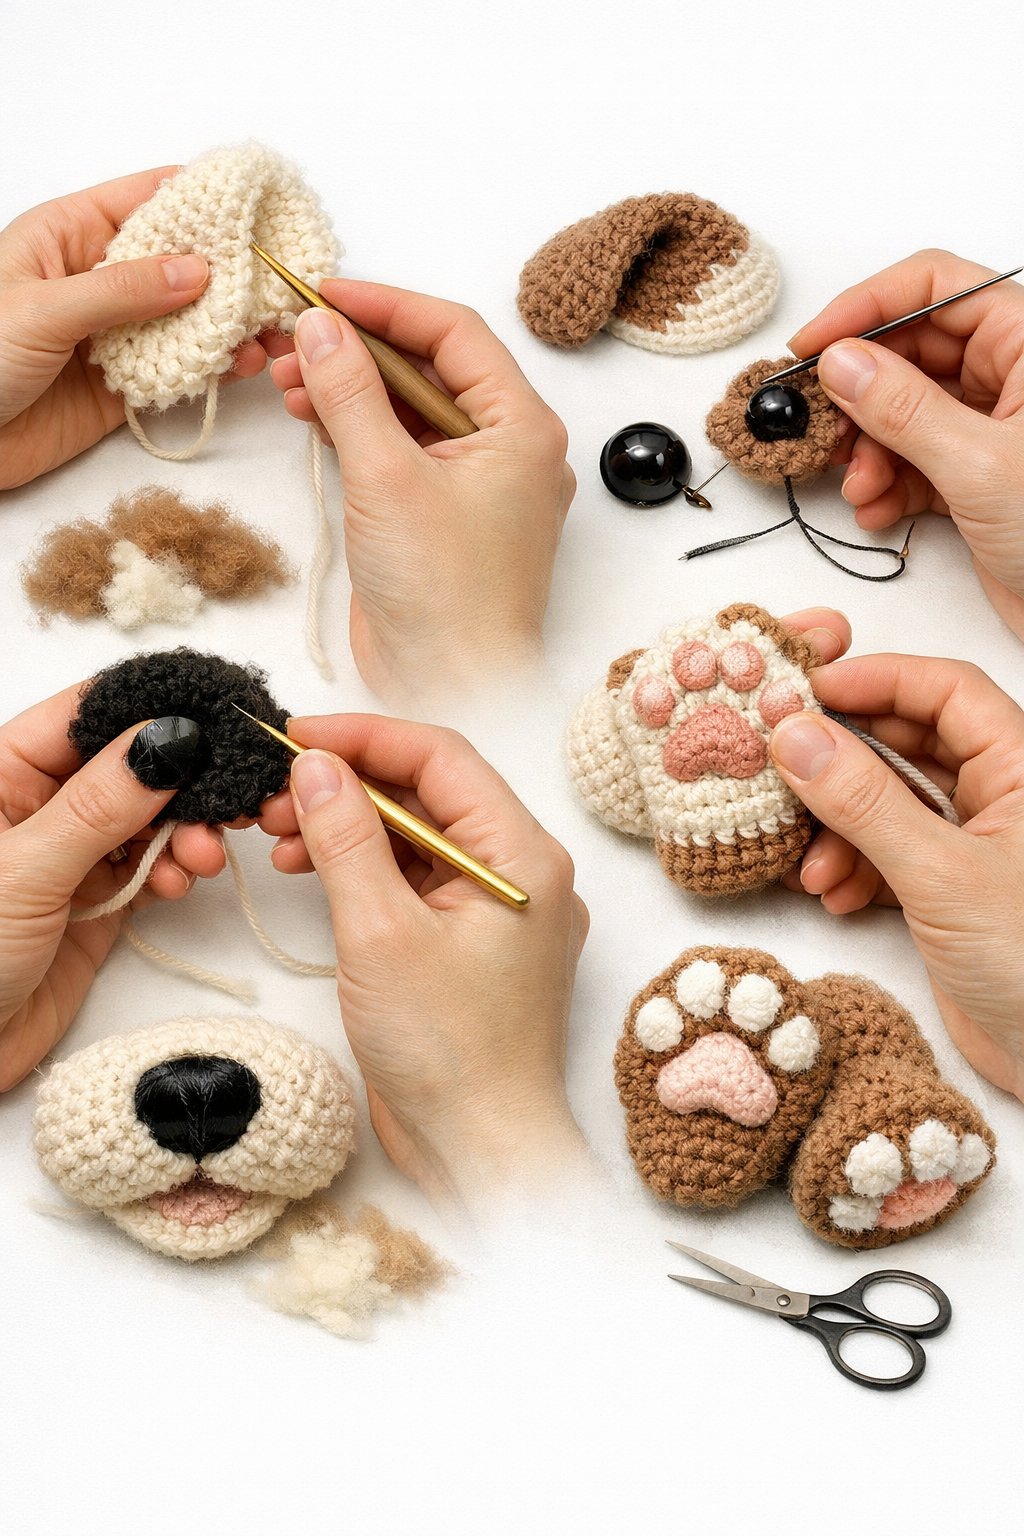
Creating Expressive Eyes and Noses
Position eyes and nose before stuffing to control expression. For safety eyes, place them slightly closer together for a puppy-like look; for felt or embroidered eyes, use small ovals and add a white stitch for a highlight. Mark placements with pins and step back to check symmetry.
Embroider the nose with satin stitch or use a small plastic or polymer clay nose. For a 3D nose, crochet a tiny cone or oval, stuff lightly, and sew it on. Use short, dense stitches for noses so they hold shape and shine.
Add eyelids or brow ridges with short rows, folded stitches, or a few slipped stitches to change expression. Small details—eye highlights, tiny stitch brows, and the angle of the muzzle—give the puppy personality.
Tips for Customizing Crochet Puppy Patterns
You can change color, size, and small details to match a real dog or a toy you imagine. Simple swaps—yarn color, hook size, or adding ears and tails—make big visual changes without rewriting the pattern.
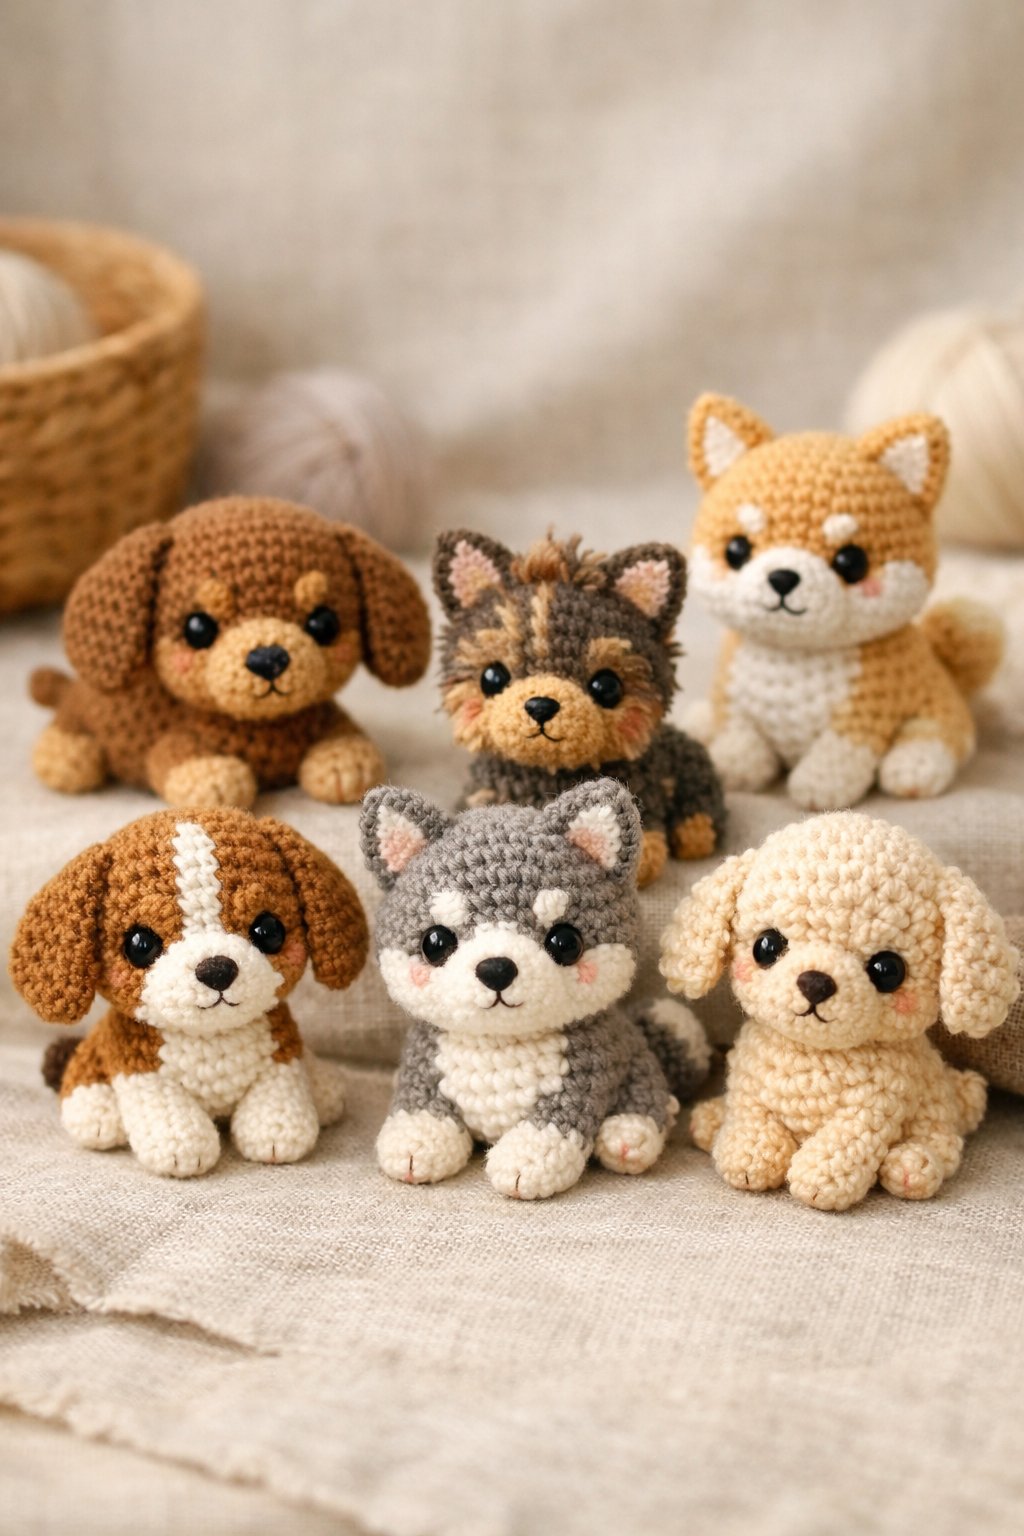
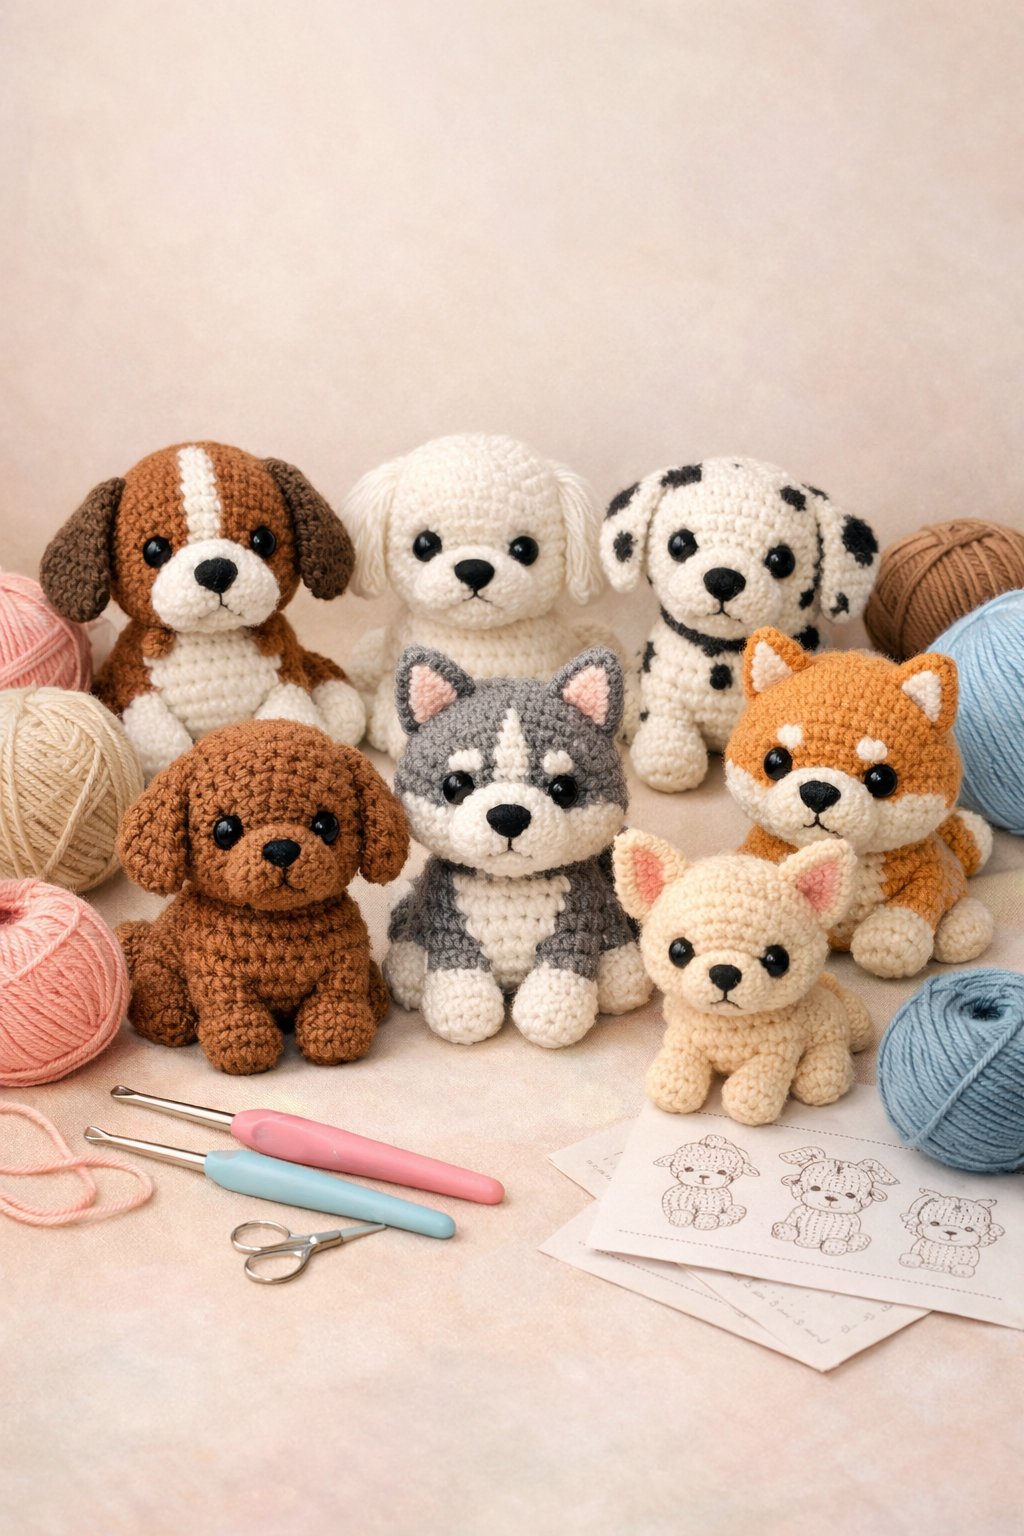
Selecting Colors for Different Breeds
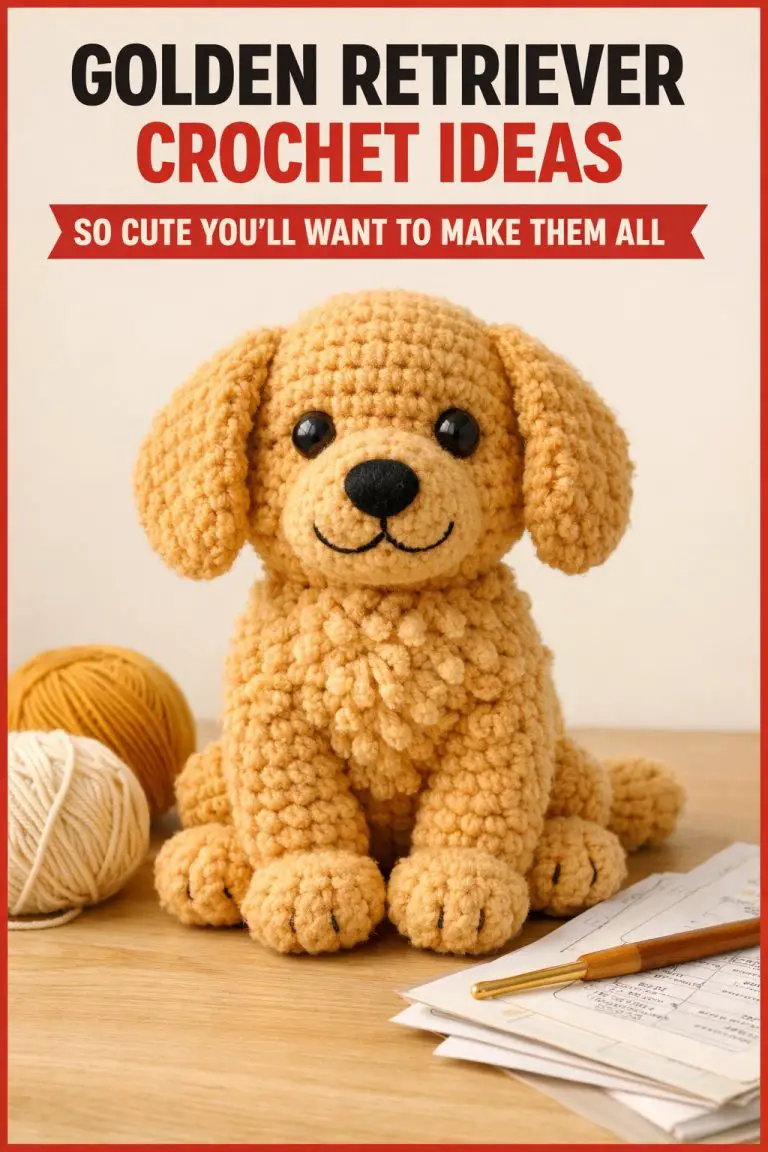
Pick yarn shades that match the coat you want. For a golden retriever, choose three warm shades: light cream for the belly, medium gold for the body, and a darker gold for ear tips and snout. For black labs, use a deep black main color and a slightly lighter gray for highlights like paw pads or the inner ear.
Use one skein for main color and small skeins for accents to avoid waste. Test a small swatch to see how colors look after blocking and stuffing. If you want a spotted or patched look, plan color changes on rounds that fall on seams or obvious stitch lines so the change looks natural.
Scaling Patterns for Mini or Jumbo Puppies
Change hook size and yarn weight to scale a pattern. For a mini puppy, use a finer yarn (sport or fingering) and a smaller hook; expect the finished toy to be about half the original. For a jumbo puppy, move up two yarn weights and increase hook size; the toy may grow to roughly double the pattern size.
Adjust stuffing amount and stitch count as you scale. Minis need tighter stuffing and smaller increases to keep shape. Jumbo pieces can require extra reinforcement at joints—use longer seam allowances, stronger yarn for safety eyes, and larger stuffing amounts to avoid sagging. When changing hook or yarn, make a test head and measure gauge; then recalculate rounds for limbs and body if needed.