Amigurumi Duck Free Pattern: 5 Simple Designs
Small crochet projects often bring quick wins, and a simple duck amigurumi fits that goal well. This article explores how free duck patterns help makers create cute plush ducks with clear steps and basic skills.
It shows where to find trusted free amigurumi duck patterns and how they support beginners and experienced crafters alike. The content highlights different duck styles, from classic looks to small keychain designs, while keeping the focus on free and easy options.
It also explains what materials these patterns often use and shares practical tips that help avoid common mistakes. Together, these sections guide anyone who wants a smooth start with an amigurumi duck project.
1) Dizzy the Amigurumi Duck by Carol Hladik Designs
Dizzy the Amigurumi Duck is a small crochet toy with a simple, friendly look. Carol Hladik Designs offers the pattern for free online, with an optional paid PDF.
The pattern suits beginners who know basic stitches. It uses worsted weight yarn and works in the round.
Finished size is about 5 inches tall. Many makers choose it for quick gifts or scrap yarn projects.
2) Little Duck Amigurumi Pattern on Hooked On Hook

The Little Duck Amigurumi Pattern on Hooked On Hook suits beginners. It uses basic stitches and clear steps.
The design creates a small duck that fits in the palm of a hand. A round body and simple face give it a clean look.
This pattern works well for quick gifts or practice projects.
3) Mallard & Pekin Amigurumi Duck Pattern with Video Tutorial
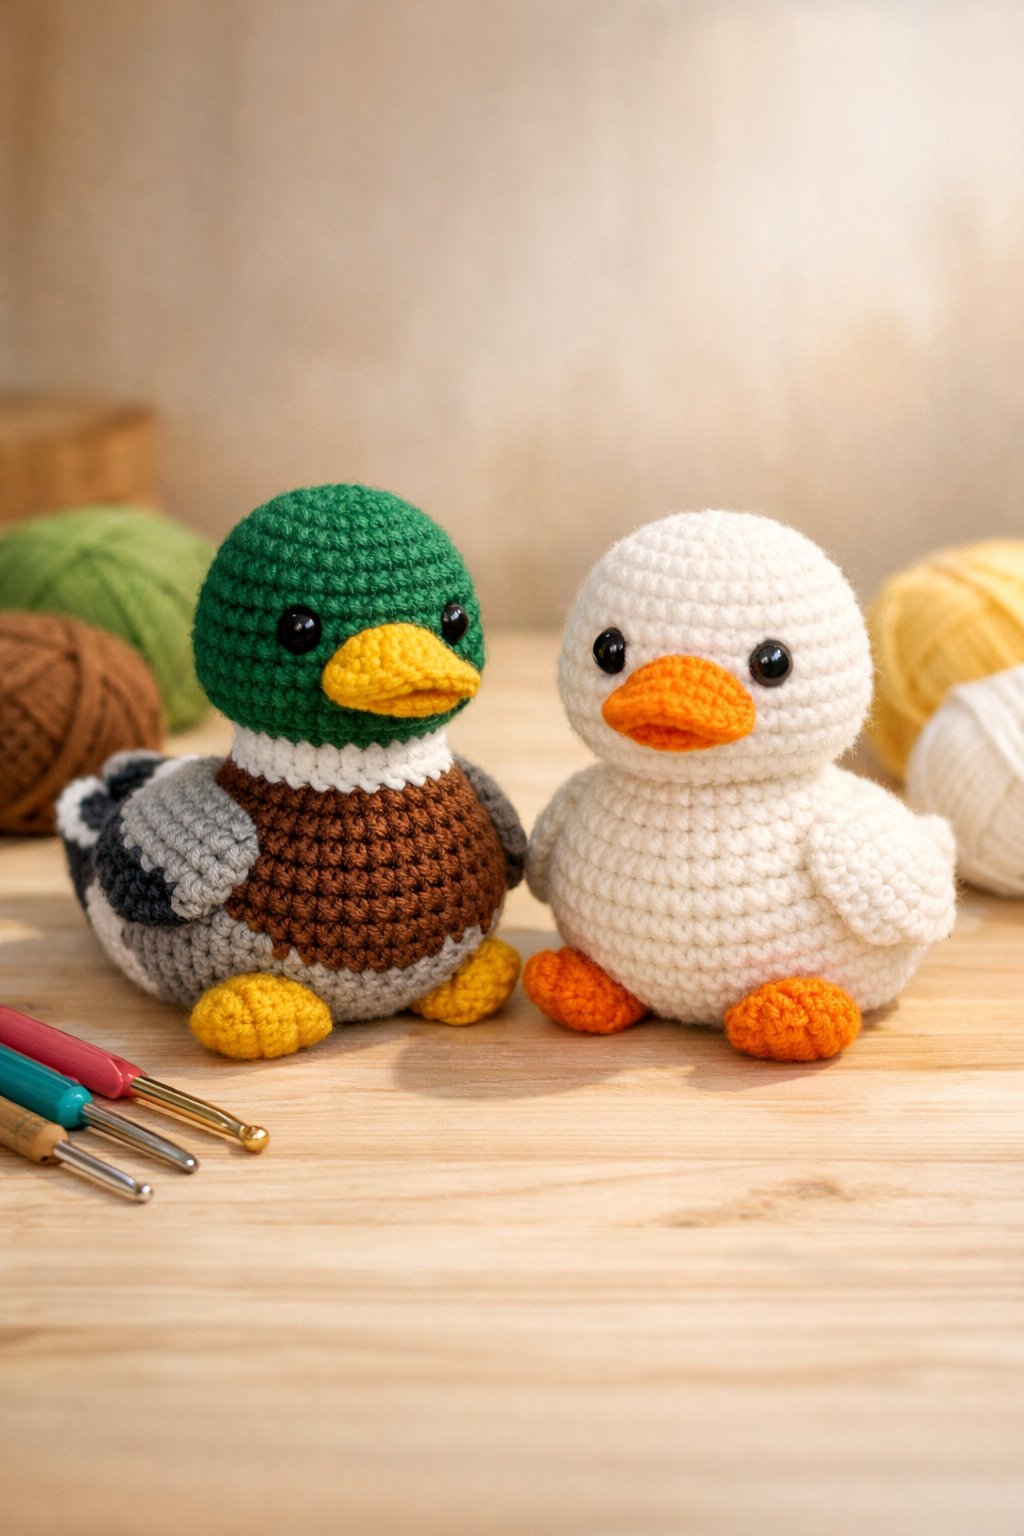
This free pattern covers both Mallard and Pekin ducks. It shows color changes for the head, body, and wings.
The designer adds a full video tutorial. The video walks through stitches, shaping, and assembly at a steady pace.
Clear steps suit beginners and help experienced makers save time. The finished duck stands small and neat, with simple details.
4) Amigurumi Little Duck by Demi Tran (@demiwool)
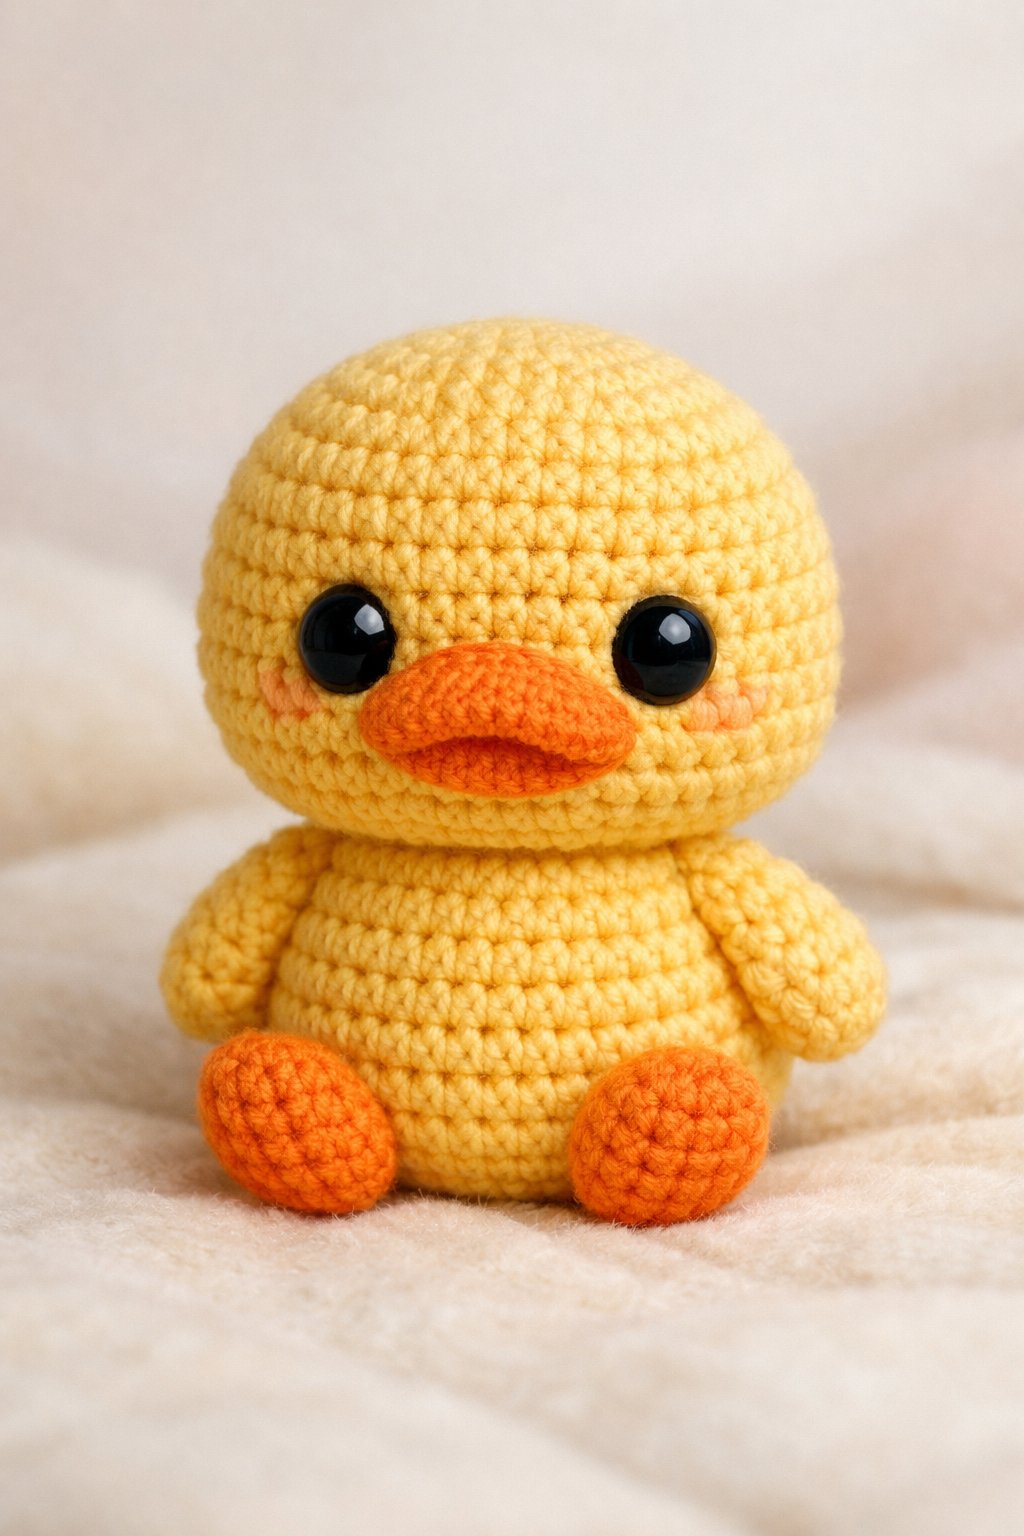
Demi Tran, known as @demiwool, designed this free amigurumi little duck pattern. It features a clean and simple look.
The pattern shapes the head and body in one piece, then adds small parts like wings and a beak. This approach keeps assembly easy.
When made with sport or DK yarn, the duck stands about 8.5 cm tall. The steps suit beginners and focus on basic stitches.
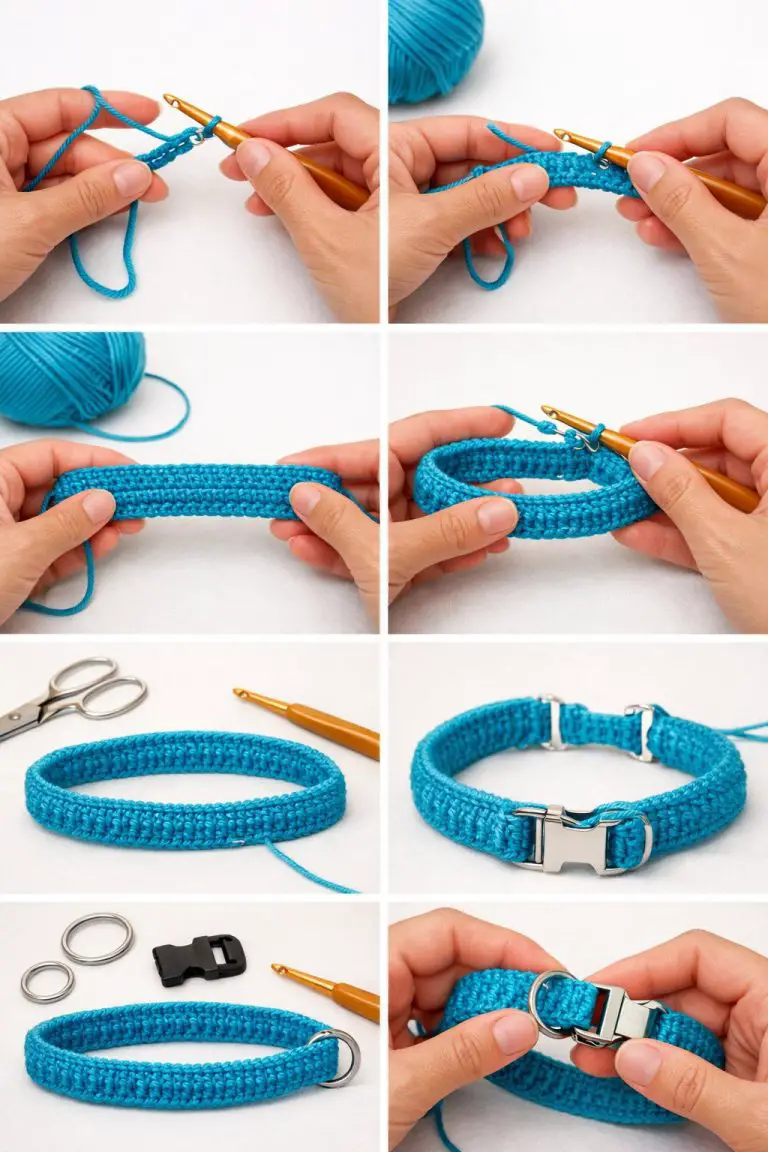
5) Free Basic Duck Amigurumi Pattern with Keychain Tutorial
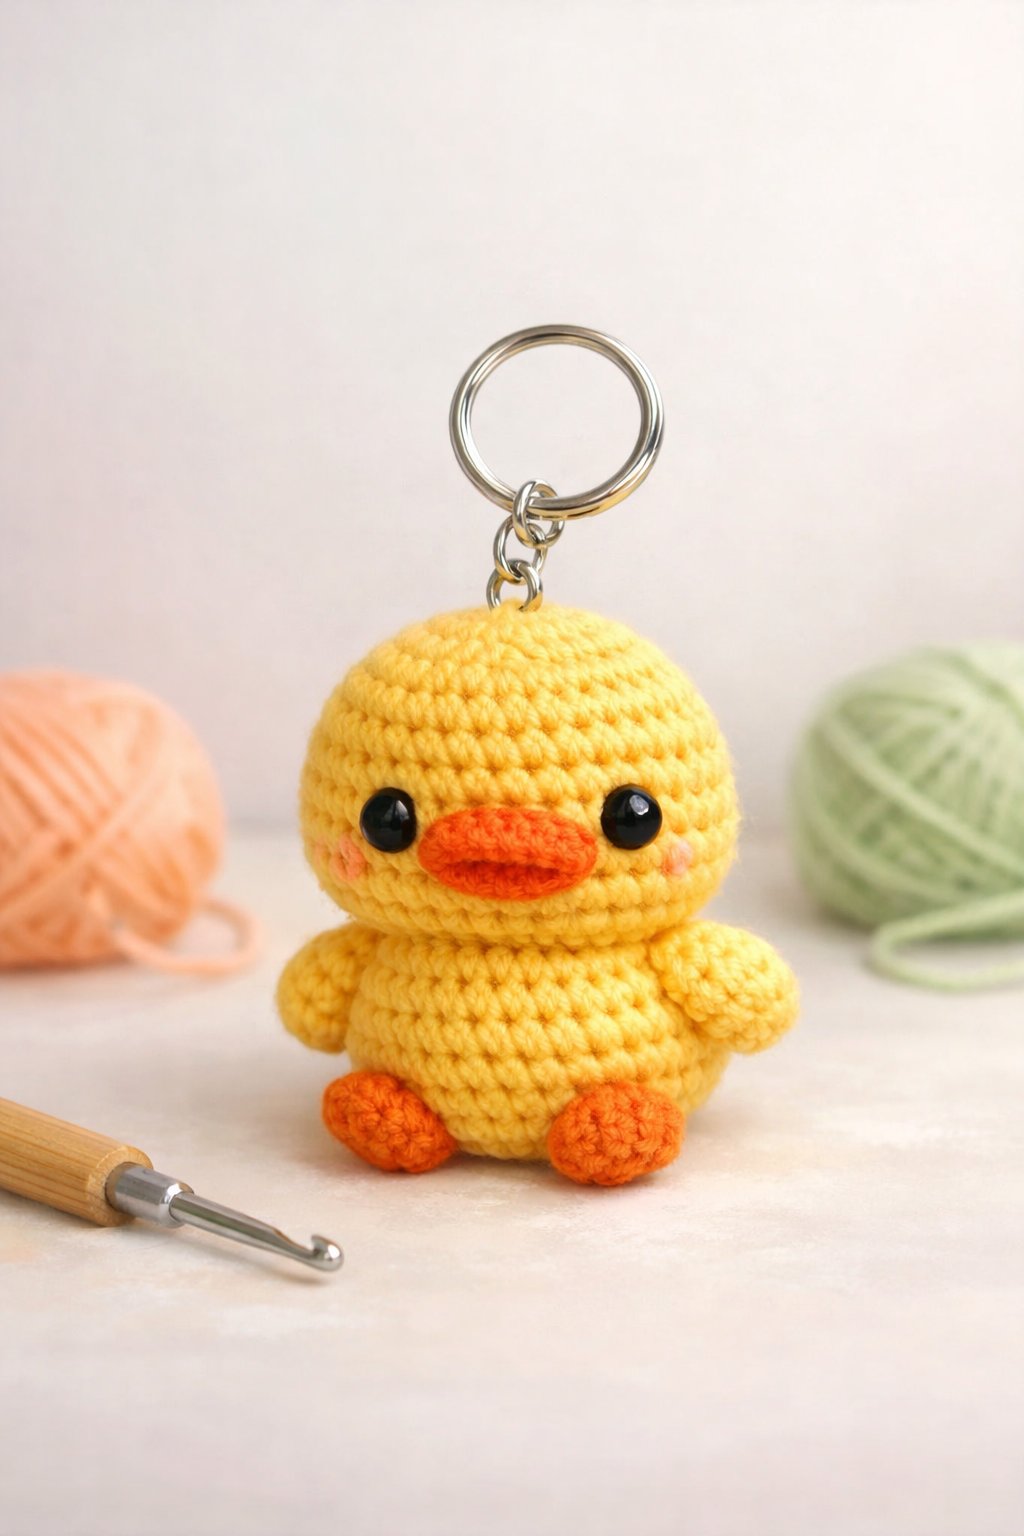
This free basic duck amigurumi pattern uses simple stitches and clear rounds. It suits beginners and works fast.
The keychain tutorial shows how to shape the body, add a beak and wings, and attach eyes. It also explains where to place the loop.
Crafters can use most yarns and a small hook. The finished duck stays small and light for keys.
Essential Materials for Amigurumi Duck Patterns
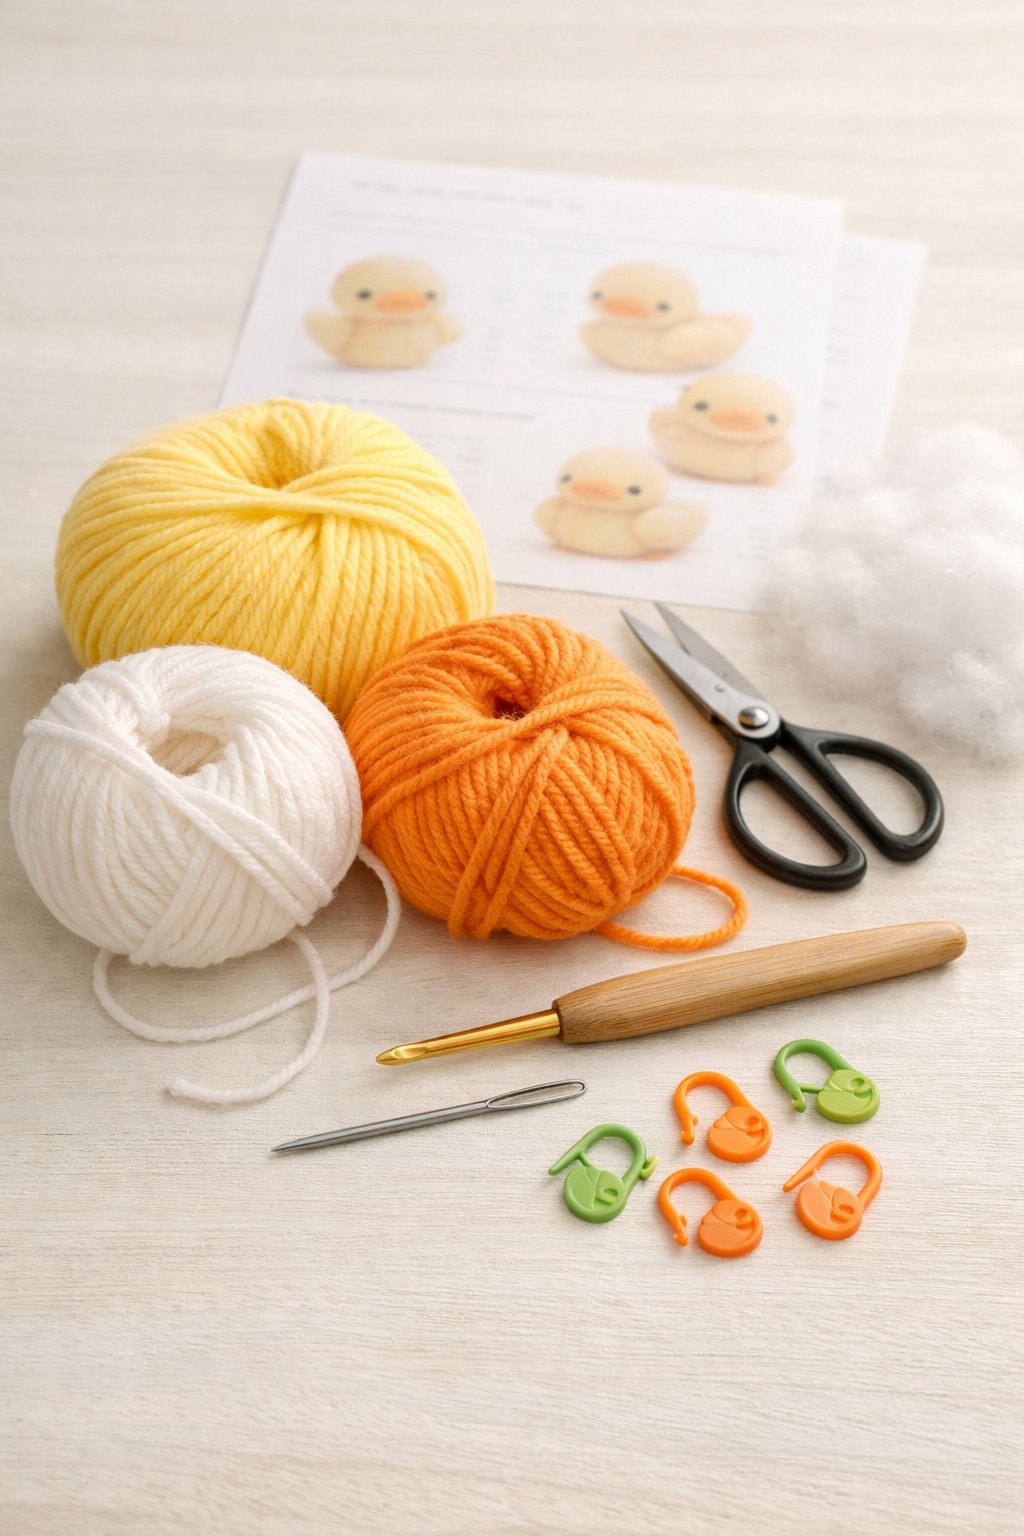
Amigurumi ducks need soft yarn, the right hook size, and a few basic tools. Good material choices help the duck keep its shape, show clean stitches, and feel nice to hold.
Recommended Yarn Types
Crafters often choose worsted weight cotton or acrylic yarn for amigurumi ducks. These yarns hold stitches well and show details like the beak and wings. Cotton gives a firm finish, while acrylic feels lighter and softer.
Some free duck patterns also use plush or velvet yarn. This yarn creates a smooth, fluffy look that works well for baby ducks. It hides stitches, so beginners may find it harder to use.
Common yarn colors include:
- Yellow or white for the body
- Orange for the beak and feet
- Brown or green for mallard-style ducks
Solid colors work best. Variegated yarn can blur small details.
Hook Size Selection
Hook size controls stitch tightness, which matters in amigurumi. Tight stitches keep stuffing from showing through.
Most duck patterns pair these hook sizes with common yarns:
| Yarn Weight | Typical Hook Size |
|---|---|
| DK (3) | 2.5–3.0 mm |
| Worsted (4) | 3.0–4.0 mm |
| Plush yarn | 4.0–5.0 mm |
Crafters usually pick a hook one size smaller than the yarn label suggests. This choice creates dense fabric and strong seams. Consistent tension matters more than speed.
Additional Crafting Tools
A few basic tools make duck projects easier and neater. Most amigurumi makers already own these items.
Essential tools include:
- Fiberfill stuffing for shaping the body and head
- Safety eyes (6–10 mm) or black yarn for stitched eyes
- Yarn needle for sewing parts and weaving ends
- Stitch markers to track rounds
Scissors with a sharp tip help trim yarn cleanly. Some crafters also use pins to place wings and beaks before sewing. These tools improve accuracy without adding complexity.
Tips for Success with Amigurumi Duck Free Patterns

Small choices affect the final duck more than expected. Pattern difficulty and clean assembly shape the size, look, and durability of the finished toy.
Choosing the Right Pattern Difficulty
They should match the pattern to their skill level. Many free duck patterns label skill level as beginner, easy, or intermediate. Beginners do best with patterns that use single crochet only and simple shapes.
Key details to check before starting:
- Stitch types: Look for patterns that use sc, inc, and dec only.
- Parts count: Fewer pieces mean less sewing later.
- Extras: Some patterns include wings, feet, or hats that add challenge.
They should also review the yarn and hook size. Plush yarn hides mistakes but makes stitches harder to see. Smooth worsted yarn works better for learning. A smaller hook than the yarn label suggests helps keep stuffing from showing.
Finishing and Assembly Advice
They should finish each part with tight, even stitches. Loose stitches create gaps, especially around the neck and belly. They must stuff the duck slowly and evenly, using small bits of fiber at a time.
Helpful assembly practices:
- Pin parts first: Pins help place wings, beak, and feet evenly.
- Count rows: Matching row numbers keeps both sides level.
- Secure ends: Weave in yarn tails inside the body, not across seams.
Eyes need extra care. Safety eyes must go in before stuffing the head. For child-safe toys, stitched eyes reduce risk. Clean joins and firm stuffing give the duck a neat, stable shape.