Amigurumi Crochet Cute Little Cat Pattern: 6 Adorable Designs for Beginners
Amigurumi crochet brings small yarn animals to life, and the cute little cat stands out as a favorite. This article explores how these patterns fit many skill levels and styles, from simple shapes to playful details.

It shows how a small cat pattern can turn basic stitches into a finished toy, gift, or keychain with clear steps and smart finishing choices. The content moves through easy options, quick projects, tool basics, and clean final touches that help each cat look neat and complete.
Amigurumi Crochet Cute Little Cat Pattern
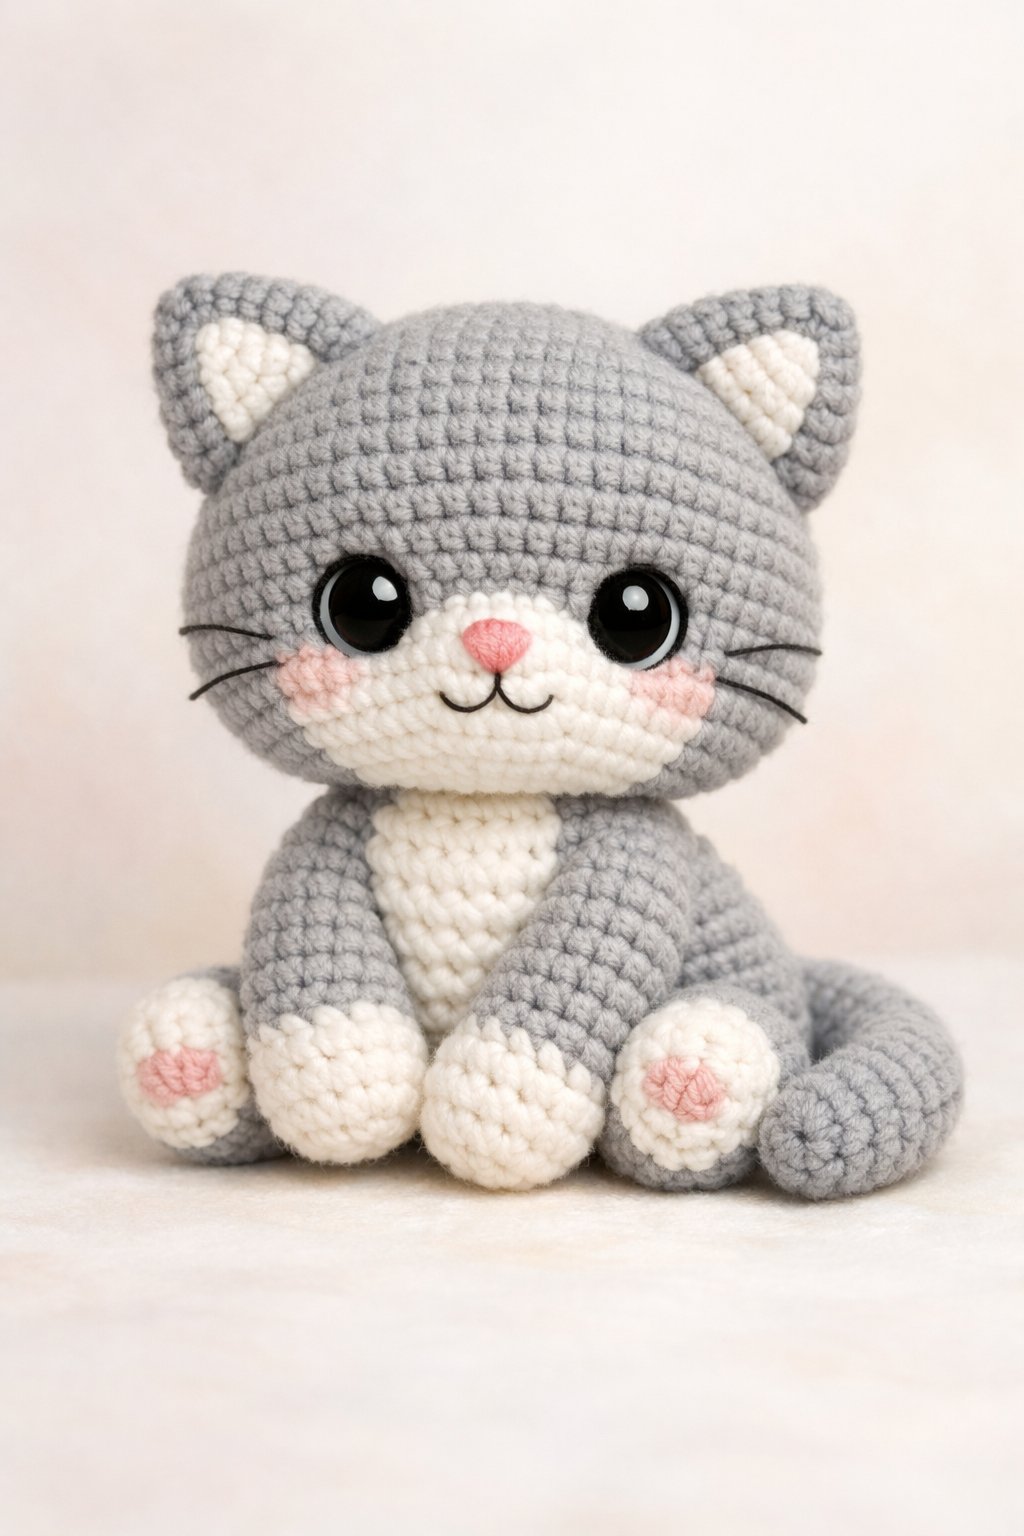
The amigurumi crochet cute little cat pattern creates a small, soft toy with simple shapes. It suits beginners and experienced makers who want a quick project. Many free patterns online show clear steps and photos.
This type of cat often uses basic stitches like single crochet, increases, and decreases. Makers work in the round to form the head and body. Most designs keep details minimal to reduce sewing time.
Common features include:
- Small size for desks, shelves, or gifts
- Round head with stitched eyes and nose
- Short legs and tail made as separate pieces or in one piece
Many patterns finish in under an hour, especially mini versions. Some designs work well as keychains or bag charms. Others focus on a slightly larger toy for play or décor.
Typical materials
| Item | Notes |
|---|---|
| Yarn | Light or medium weight works best |
| Hook | Match the yarn for tight stitches |
| Stuffing | Use fiberfill for a soft shape |
| Needle | Needed for sewing parts and details |
Designers often offer step-by-step written guides, and some include videos. These guides help keep stitch counts correct and shapes even. The result is a neat, cute cat with a clean finish.
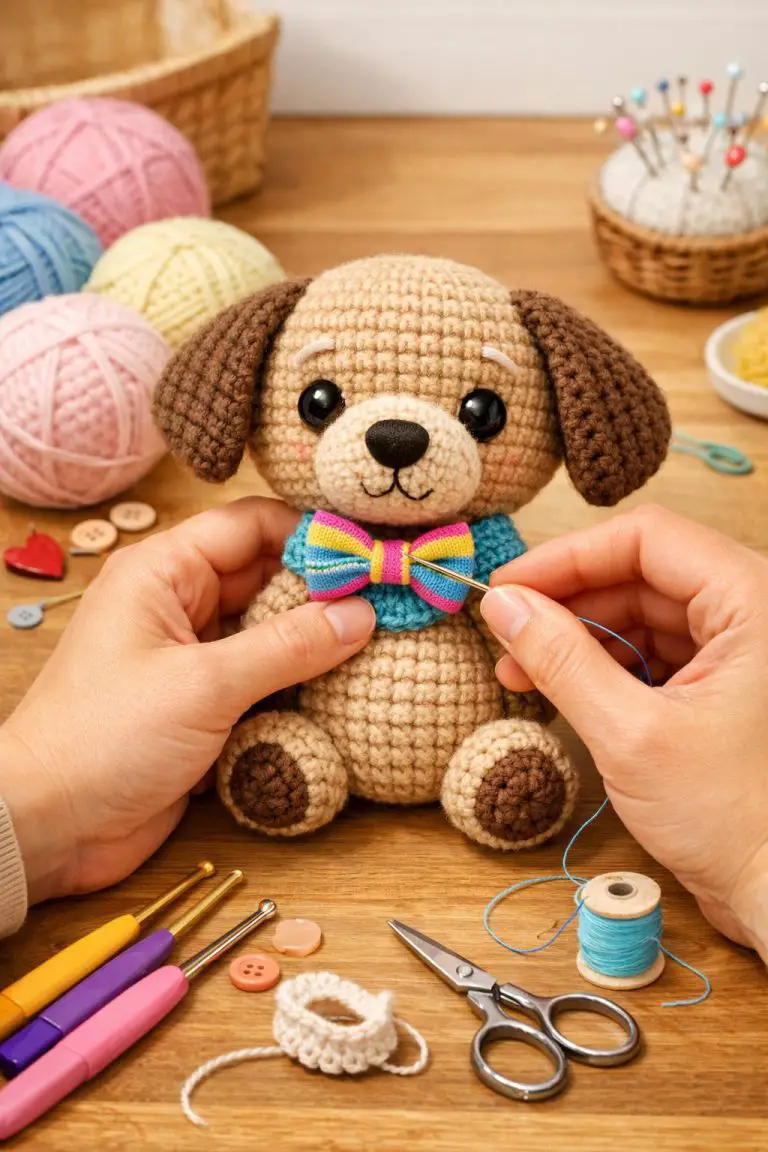
How to Crichet Amigurumi Crochet Cute Little Cat Pattern
They start by gathering basic supplies: light yarn in white, pink, and blue; a crochet hook that matches the yarn; fiber fill; and 8 mm safety eyes. They work in a continuous spiral and use simple stitches like single crochet, increases, and decreases.
Common stitch terms
| Term | Meaning |
|---|---|
| MR | Magic ring |
| Sc | Single crochet |
| Inc | Increase |
| Dec | Decrease |
| Slst | Slip stitch |
They crochet the legs first with white yarn. Each leg begins in a magic ring, grows with increases, and then works even. They finish the first leg and repeat for the second, leaving the yarn attached to join both legs.
They form the body by chaining between the legs and crocheting around both pieces. They switch colors partway to add a soft band detail. They shape the body with steady increases and later decreases, then stuff it firmly before closing.
They make the arms as small tubes, change color near the top, and leave them unstuffed. They flatten and sew the tops closed for a clean look.
They build the head as a round shape with gradual increases, place the eyes at mid-height, and then stuff it before closing. They crochet flat ears, fold them, and stitch them in place.
They finish with a simple hat, then sew all parts together. They stitch a small mouth and glue a felt heart to the body.
1) Beginner-Friendly Amigurumi Cat Crochet Pattern
This pattern suits beginners who want a simple and clear project. It uses basic stitches and common tools, so most new crocheters can start without extra supplies.
Many free patterns focus on small cat shapes with few parts. This reduces sewing time and helps keep the steps easy to follow.
Instructions often include clear stitch counts and simple shaping. Some also add photos or videos, which support learners as they build confidence and improve control.
2) Mini Crochet Cat Keychain Pattern
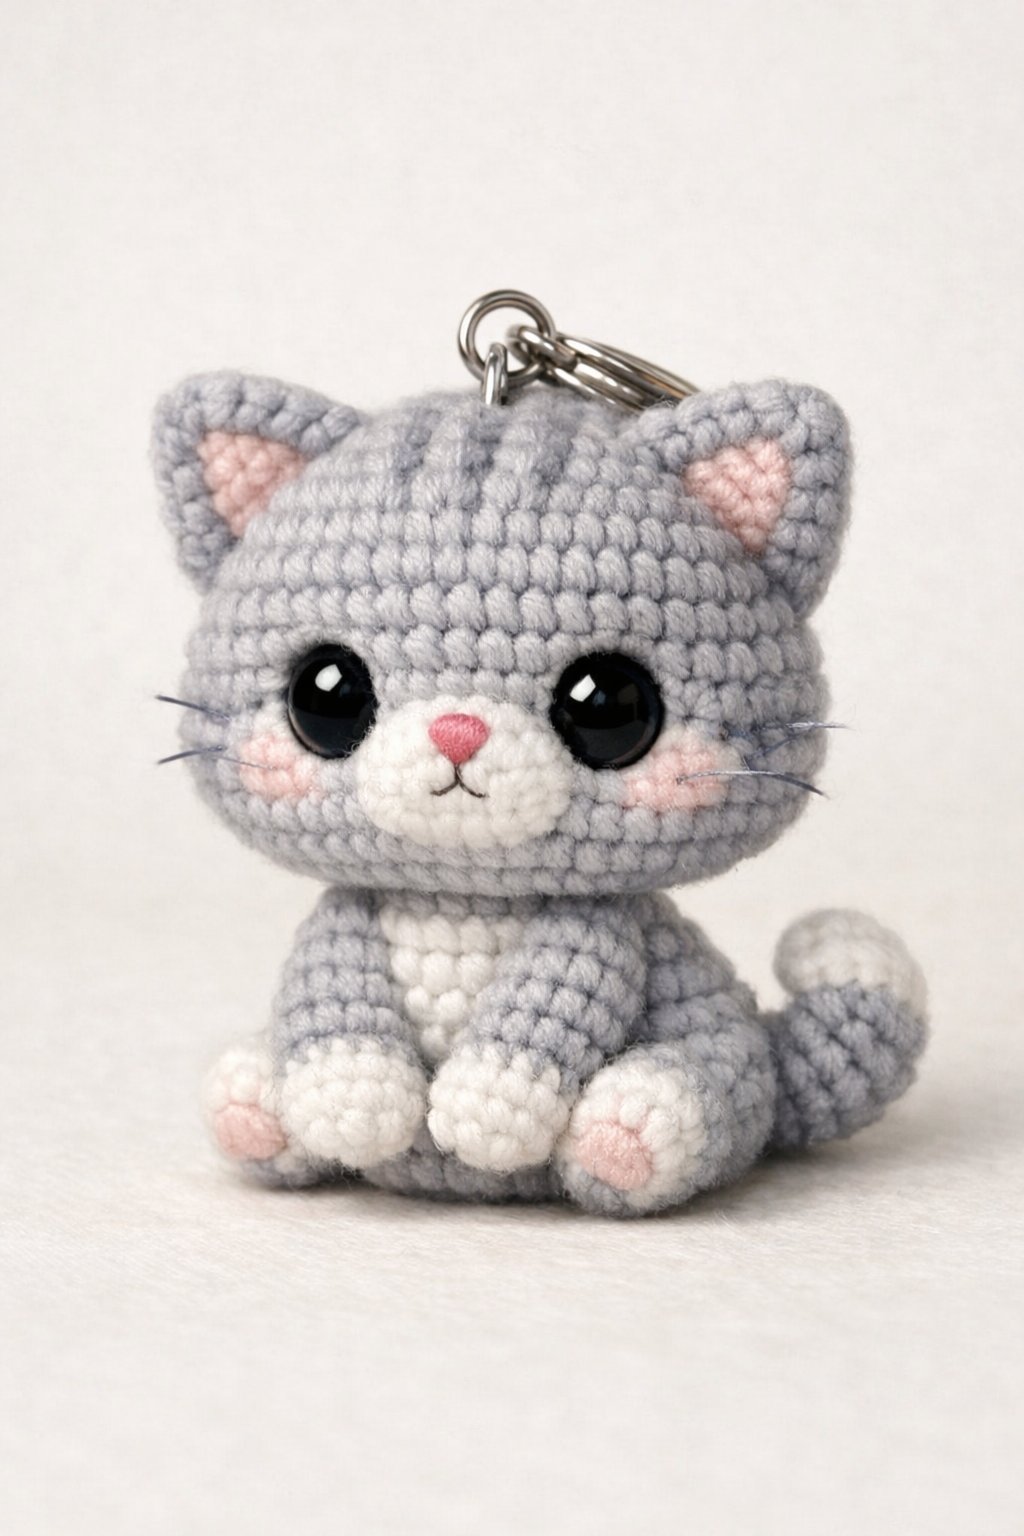
This pattern creates a small amigurumi cat sized for a keychain or bag charm. It uses basic stitches and simple shaping, which suits beginners and quick projects.
The design often works in continuous rounds with tight stitches. Makers add small details like ears, a tail, and stitched eyes to keep the piece secure.
The finished cat stays light and durable. A metal keyring attaches at the top, making it easy to carry or gift.
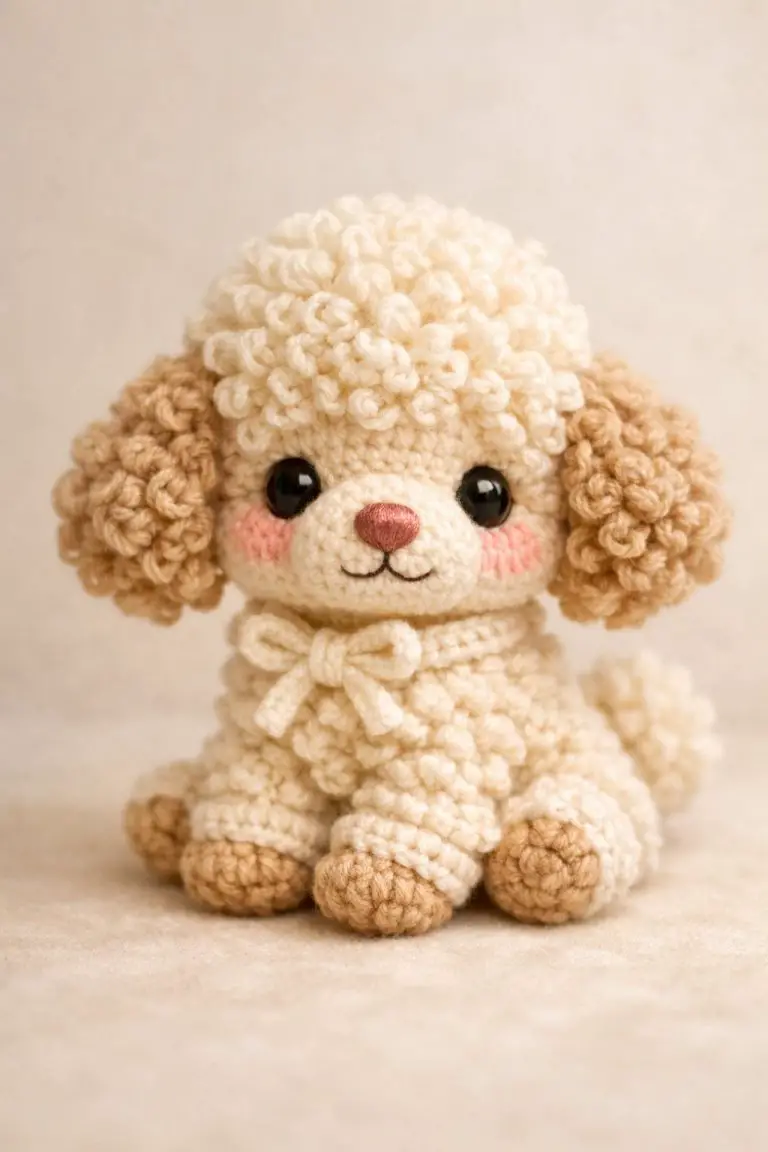
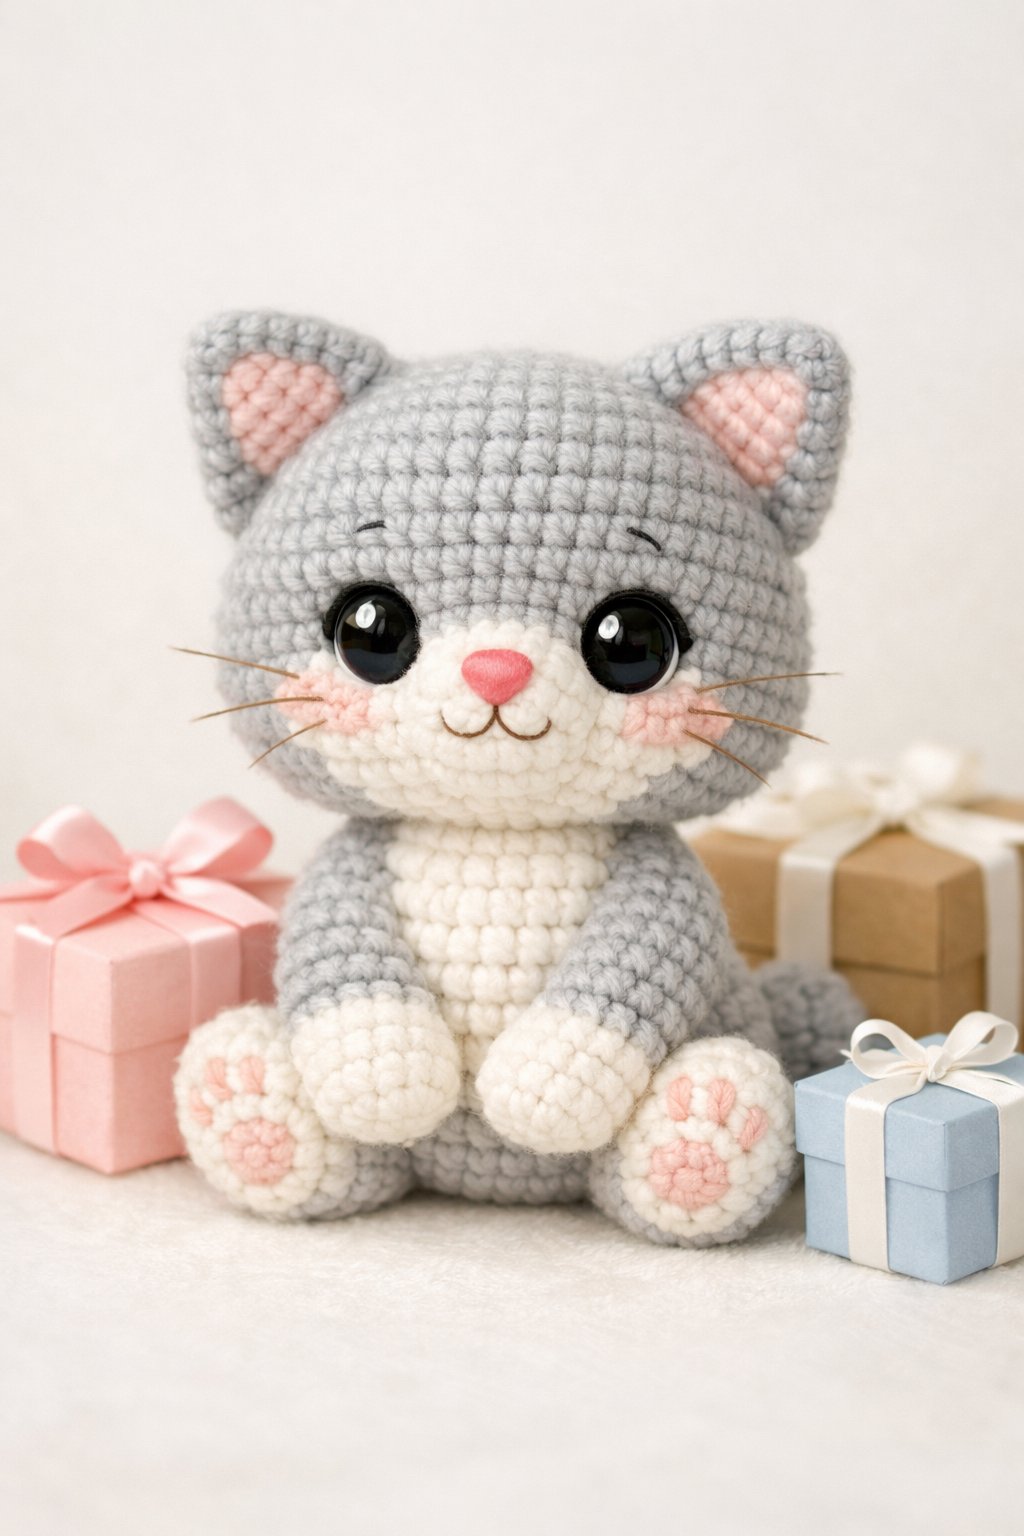
3) Little Cat Amigurumi with Accessories
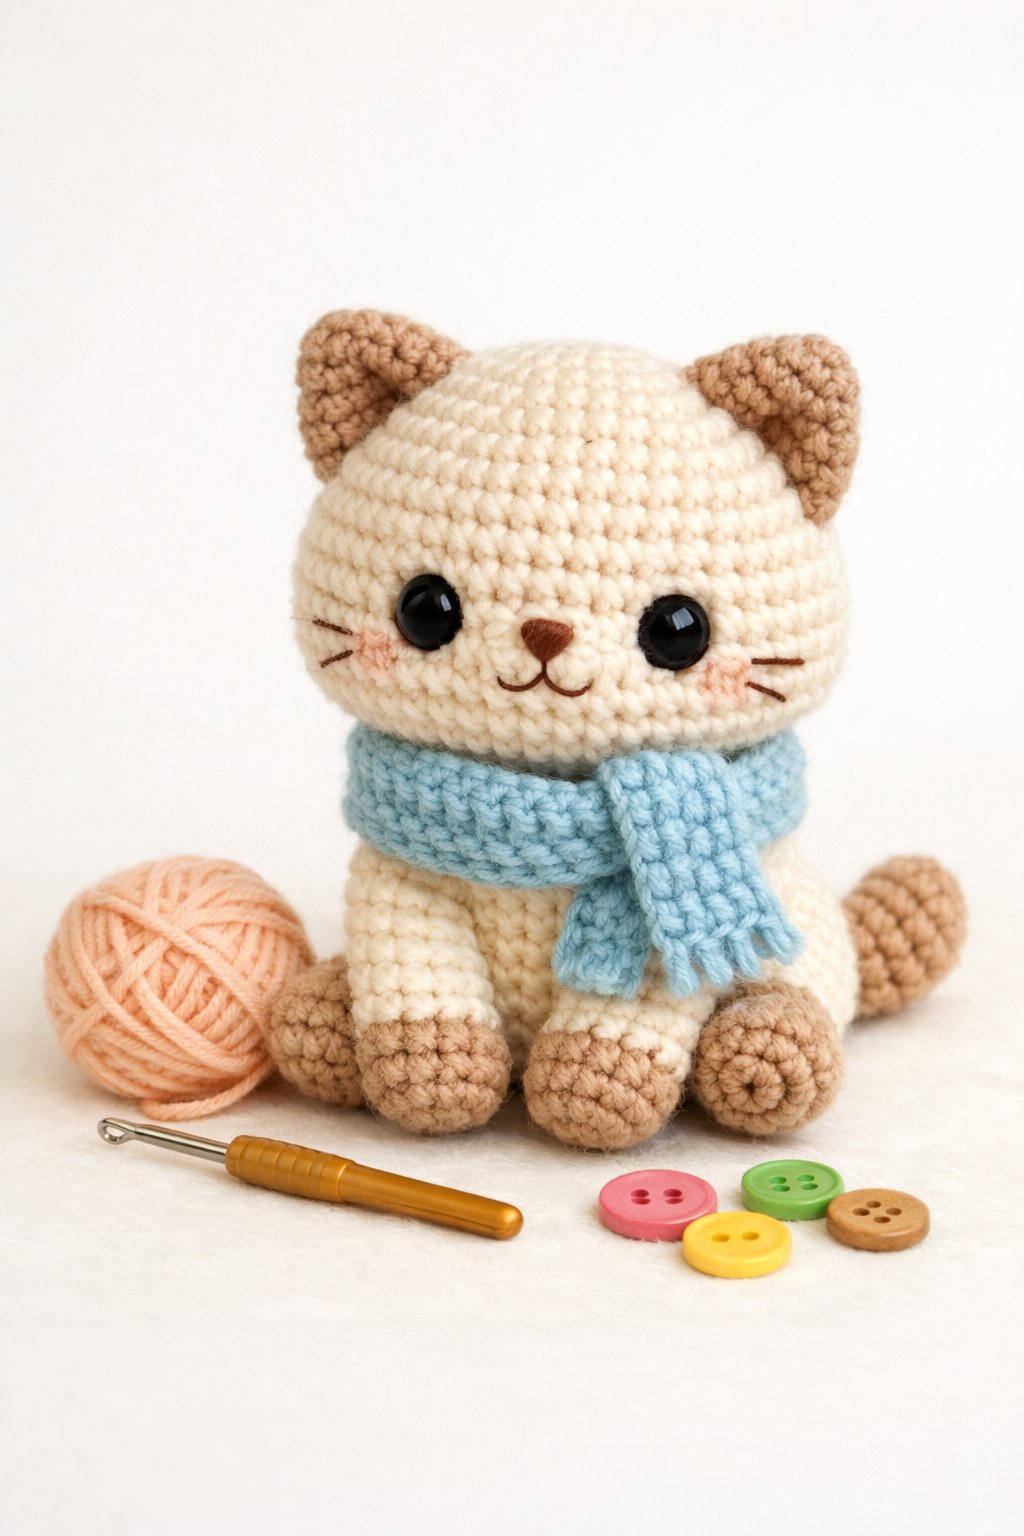
This version adds small accessories to a basic little cat amigurumi. Common items include scarves, tiny hats, bows, or collars. These pieces use simple stitches and small yarn scraps.
Many patterns also turn the cat into a keychain or bag charm. The maker adds a loop or ring at the top of the head. This change keeps the body small and firm.
Accessories allow easy color changes and light customization. They also help match the cat to seasons, gifts, or personal style.
4) No-Sew Amigurumi Cat Pattern
A no-sew amigurumi cat pattern builds the body, head, and limbs in one piece. This approach limits assembly and reduces loose parts.
Many patterns use simple stitches and clear rounds. They suit beginners who want steady progress and fewer steps.
Designers often shape ears and tails during the main rounds. Makers can finish the cat quickly and keep the look clean and tidy.
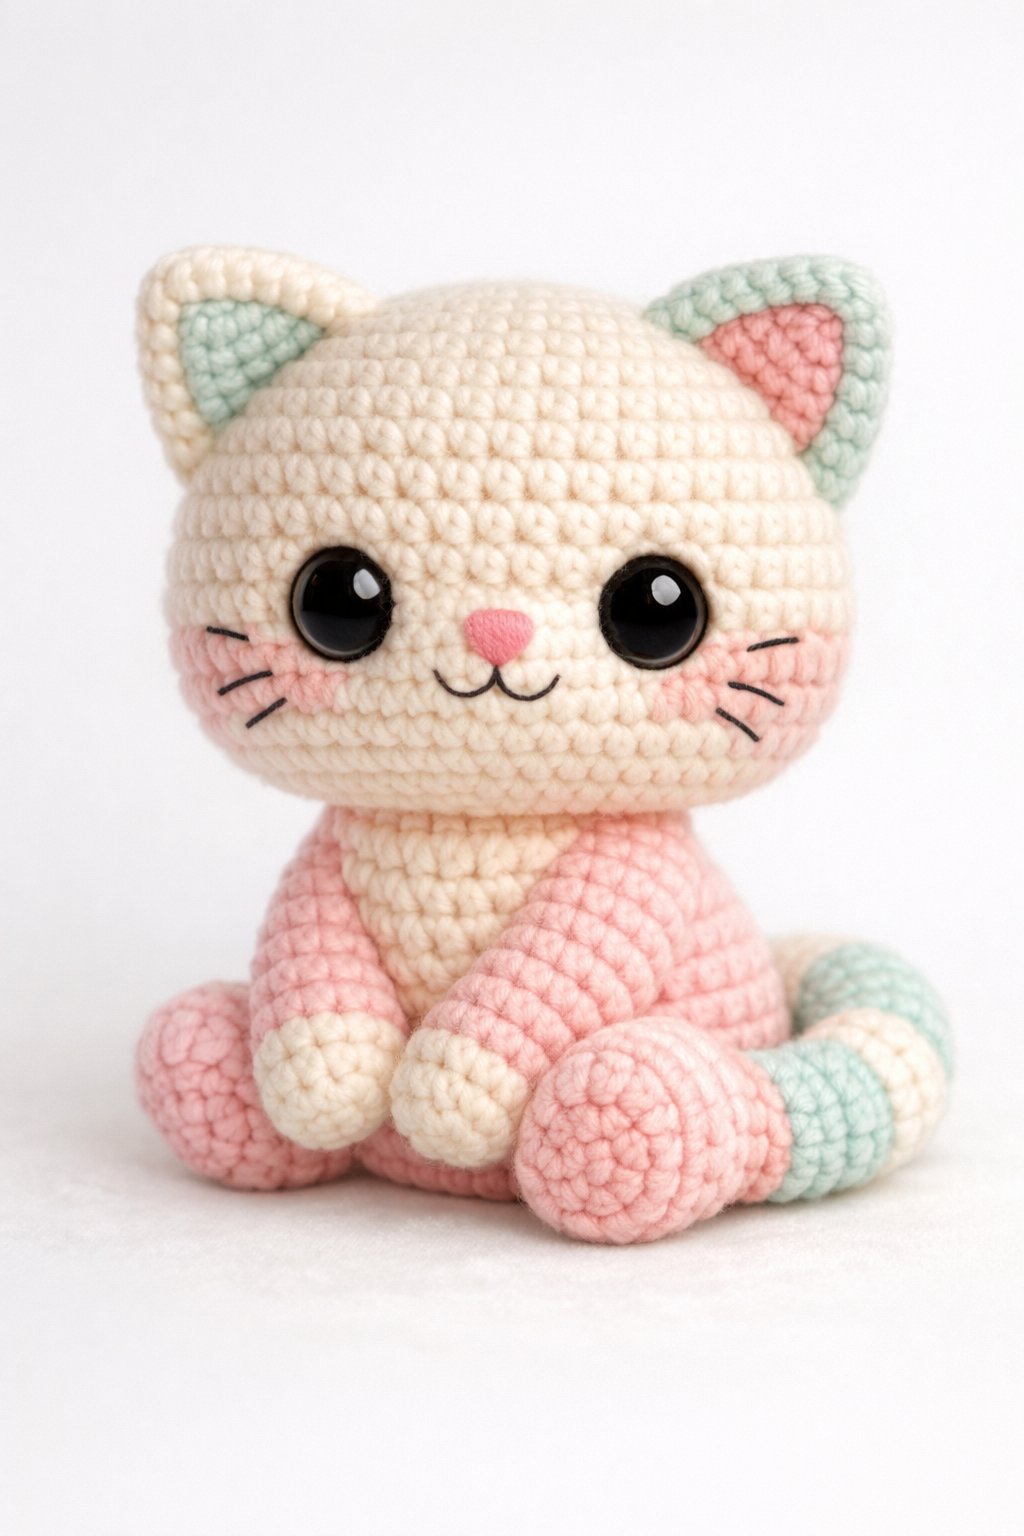
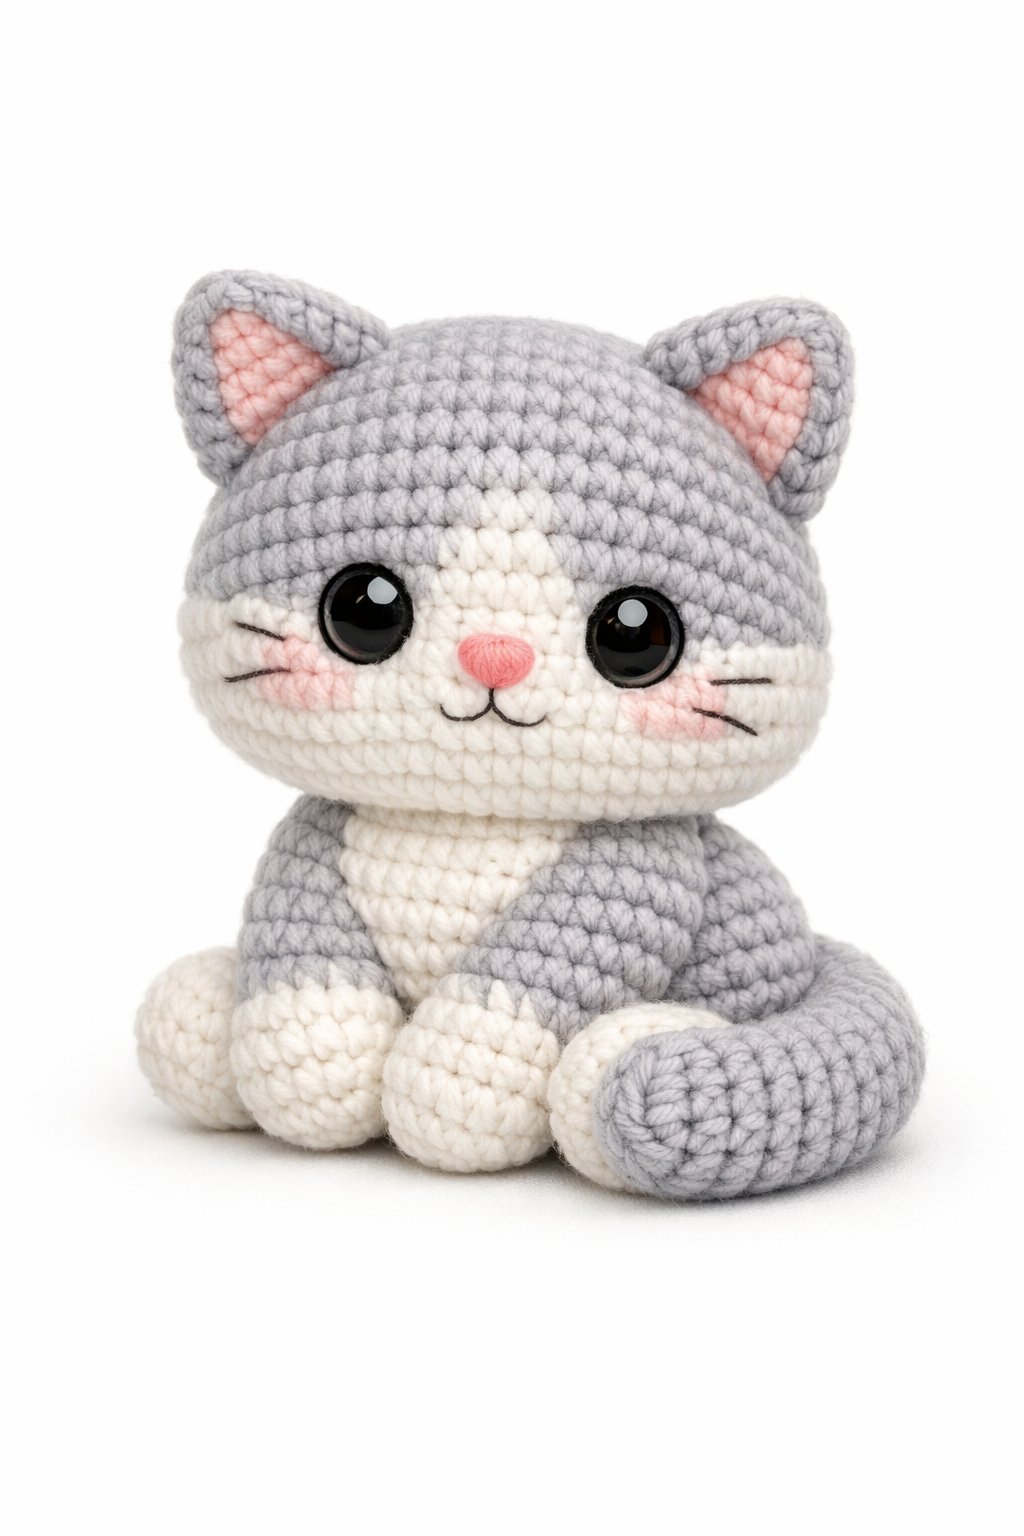
5) Crochet Cat Plush Toy Pattern
This crochet cat plush toy pattern creates a small, soft amigurumi cat. The finished toy works well as a gift, shelf decor, or a child’s plush. Makers often choose cotton or acrylic yarn for a smooth finish.
Many patterns keep the shape simple with a round head and short limbs. Some designs use low-sew parts to save time and reduce mistakes. Clear stitch counts help beginners stay on track.
The size stays compact, usually fitting in one hand. Crafters can change colors, eyes, or tails to customize the look.
6) Quick Crochet Mini Cat for Gifts
Crafters often choose a quick crochet mini cat when they need a fast gift. The small size keeps the project simple and easy to finish in one sitting.
Many mini cat patterns use basic stitches and little sewing. Some designs even skip sewing altogether, which helps save time and reduce mistakes.
These cats work well as keychains, bag charms, or small desk toys. Makers can change colors or add tiny details to match the person receiving the gift.
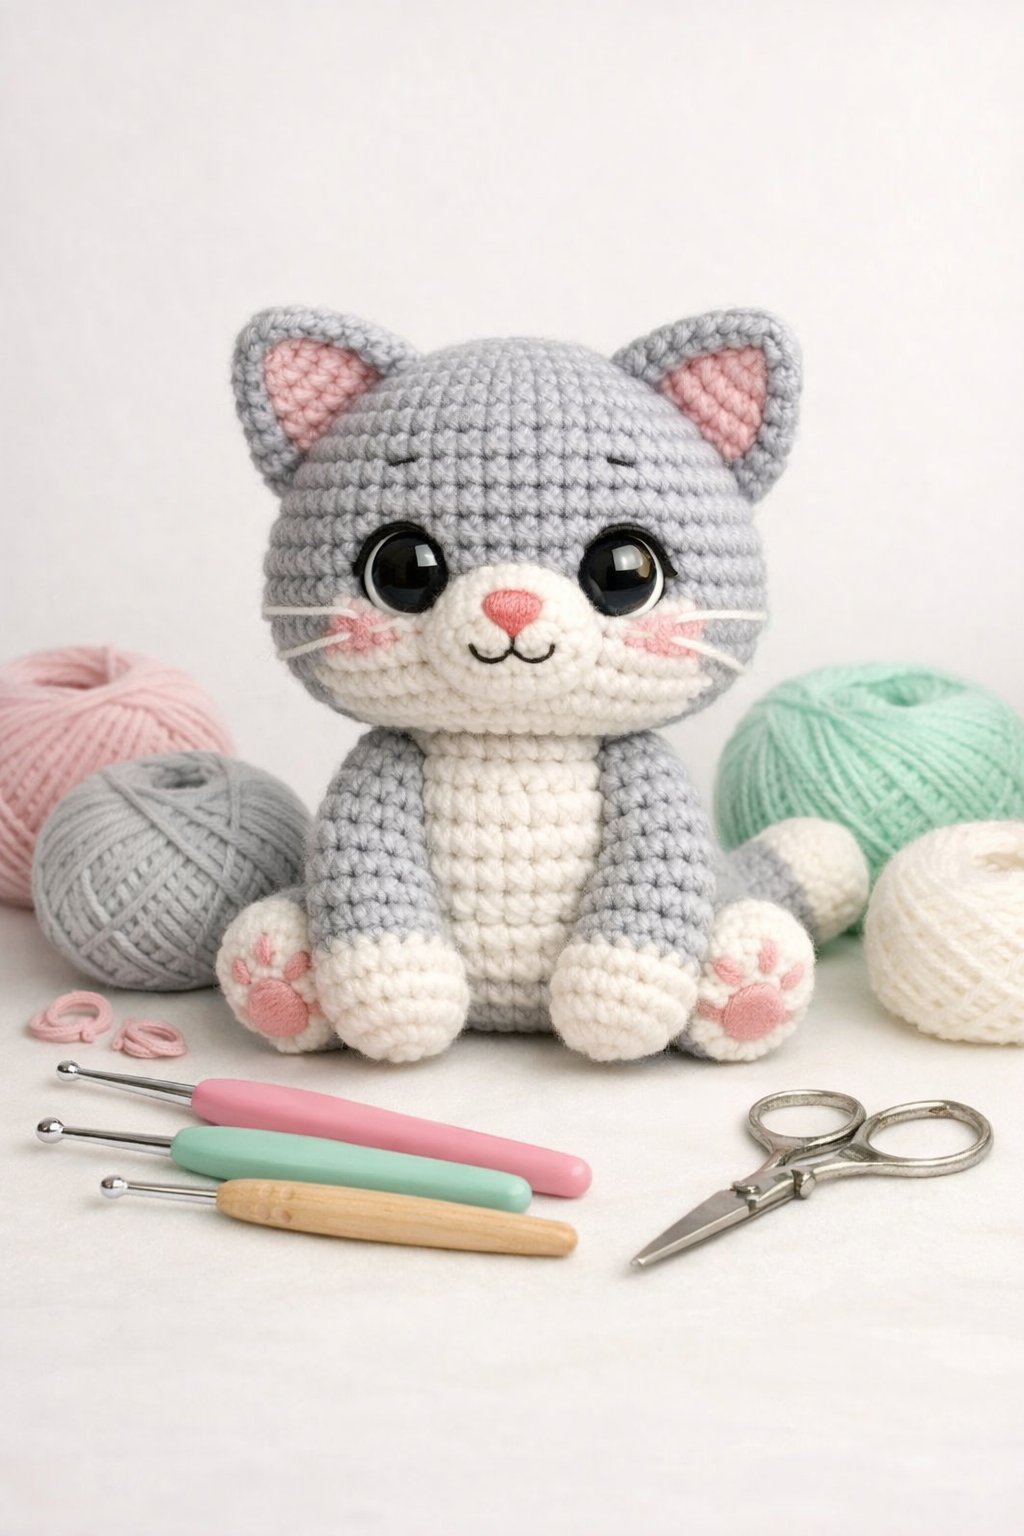
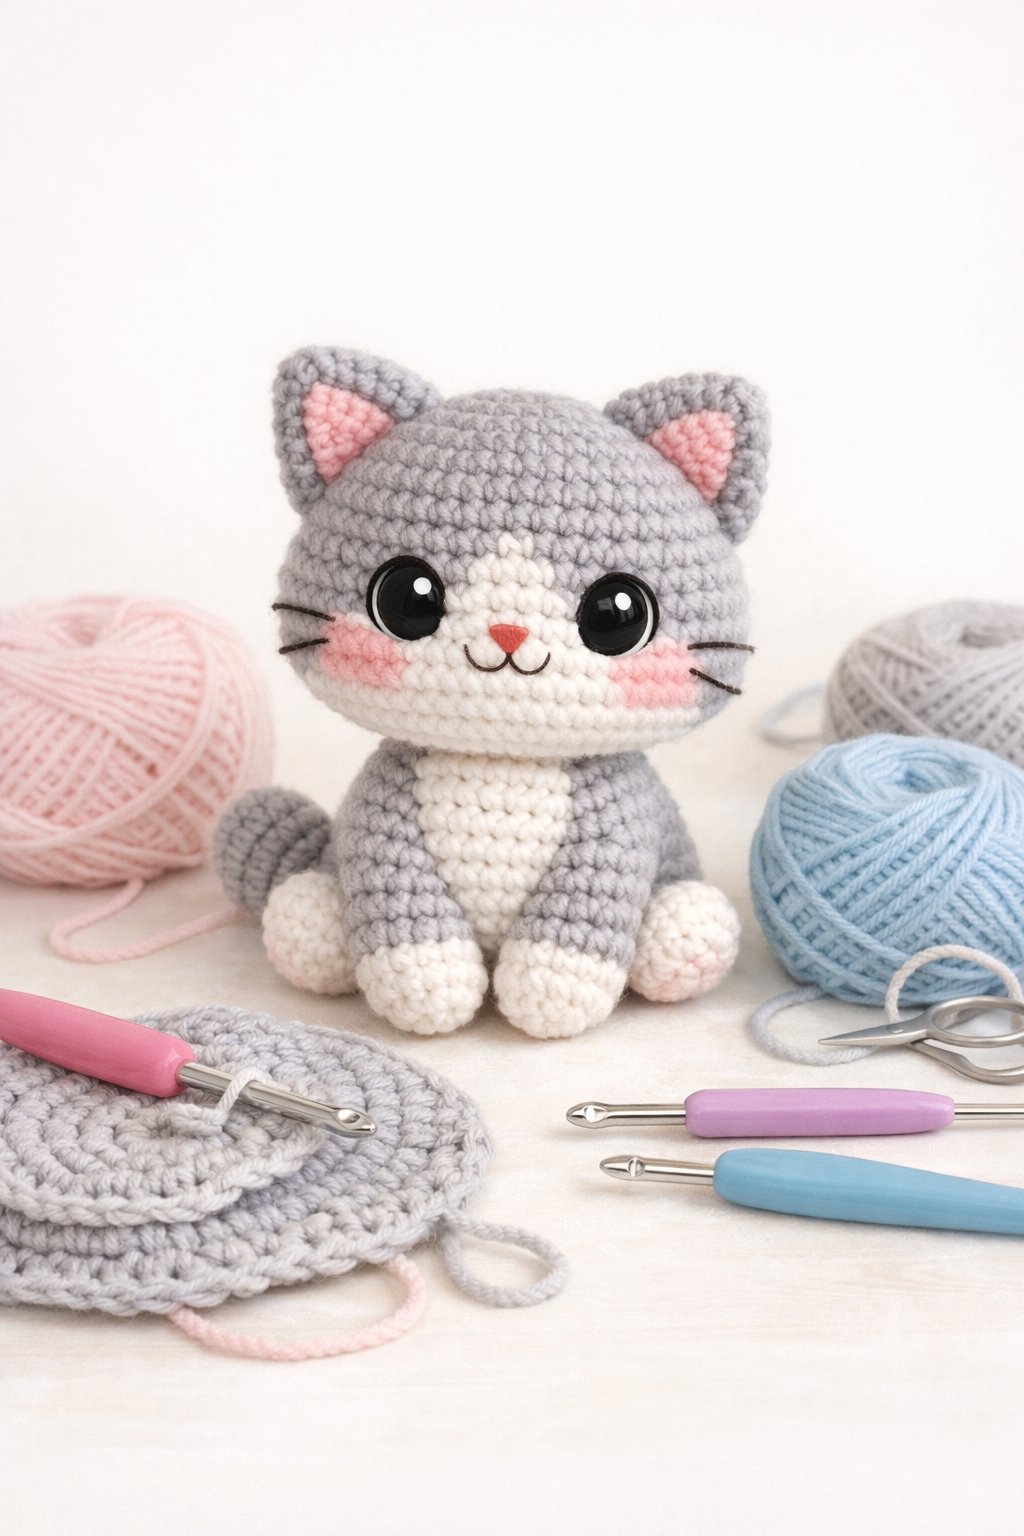
Essential Materials and Tools
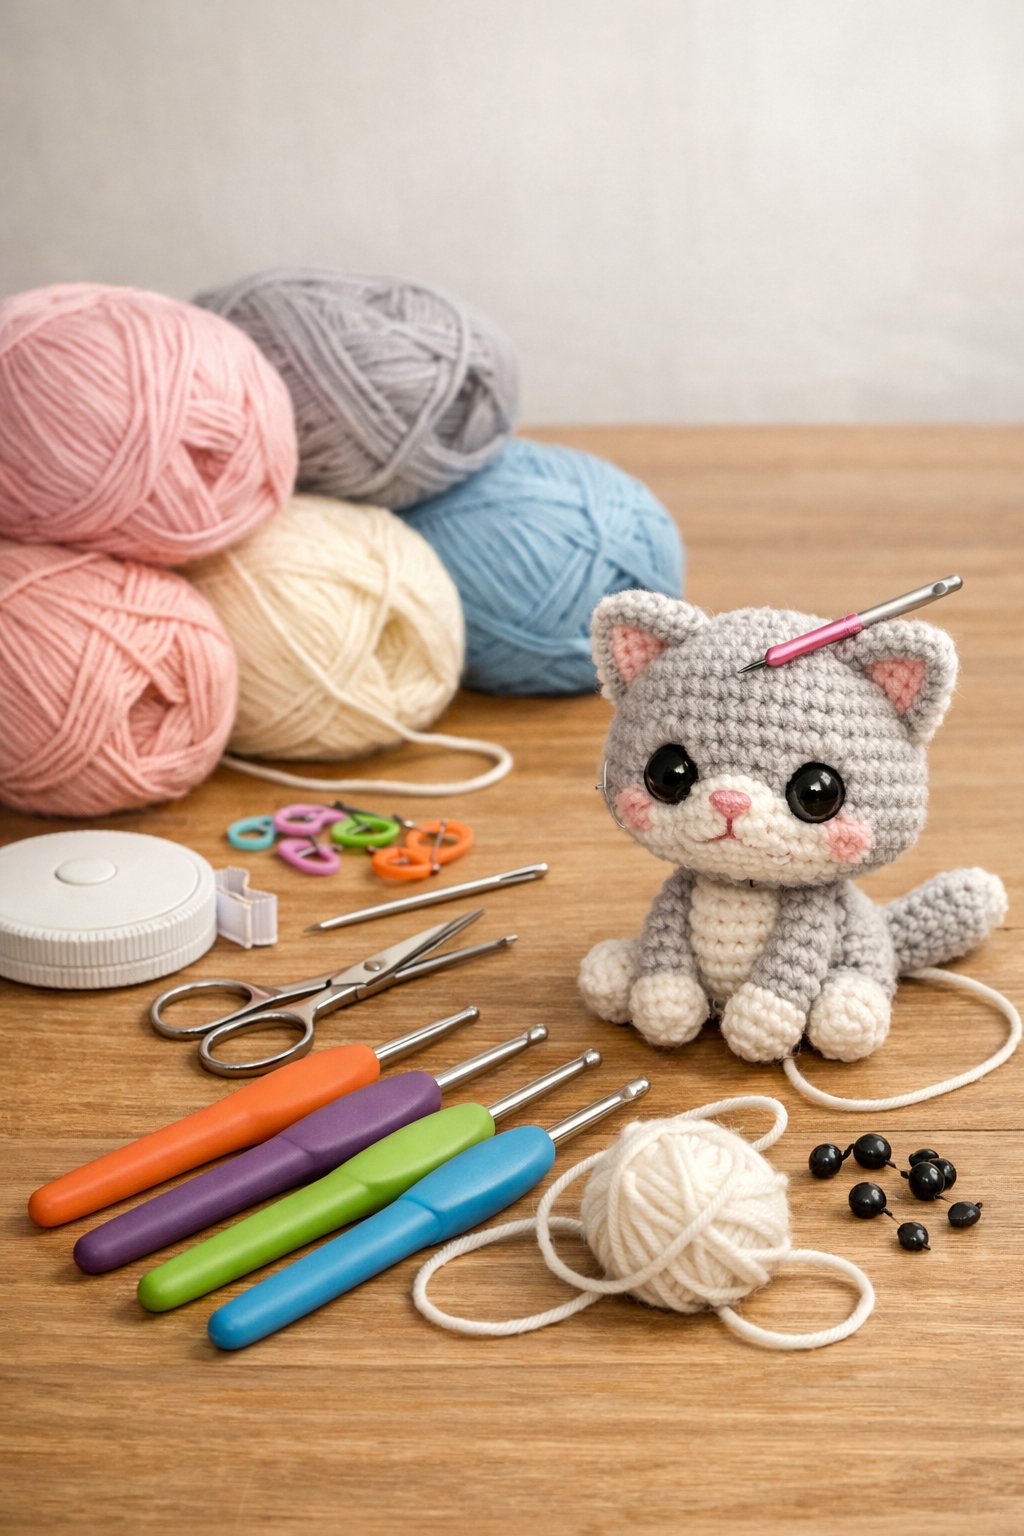
A small amigurumi cat needs the right yarn, hook, and finishing supplies to keep its shape and details clear. Careful choices help the stitches look tight, the face stay safe, and the toy last through handling.
Recommended Yarn Types
Most crocheters use medium-weight (worsted) acrylic or cotton yarn for a small cat. These yarns hold stitches well and show simple shapes clearly. Acrylic costs less and comes in many colors. Cotton feels firm and keeps clean edges.
Avoid fuzzy or textured yarn for this project. Those fibers hide stitches and make shaping harder. Smooth yarn works best for beginners and experienced makers alike.
Neutral shades like gray, cream, or brown suit classic cats. Bright colors also work for playful designs. One skein usually covers the body, head, and tail.
Helpful tips
- Choose yarn with a tight twist
- Use one solid color for a clean look
- Save small amounts of pink or white for ears and details
Best Crochet Hooks for Amigurumi
Amigurumi needs tight stitches to stop stuffing from showing. Most patterns suggest a hook smaller than the yarn label recommends. This keeps the fabric dense and firm.
For worsted yarn, many makers use a 2.75 mm to 3.5 mm hook. Hand tension varies, so comfort matters. A hook with a soft grip reduces hand strain during long sessions.
| Yarn Weight | Common Hook Size |
|---|---|
| Worsted | 2.75–3.5 mm |
| DK | 2.25–3.0 mm |
Metal hooks glide smoothly. Bamboo hooks offer more control. Either works if the stitches stay tight and even.
Safety Eyes and Stuffing Options
Safety eyes give the cat a clean, finished face. Sizes from 6 mm to 9 mm suit small heads. Always place eyes before stuffing and closing the head.
For children under three, skip safety eyes. Embroidered eyes made with black yarn provide a safer option.
Polyester fiberfill remains the most common stuffing. It stays light, washable, and easy to shape. Add stuffing in small amounts and press it into place.
Some makers use cotton scraps or wool stuffing. These work, but they can feel firmer. Avoid overstuffing, which can stretch stitches and change the cat’s shape.
Finishing Techniques for Amigurumi Crochet Cats

Clean finishing gives an amigurumi cat a neat shape and a friendly face. Strong sewing, careful stitching, and small details help the toy last and look balanced.
### Sewing Body Parts Securely
They should attach parts after shaping and stuffing each piece evenly. Use the same yarn as the project to keep color and texture consistent. A yarn needle with a blunt tip works best.
Pin the head, ears, tail, and legs in place before sewing. This step helps check balance and posture. Adjust until the cat sits straight and looks even from all sides.
Use a whip stitch or mattress stitch for clean seams. Pull the yarn firm but not tight. Tight stitches can pucker the fabric.
Helpful tips
- Sew through both loops for strength.
- Knot inside the body to hide ends.
- Add a few extra stitches at stress points like the neck.
### Embroidering Facial Features
They should embroider the face after attaching the head. This order helps place the eyes and nose at the right height. Use embroidery floss or thin yarn for clean lines.
Mark eye spots with pins first. Keep both eyes level and spaced evenly. Small changes can affect the cat’s expression.
Stitch eyes with simple satin stitches or French knots. A small triangle or straight stitch works well for the nose. Add a short line for the mouth.
Face placement guide
| Feature | Common Placement |
|---|---|
| Eyes | Between rounds 6–8 |
| Nose | Centered below eyes |
| Mouth | One short stitch down |
### Adding Personal Touches
They can add details to make each cat unique. Small changes work better than large add-ons. Keep the design simple to match the amigurumi style.
Try color changes on the ears, paws, or tail tip. Use surface crochet or embroidery for stripes or spots. These details stay flat and do not add bulk.
Accessories should stay secure and safe. Sew on bows, collars, or scarves instead of gluing them.
Simple ideas
- Blush with soft yarn stitches on cheeks
- Whiskers with straight embroidery lines
- A tiny bell stitched into a collar