Amigurumi Corgi Crochet Pattern Ideas for 5 Adorable Handmade Creations
If you love corgis and crochet, you can turn yarn into a small, charming dog that fits in your hand. Amigurumi corgi patterns let you create cute gifts, desk toys, or keepsakes that show off your skills.
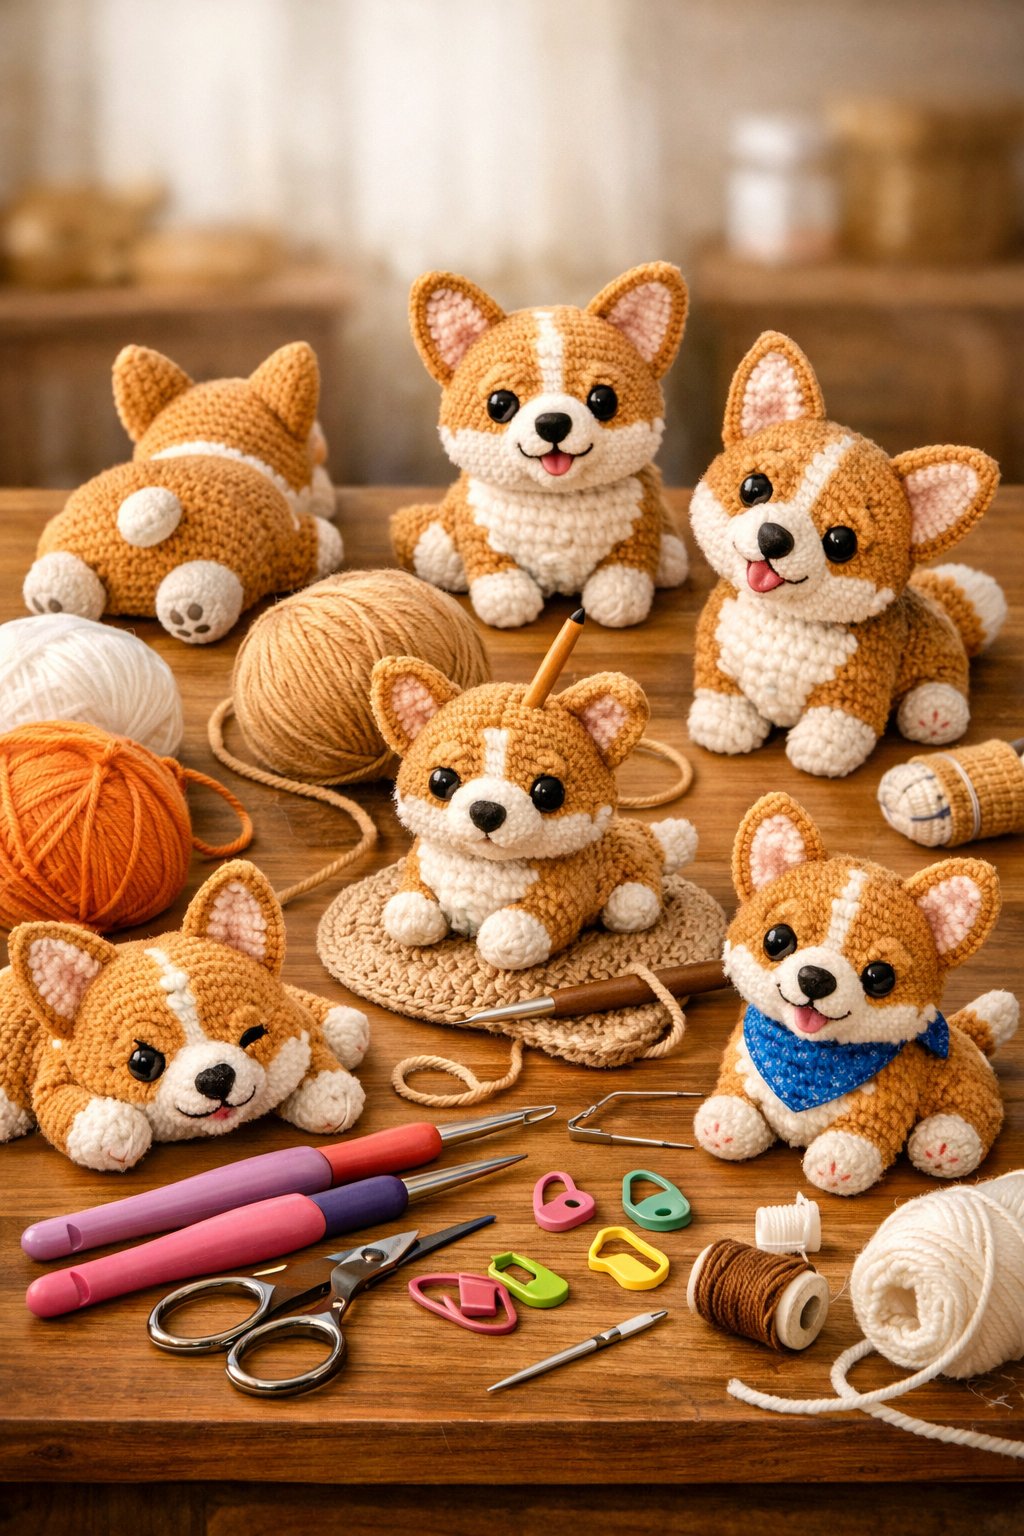
You will discover a range of amigurumi corgi crochet pattern ideas, from beginner-friendly designs to detailed projects with outfits and custom touches, so you can choose the one that fits your skill level and style. You will also explore helpful techniques, video guides, and creative ways to add personality to each finished pup.
1) 23 Corgi Crochet Patterns: Perfect Projects for Dog Lovers & Crafters
You can explore 23 corgi crochet patterns designed for dog lovers and crafters.
You will find amigurumi toys, plush projects, and simple designs that suit different skill levels.
2) Corgi Crochet Amigurumi Pattern by Hobbycraft with Removable Gown
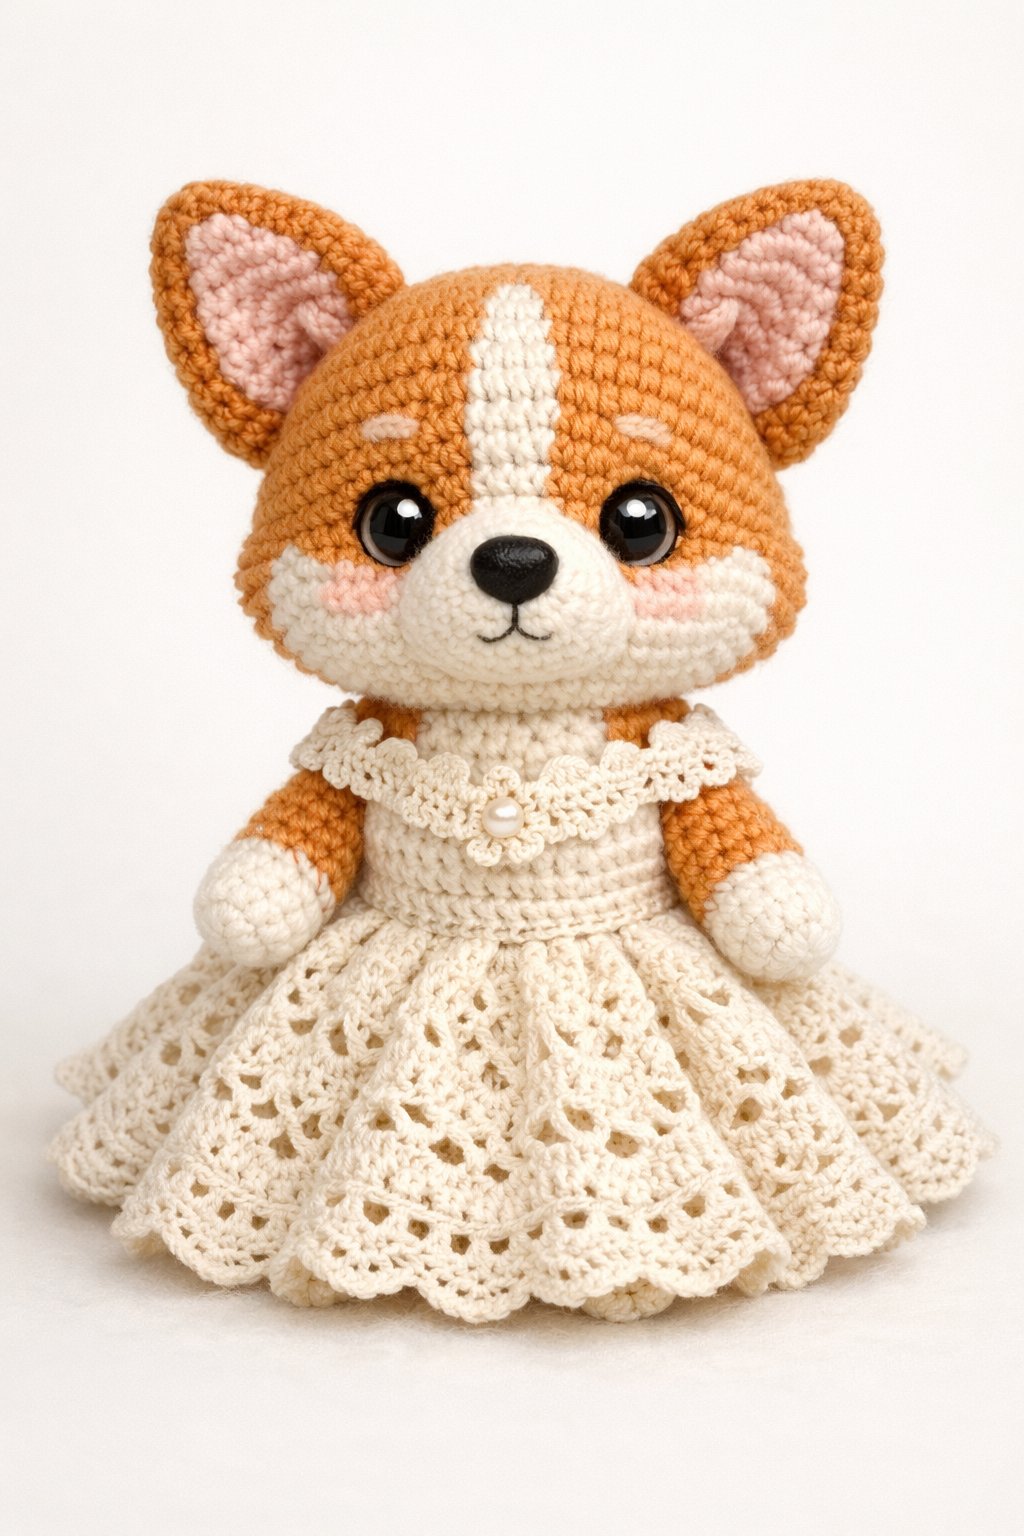
You can crochet this corgi with a removable gown for a playful touch. The design suits amigurumi fans who want a small dress-up feature.
You shape the body with basic stitches and simple color changes. The gown slips on and off with ease.
3) Free Amigurumi Corgi Dog Pattern for Beginners
You can start with a simple free corgi pattern that uses basic stitches and clear steps.
Choose light yarn and soft stuffing for easy shaping.
4) Corgi Dog Crochet Amigurumi Video Tutorial in US and Spanish Terms
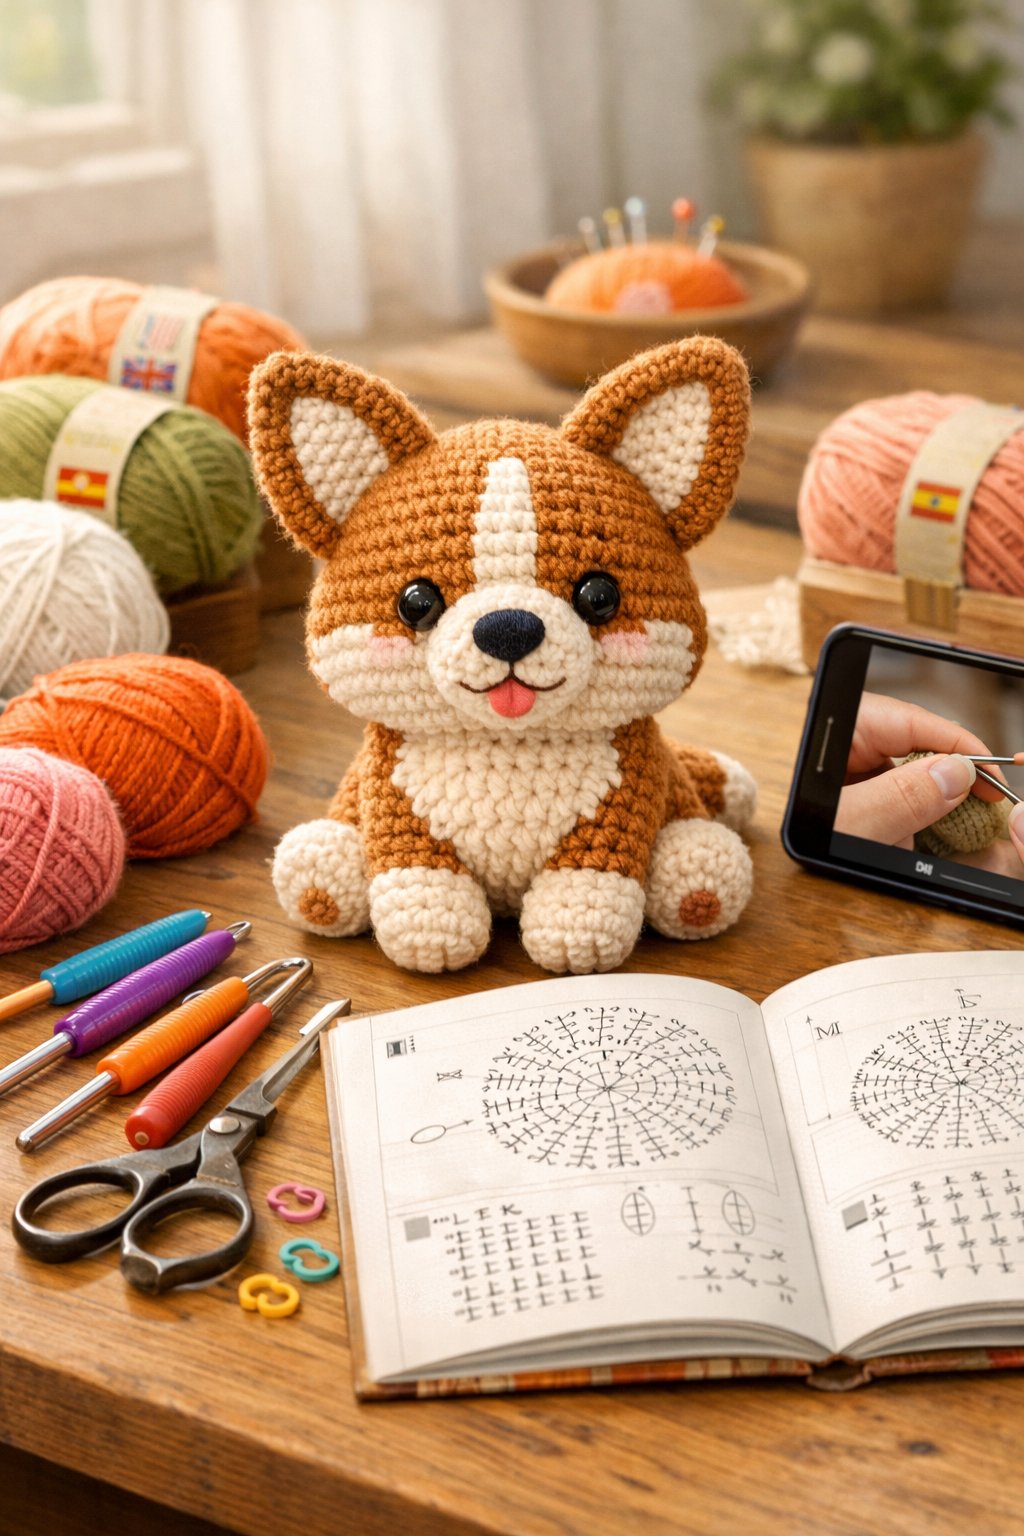
You can follow a step-by-step video tutorial that uses both US and Spanish crochet terms. This helps you understand stitches clearly.
The tutorial shows each part of the corgi, from head to body. You can pause and match each step to the written pattern.
5) Emily Dang’s Amigurumi Corgi Pet Pattern on Ravelry
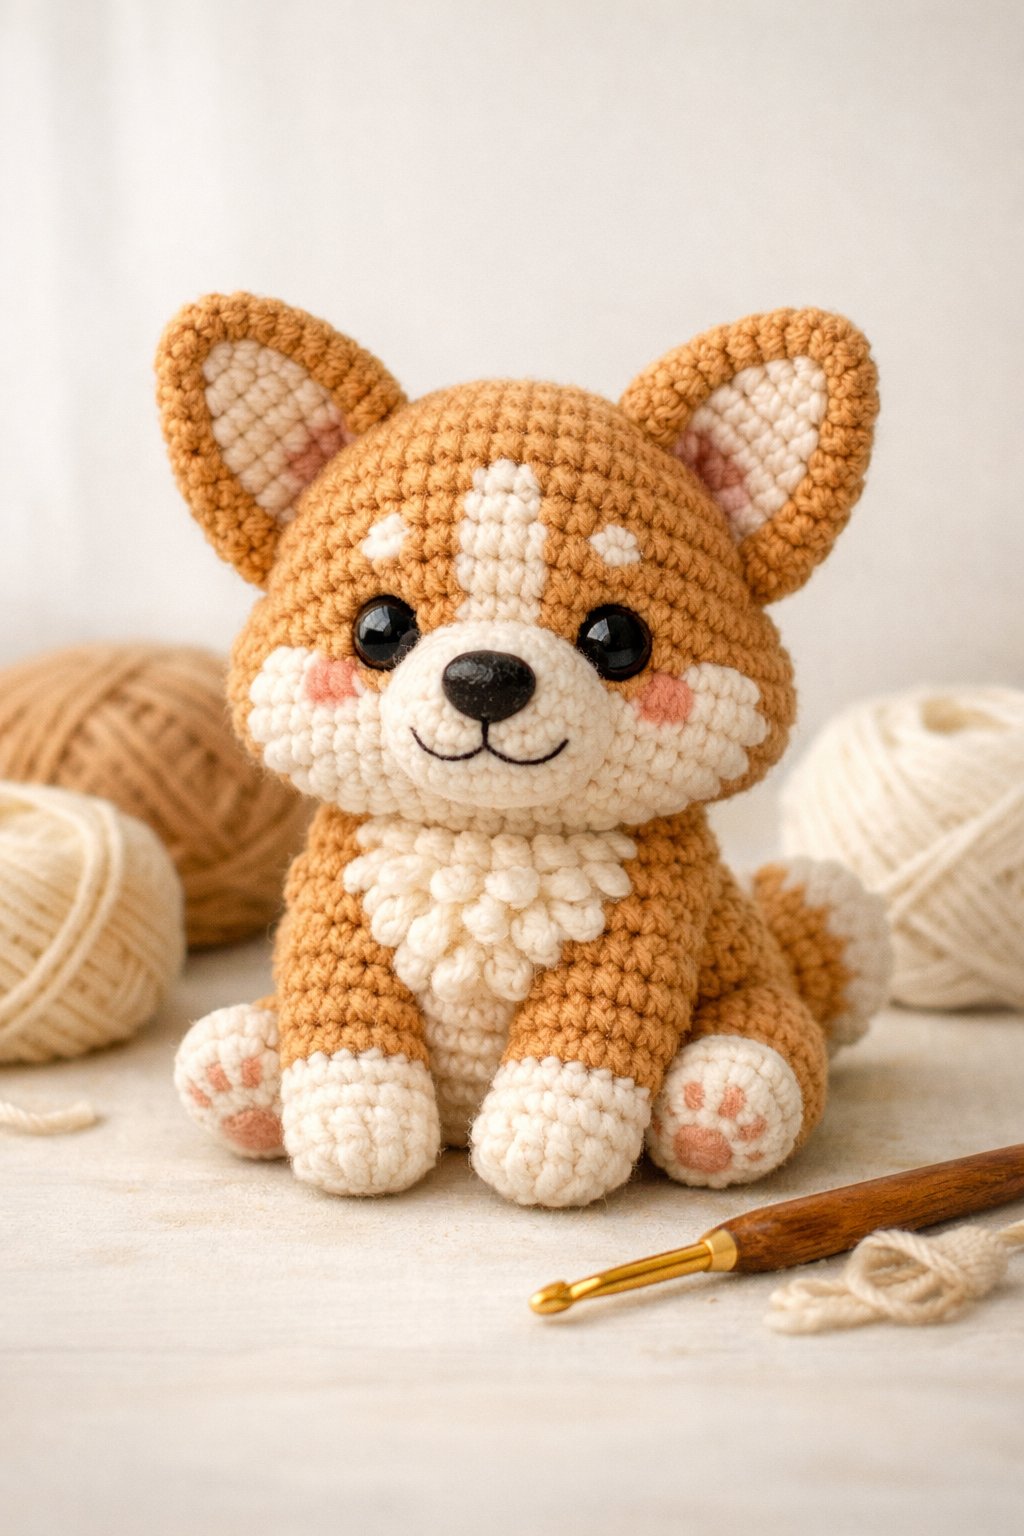
You can create a small, detailed corgi with this clear Ravelry pattern. It includes step-by-step instructions and helpful illustrations.
You shape the ears, body, and short legs with simple stitches. This design suits many skill levels.
Essential Corgi Amigurumi Techniques
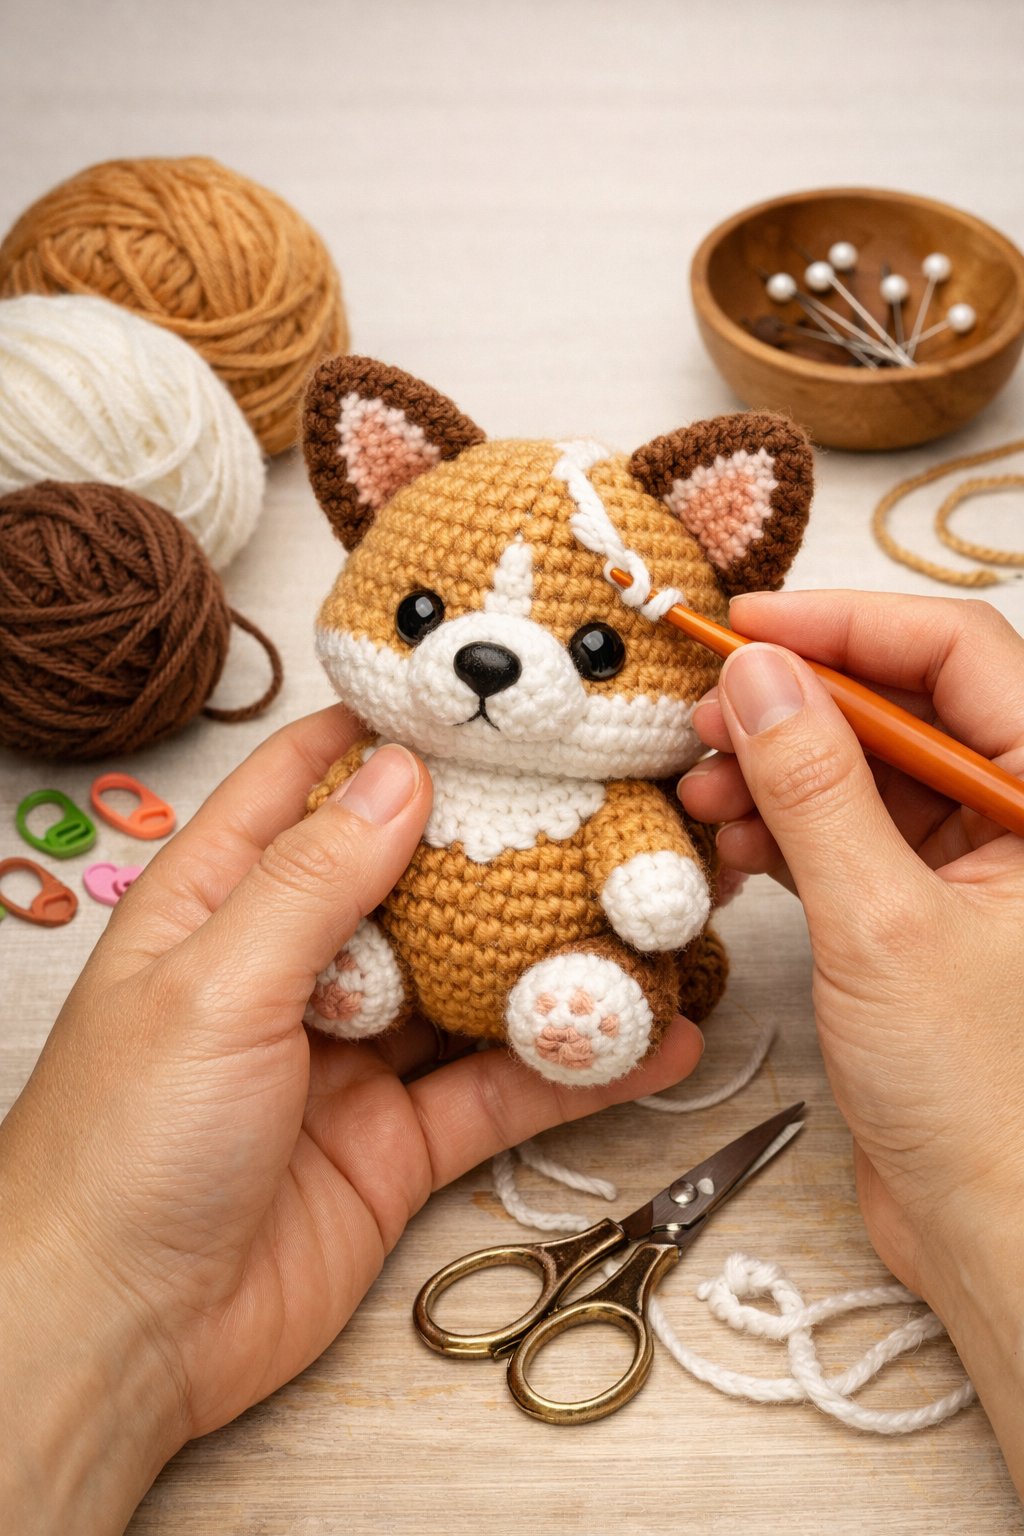
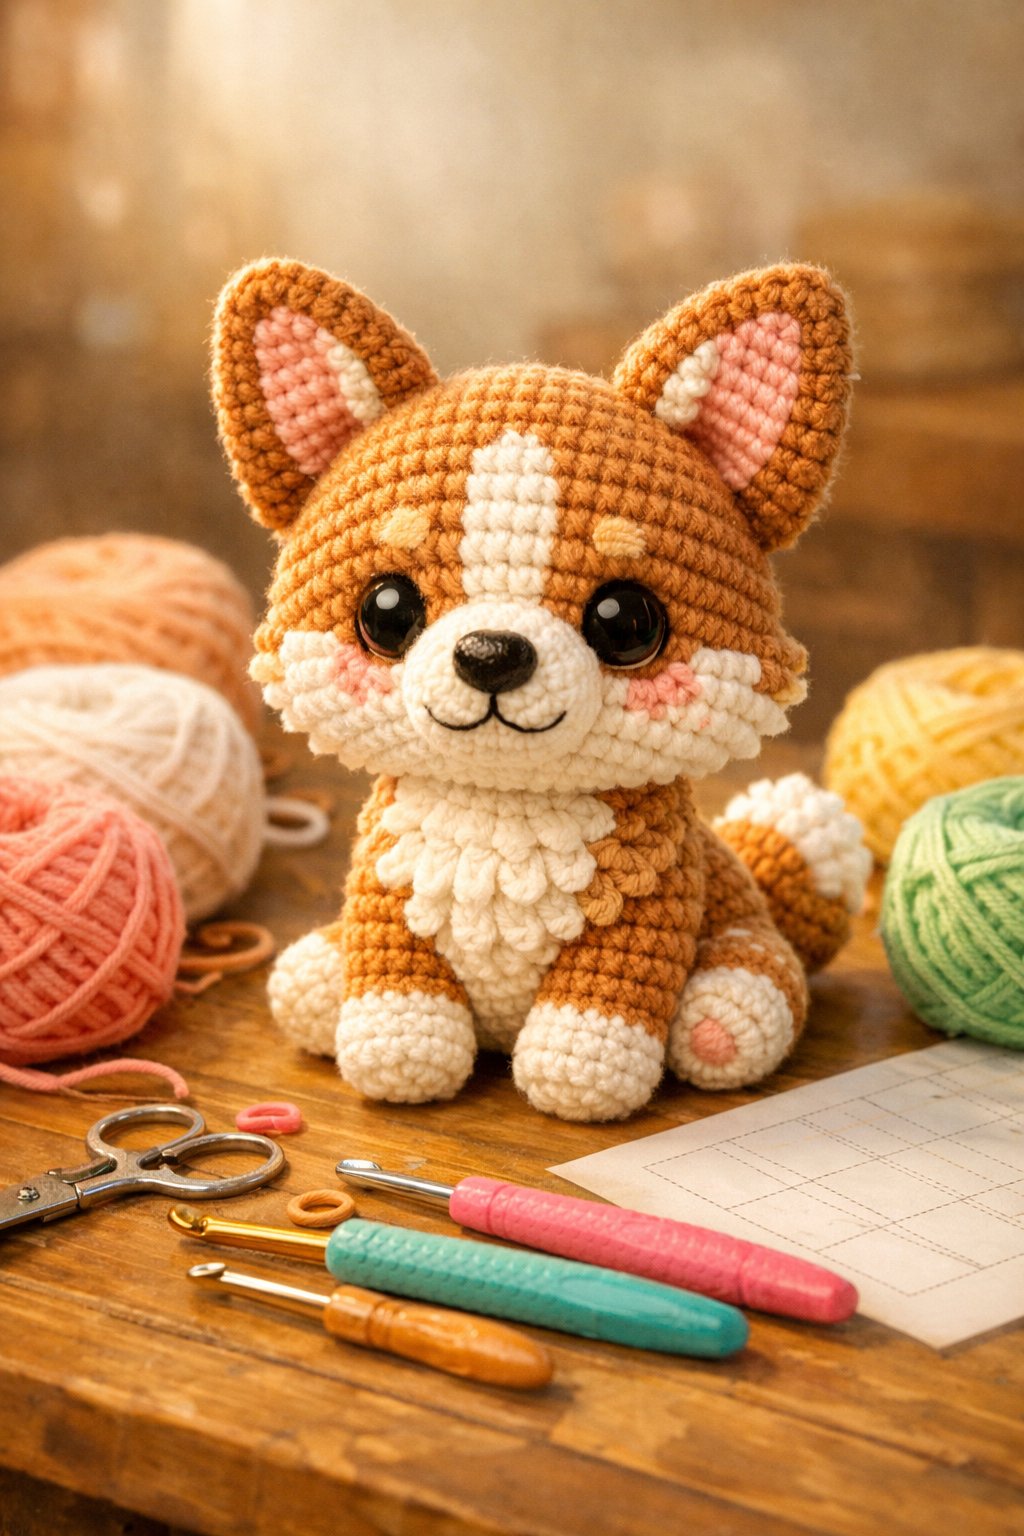
You shape a strong amigurumi corgi by choosing the right tools, forming clear body parts, and placing details with care. Focus on tight stitches, balanced stuffing, and clean color changes to create a neat and sturdy toy.
Choosing the Right Yarn and Hooks
Pick a smooth, medium-weight yarn for most corgi patterns. Worsted weight yarn works well because it holds shape and shows stitch detail without large gaps.
Use a smaller hook than the yarn label suggests. For example:
- Worsted weight yarn: 3.0 mm to 3.5 mm hook
- DK weight yarn: 2.5 mm to 3.0 mm hook
A smaller hook keeps your stitches tight. Tight stitches prevent stuffing from showing through.
Choose acrylic or cotton yarn for structure. Acrylic feels soft and light. Cotton creates firmer stitches and sharper edges, which helps with defined legs and ears.
Add 8–12 mm safety eyes for small to medium corgis. Always attach safety eyes before you close the head.
Shaping and Assembly Tips
Work most corgi pieces in continuous rounds. Use a stitch marker so you do not lose your place.
Shape the head and body with steady increases and decreases. Space increases evenly to keep the head round. Use invisible decreases to avoid small gaps.
Stuff firmly but do not overfill. Add stuffing in small amounts and press it into corners, especially in the muzzle and back.
Corgis have short legs and a long body. Keep the legs slightly flattened at the top so they sit close to the body.
When sewing pieces together:
- Pin parts in place first.
- Check symmetry from the front and side.
- Sew with small, tight whip stitches.
Position ears slightly forward on the head for an alert look.
Colorwork for Realistic Markings
Most corgis use two main colors: orange (or tan) and white. The white areas often include the muzzle, chest, belly, and a stripe between the eyes.
Change colors at the last yarn over of the stitch before the new color begins. This keeps the transition clean.
Carry unused yarn inside the piece only for short sections. For larger white patches, fasten off and rejoin yarn to reduce bulk.
Plan your color placement before you start. Sketch the face and body if needed. Count stitches carefully when forming the white blaze on the face so both sides match.
Use simple embroidery for details:
- Black yarn for the nose
- Small stitches for eyebrows
- Light pink for inner ears
Clear markings and even stitch tension give your corgi a realistic and balanced look.
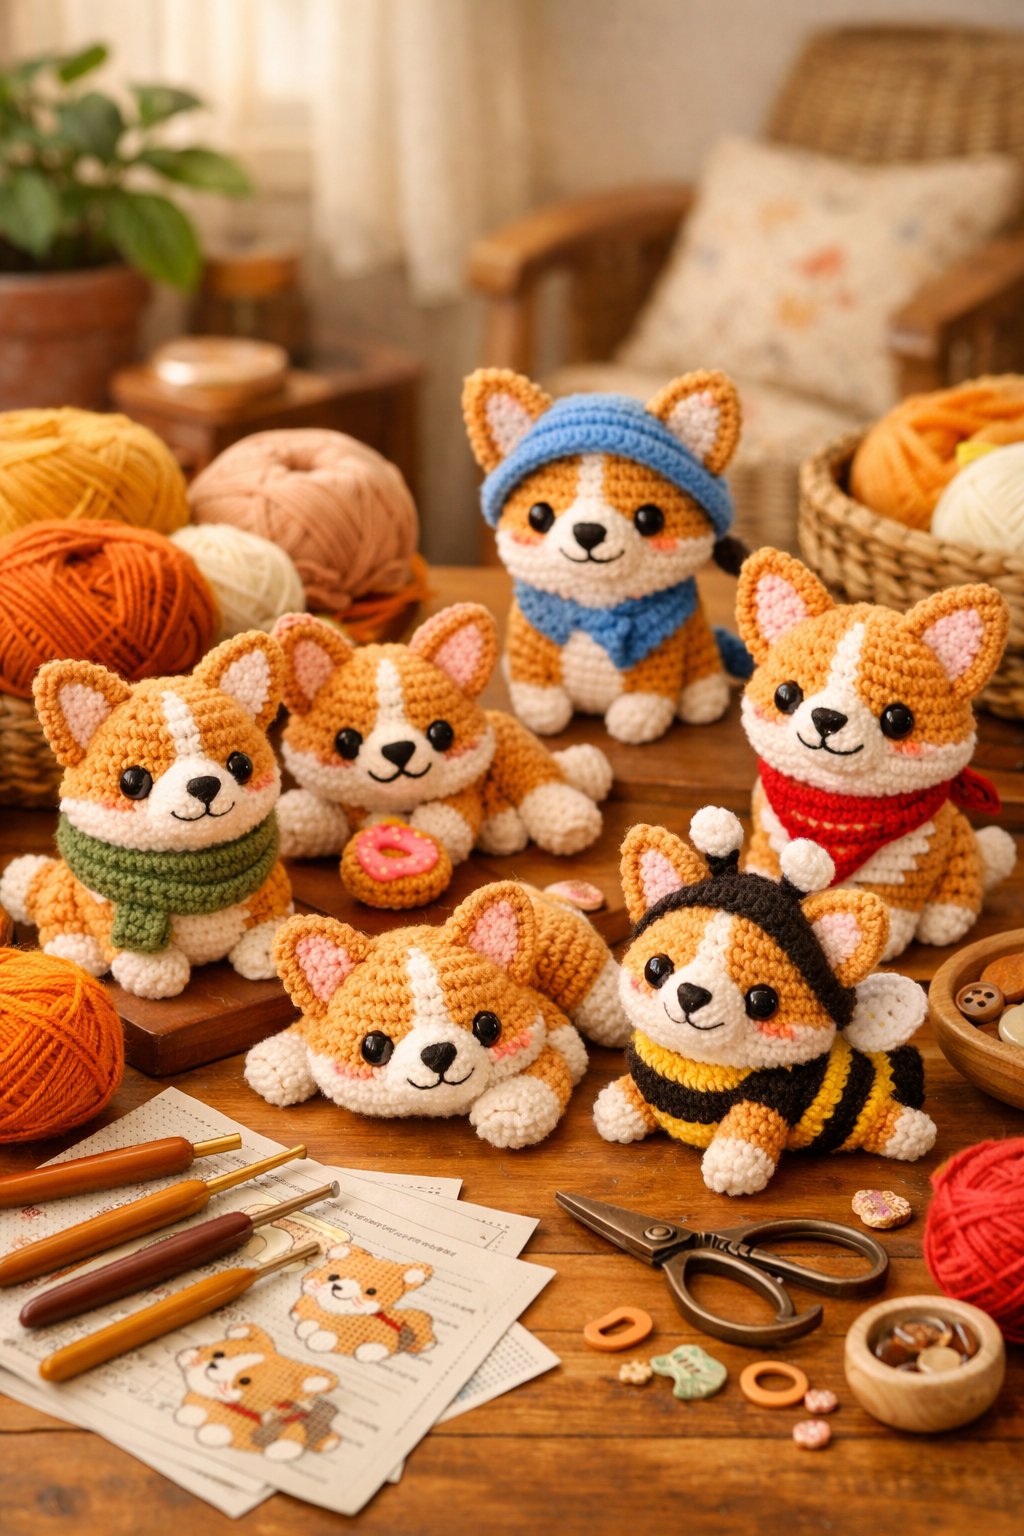
Customization and Embellishment Ideas

Small changes in color, shaping, and added details can give your amigurumi corgi a unique look. You can adjust facial features and add simple accessories to match a real pet or create a themed design.
Personalizing Features and Expressions
You control your corgi’s personality through small design choices. Start with the eyes, since they set the mood.
- Use black safety eyes for a classic, cute look.
- Stitch oval eyes with yarn for a softer style.
- Add small white embroidery stitches to create a bright highlight.
Adjust the placement to change the expression. Eyes set wider apart create a sweet look. Eyes placed slightly lower can make your corgi look shy or playful.
Shape the muzzle and mouth with simple embroidery. A straight line gives a calm face. A slight curve upward creates a happy smile. You can also add tiny pink stitches inside the ears for depth.
Color changes make a big difference. Try darker yarn on the back and lighter cream on the chest, muzzle, and paws. Light blush on the cheeks adds warmth without extra bulk.
Creative Accessories for Corgis
Accessories turn a simple pattern into a themed project. You can sew most items directly onto the body or make them removable.
Consider these easy additions:
- Collars made from thin yarn or ribbon
- A small bone charm stitched in felt
- Mini bandanas in bright cotton fabric
- Tiny crowns or bows for special themes
If you follow a royal or holiday theme, choose colors that match the event. Red and green work well for winter projects. Pastel shades suit spring gifts.
Keep scale in mind. Large accessories can hide the corgi’s short legs and long body shape. Use lightweight materials so the toy stays balanced and easy to display.