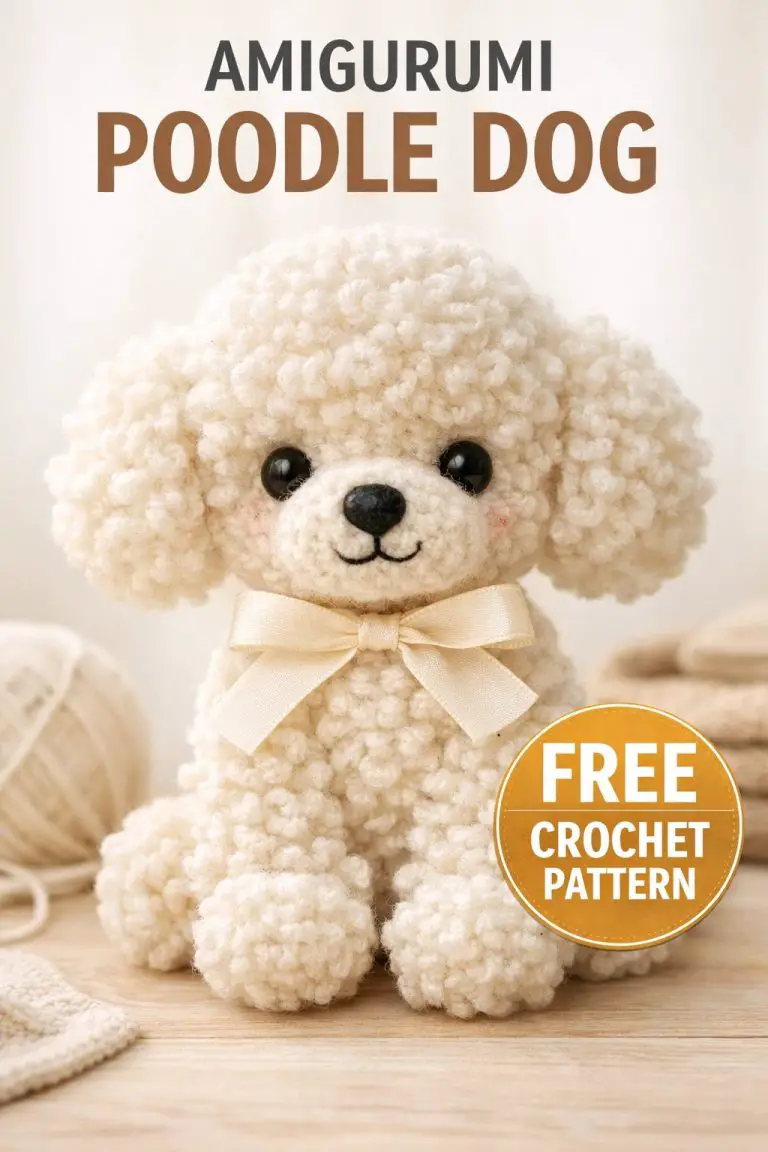
How to Crochet a Dog — Amigurumi Puppy Pattern: Step-by-Step Guide
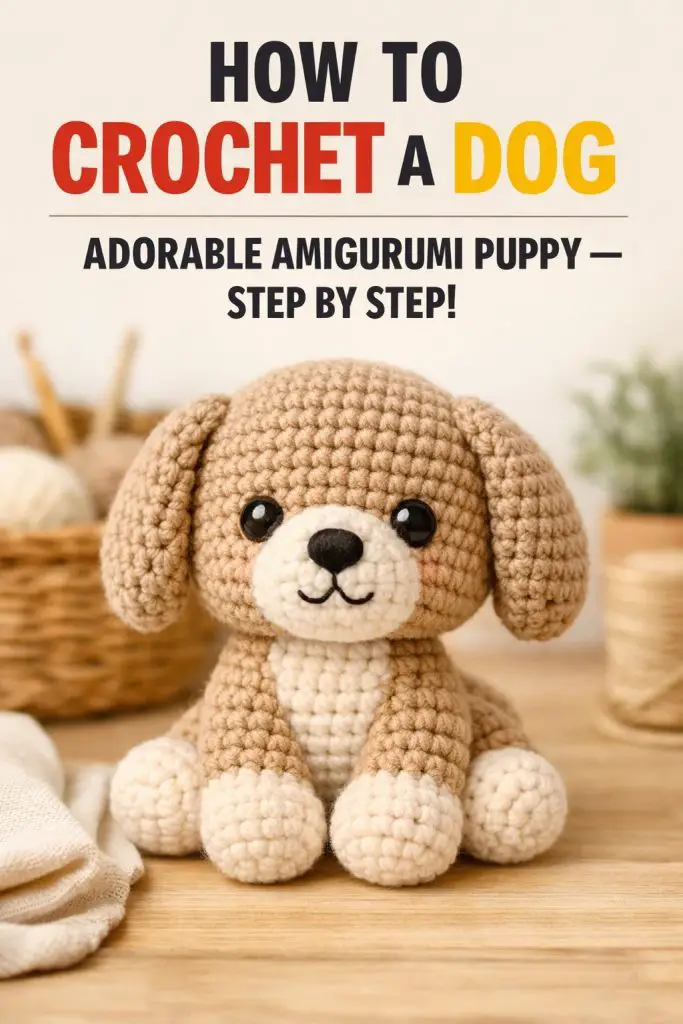
You’ll make a cute amigurumi puppy using simple stitches and clear steps, even if you’ve never made a toy before. This step-by-step guide gives you a free amigurumi pattern and a free crochet pattern that walks through the head, body, ears, legs, and finishing touches so you can complete a cuddly dog from start to finish.
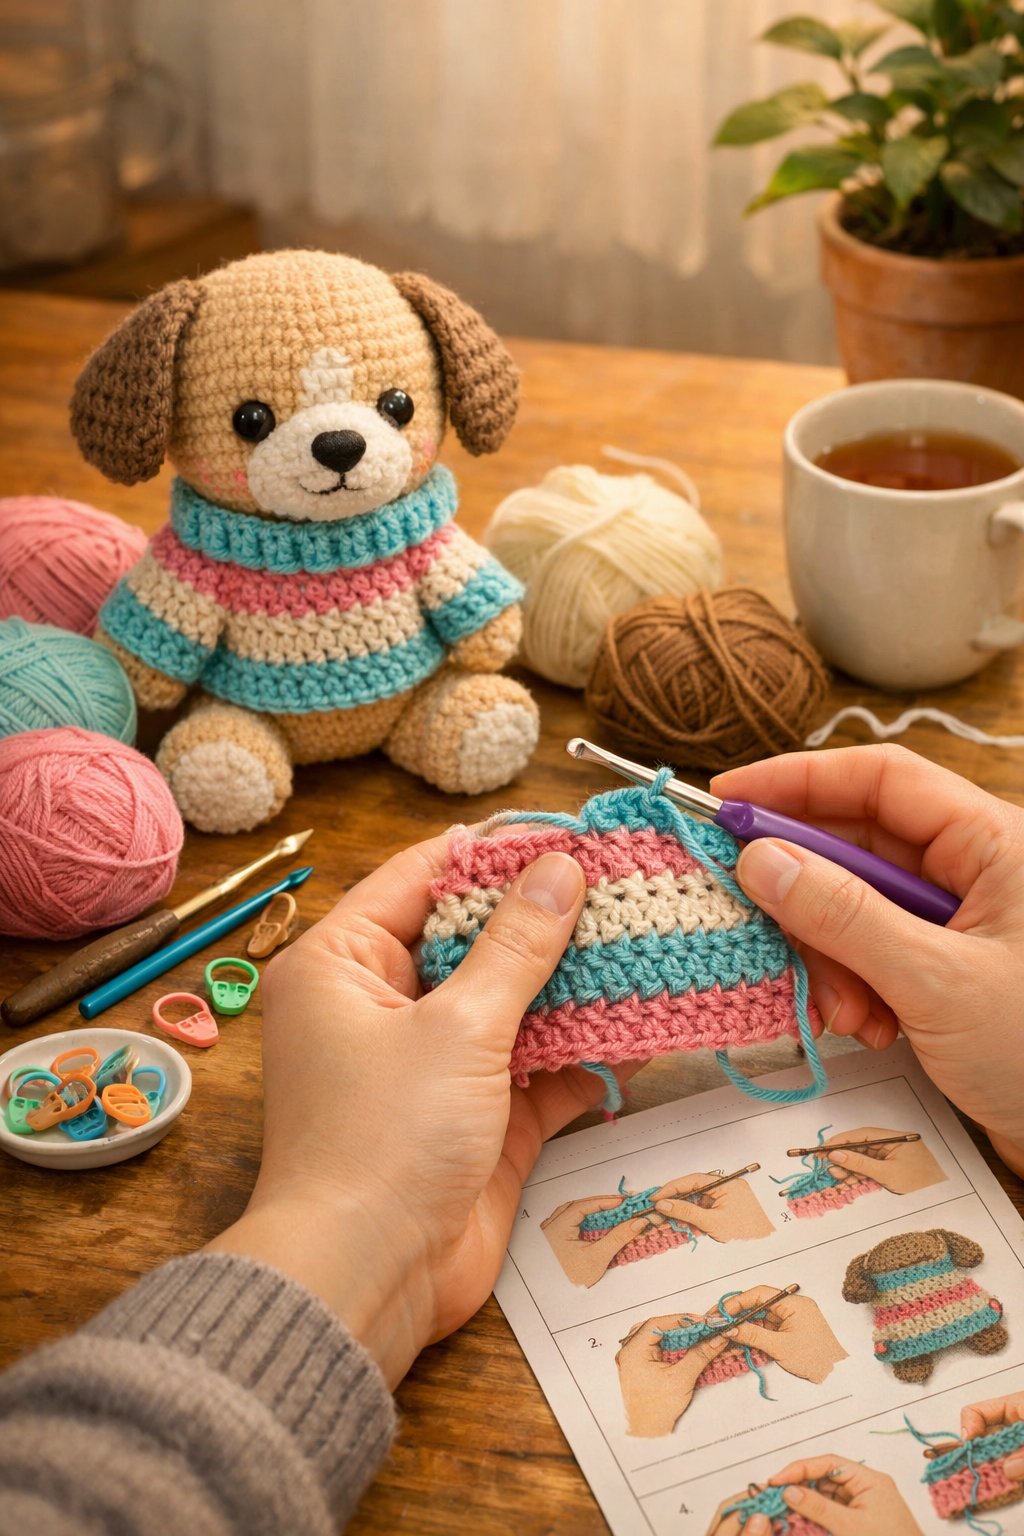
Follow easy, photographed steps and basic techniques that work for beginners and more experienced makers. You’ll also find ideas for accessories like sweaters, bandanas, hats, jumpers, and collars so your puppy can wear a custom look.
How To Crochet A Dog
Start by choosing a simple dog crochet pattern or puppy crochet pattern suited to your skill level. Use medium-weight yarn and a hook that gives tight stitches so stuffing won’t show. A magic ring begins most amigurumi parts and keeps the head and body neat.
Work in single crochet rounds and use a stitch marker to mark the beginning of each round. This helps keep your stitch counts accurate when you increase or decrease. Follow the pattern’s stitch counts for shaping the head, body, legs, and ears.
Attach safety eyes between the rounds noted in your pattern, or embroider eyes if the toy is for a baby. Position the eyes on the head before you stuff; you can add facial details with yarn or embroidery after stitching the head closed.
Stuff each part firmly and evenly as you go, then use a yarn needle to sew pieces together. Use short lengths of yarn when sewing limbs to prevent bulk. Secure knots inside the body and weave in ends so they stay hidden.
Practice invisible decreases for smooth shaping and use photo tutorials or stitch guides if you get stuck. With patience and simple tools — stitch marker, yarn needle, and safety eyes — you’ll turn basic stitches into a cute dog crochet pattern you can gift or keep.
How To Crochet A Dog Sweater
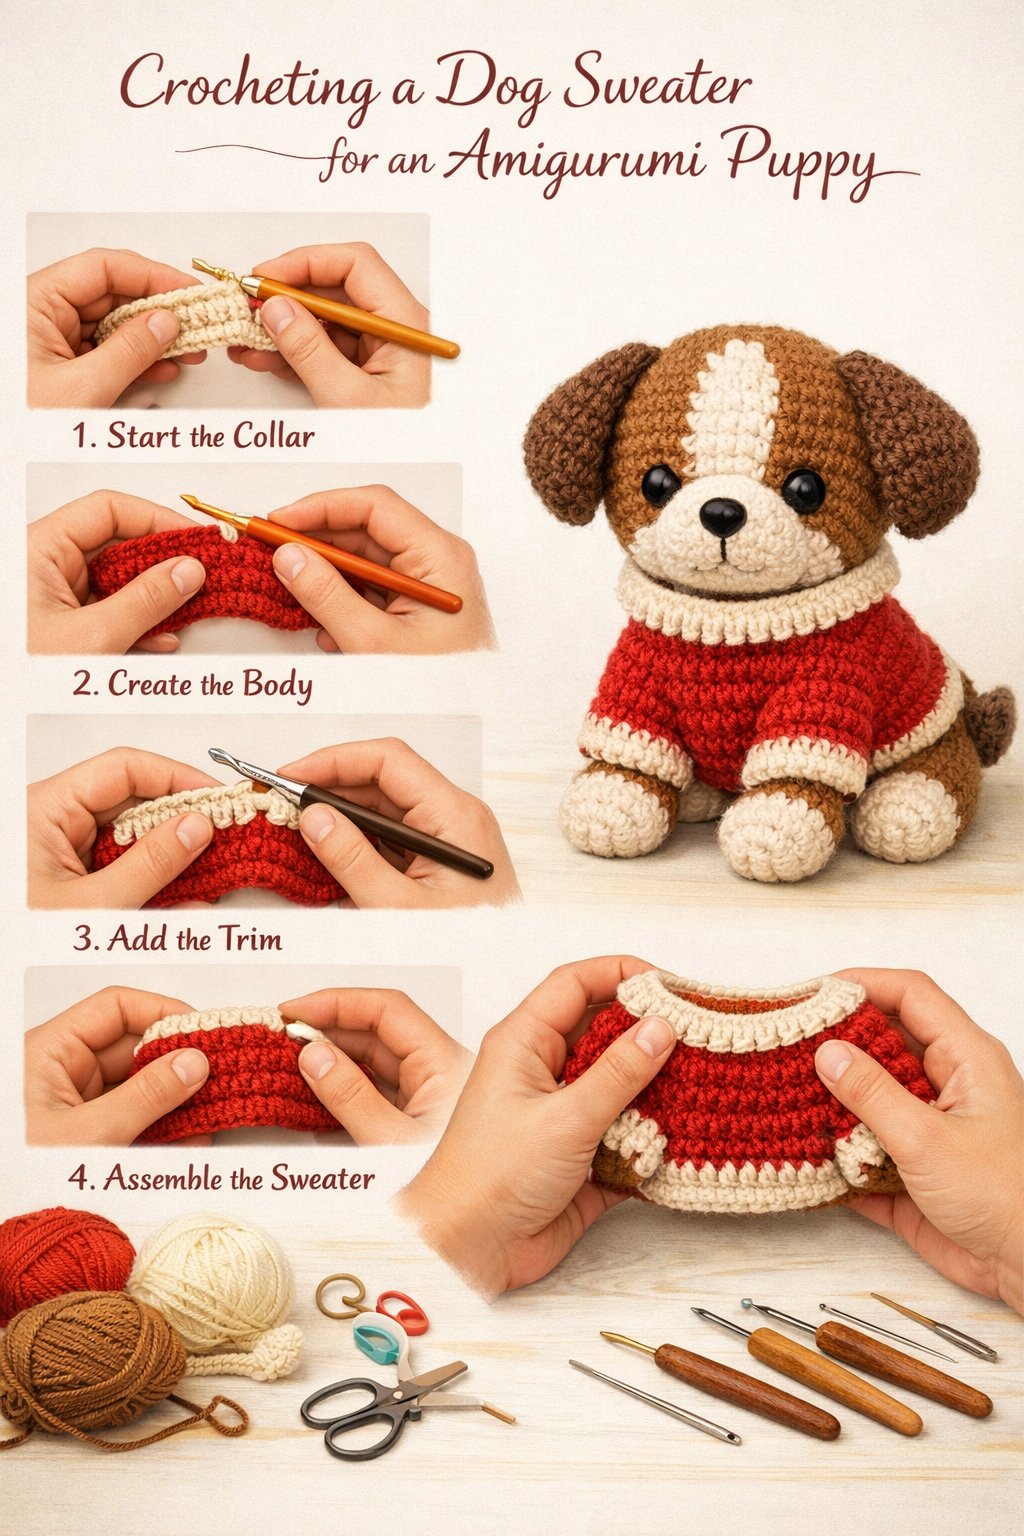
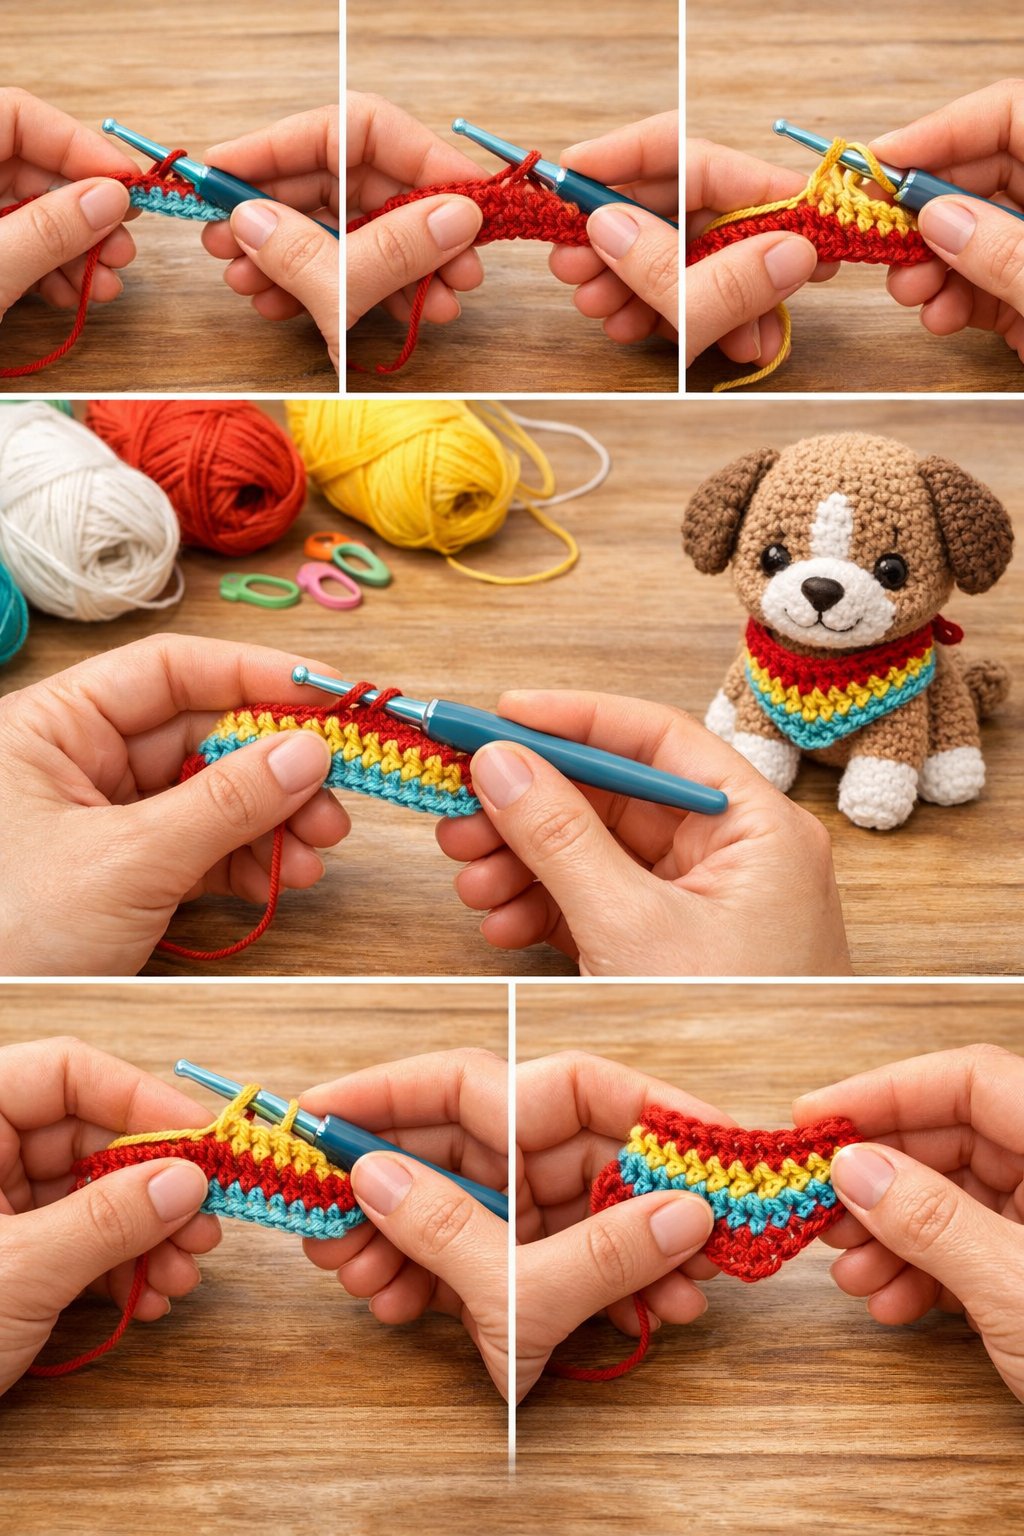
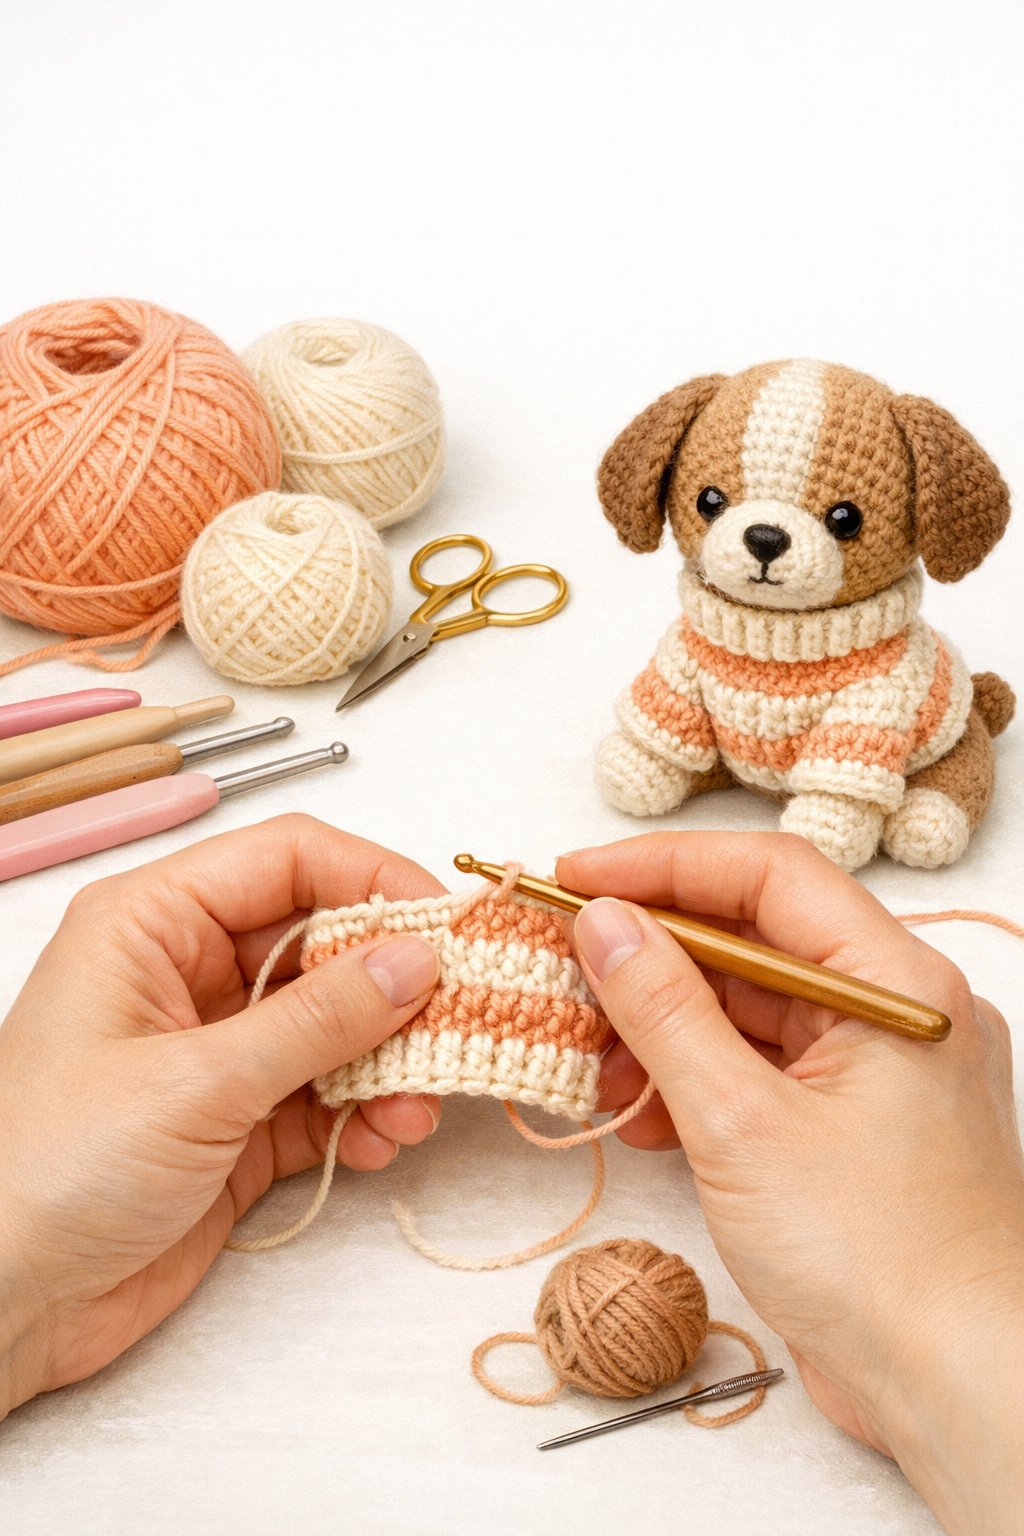
You can make a simple sweater for your amigurumi dog using basic stitches: chain (ch), single crochet (sc), and double crochet (dc). Start by measuring the chest and back of your stuffed puppy so the sweater fits the shape you made.
Work a foundation chain to match the chest width, then join to work in the round or turn rows if you prefer seams. Use sc for a snug fabric or dc for more stretch. Increase or decrease evenly to shape the neck and chest so the sweater sits flat on your toy.
Create front leg openings by skipping stitches where the legs sit, then rejoin and keep working the body. For sleeves, pick up stitches around each opening and crochet in rounds until you reach the desired length. Finish edges with ribbing (front-post/back-post dc) or a row of sc for a tidy look.
Use worsted-weight or sport yarn depending on the scale of your amigurumi. A 3–4.5 mm hook usually works well for small toy sweaters. Weave in ends and try the sweater on the toy, adjusting stitch counts if it feels too tight.
Quick reference:
- Materials: yarn, hook, tapestry needle, scissors
- Stitches: ch, sc, dc, (optional) front-post/back-post dc
- Fit tip: add a few extra stitches for ease around the chest
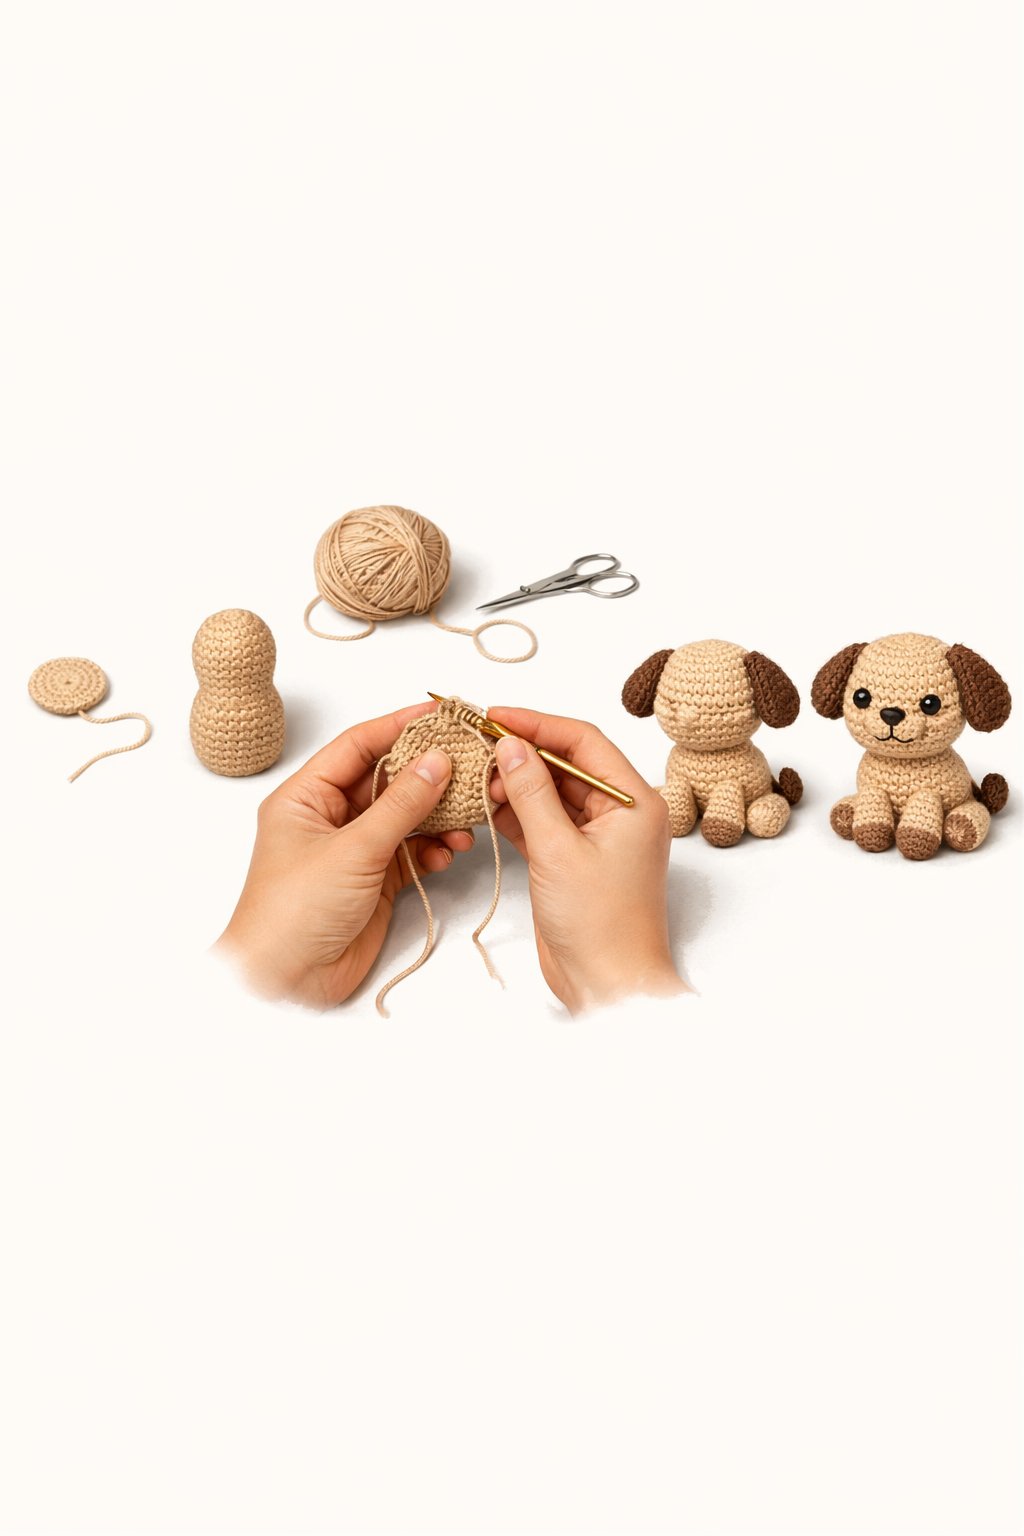
How To Crochet A Dog For Beginners
Start with simple supplies: medium-weight yarn, a 4.0–5.0 mm hook, stuffing, safety eyes, and a yarn needle. These tools keep the project easy and let you focus on learning stitches and shaping.
Learn three basic techniques first: the magic ring, single crochet, and simple increases/decreases. Practice each on a small circle until your tension feels even and the stitches look neat.
Work in continuous rounds rather than joining each round with slip stitches. This keeps the amigurumi smooth and avoids visible seams. Use a stitch marker to mark the first stitch of each round.
Stuff parts lightly at first, then add more stuffing as you go to keep shapes even. Overstuffing can stretch stitches and make sewing pieces together harder.
Sew pieces together with matching yarn and small, even stitches for a clean finish. Place safety eyes before you stuff and close the head so they sit firmly in place.
Use this simple checklist while you work:
- Materials: yarn, hook, stuffing, needle, eyes
- Skills to practice: magic ring, sc, inc, dec
- Assembly tips: mark rounds, stuff gradually, sew firmly
Take breaks between steps and check proportions as you go. Crocheting an amigurumi dog gets easier with practice, and small, steady improvements make the final toy look much better.
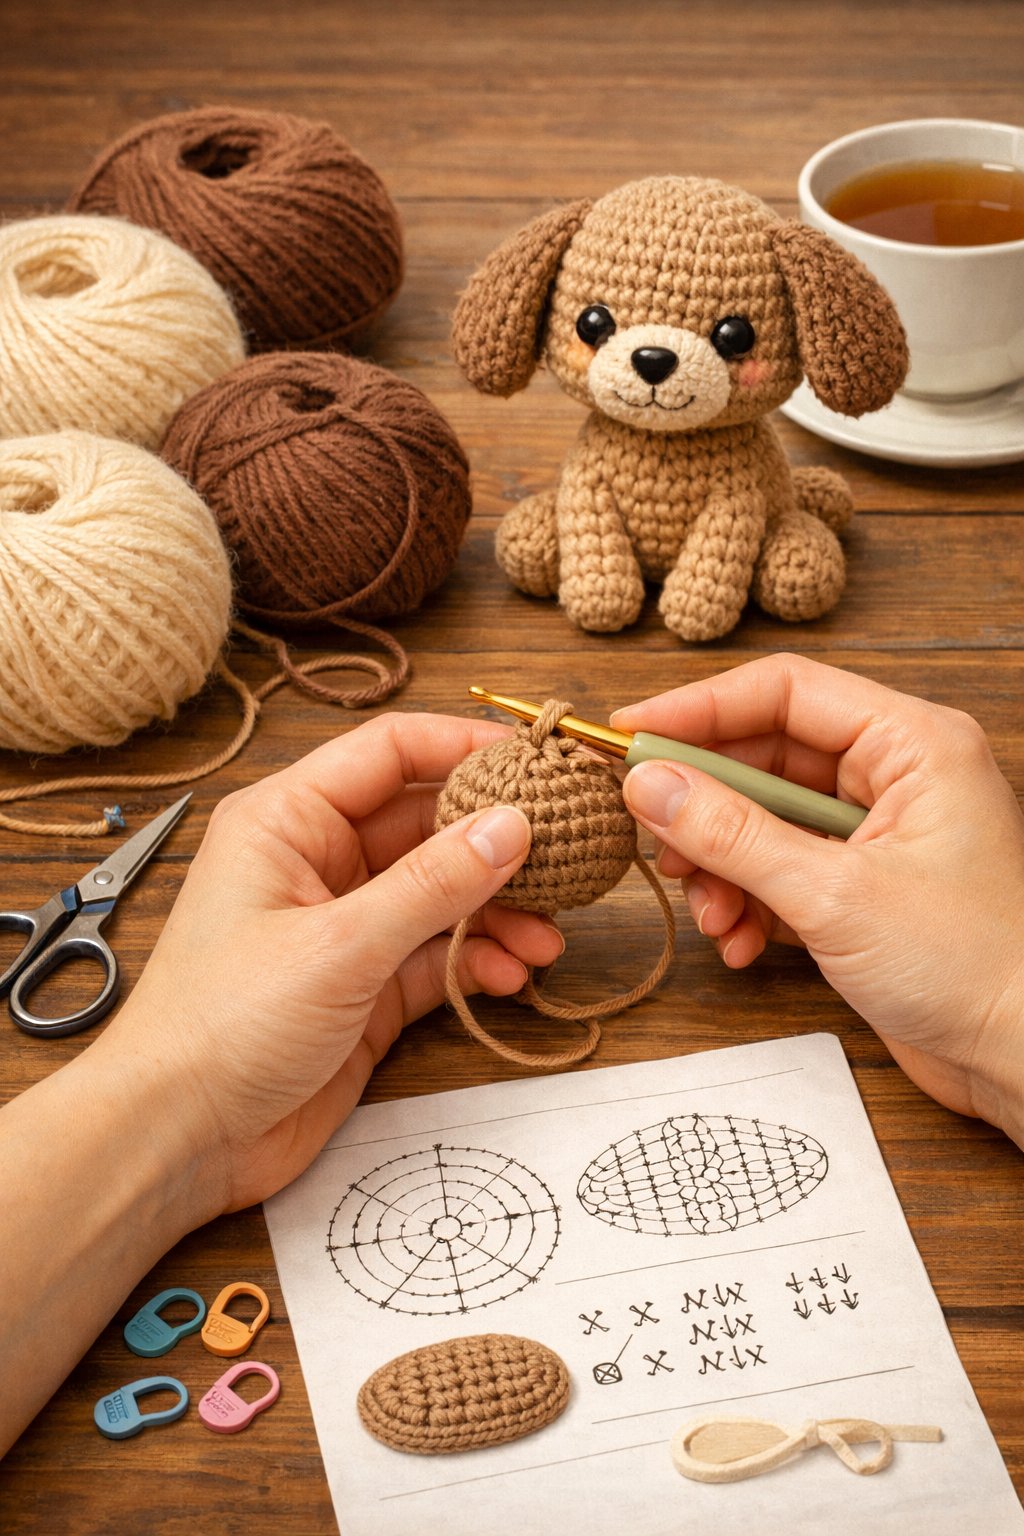
How To Crochet A Dog Step By Step
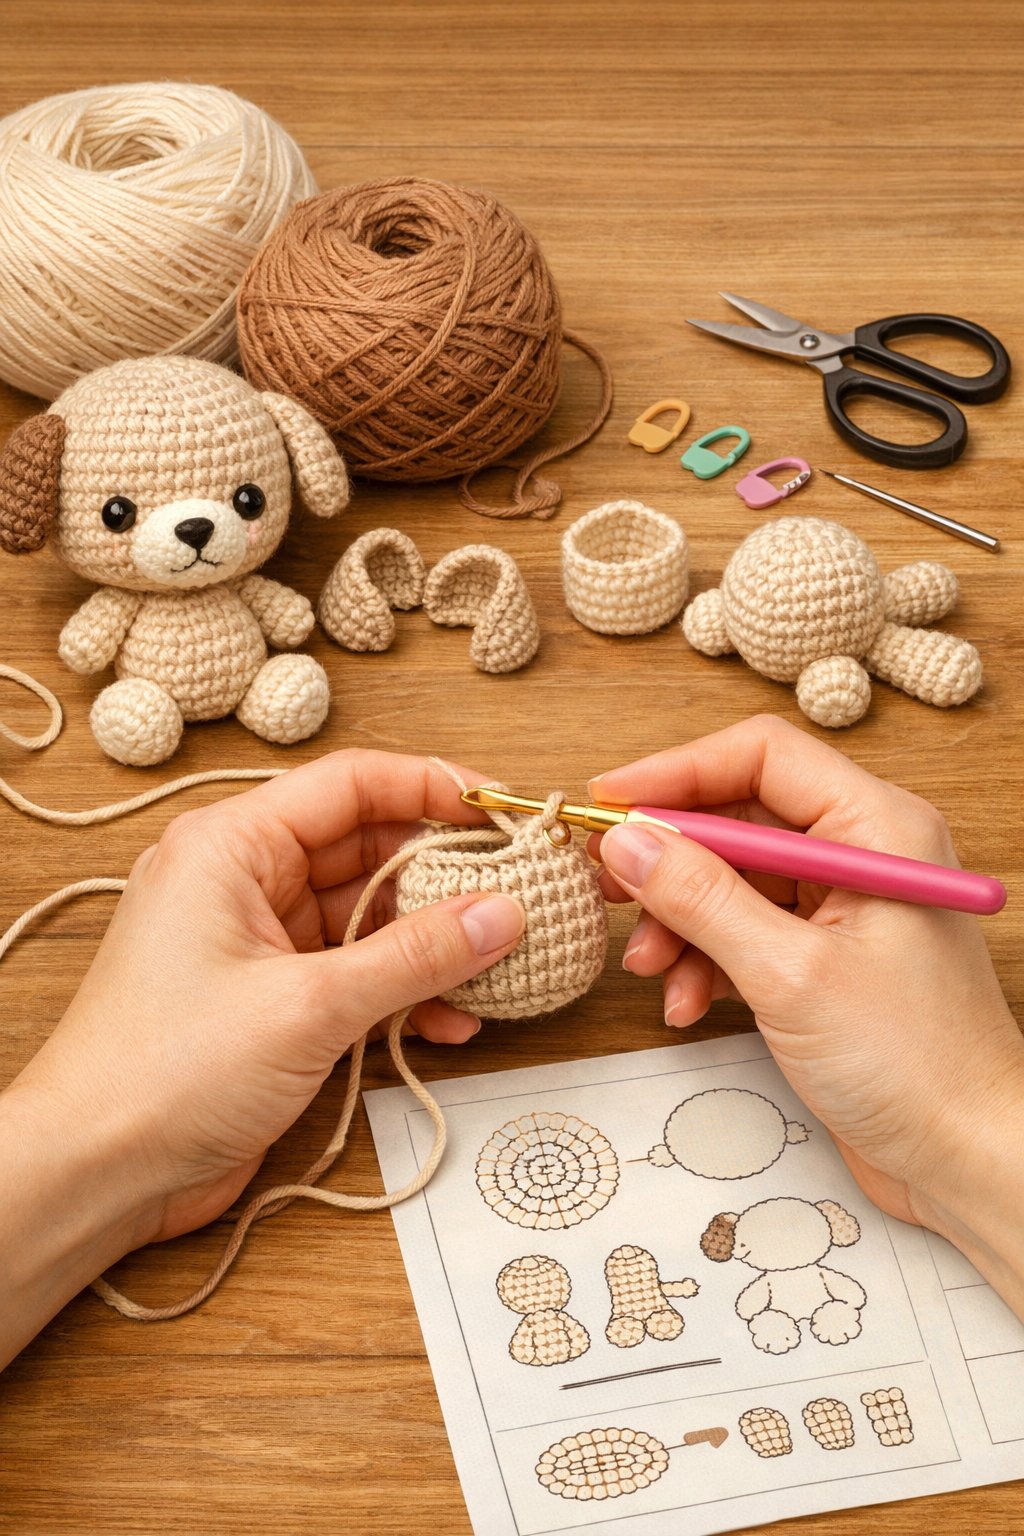
Start by gathering your supplies: yarn in two or three colors, a 4.0mm (G) hook, stuffing, stitch markers, a tapestry needle, and safety eyes or embroidery thread for the face. Use a hook slightly smaller than your yarn recommendation so stuffing does not show.
Work the body and head in continuous rounds for smooth shaping. Begin each piece with a magic ring, then follow increase rounds to grow the shape and plain rounds to lengthen it. Use invisible decreases (SC2tog) when reducing to keep the amigurumi puppy neat.
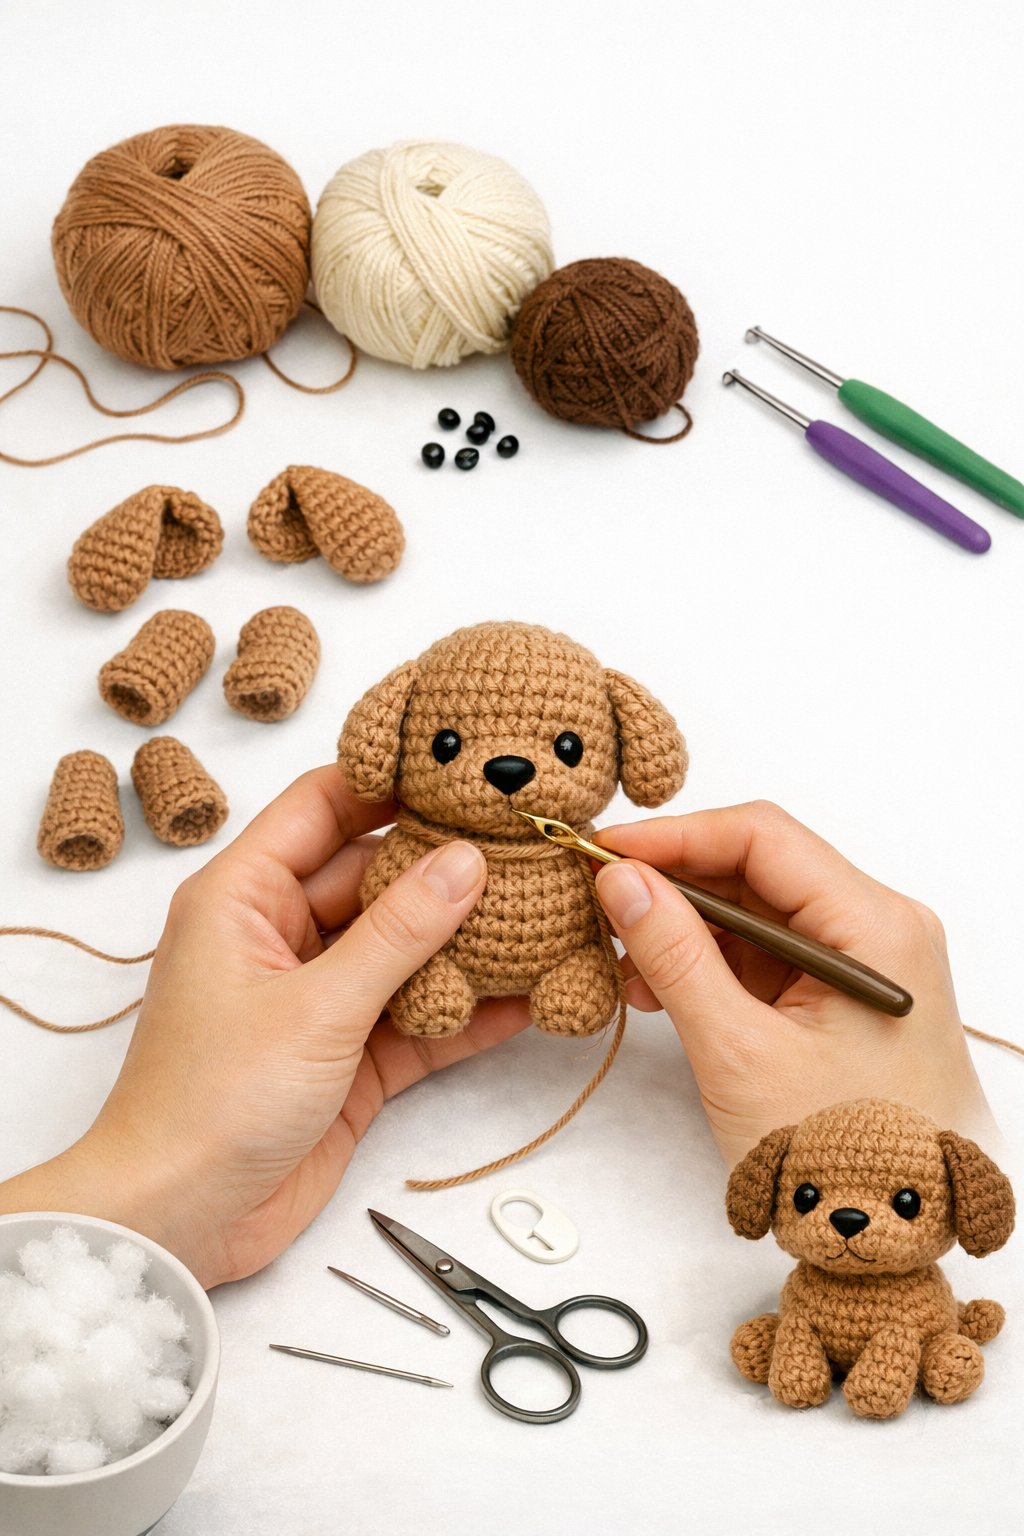
Make legs, ears, and tail separately, stuffing as you go to keep even filling. Sew limbs to the body securely with a yarn needle. Place the safety eyes between the specified rounds, or embroider eyes for a baby-safe puppy amigurumi.
Use stitch markers to mark round starts and the front of the face for proper placement of features. Keep stitch counts written down so you can track increases and decreases. Check your work often and adjust stuffing or positioning before closing pieces.
Finish by weaving in ends and adding small details like embroidered nose or paw pads. Test all attachments for sturdiness, especially if the toy will be handled by children.
How To Crochet A Dog For Beginners Step By Step
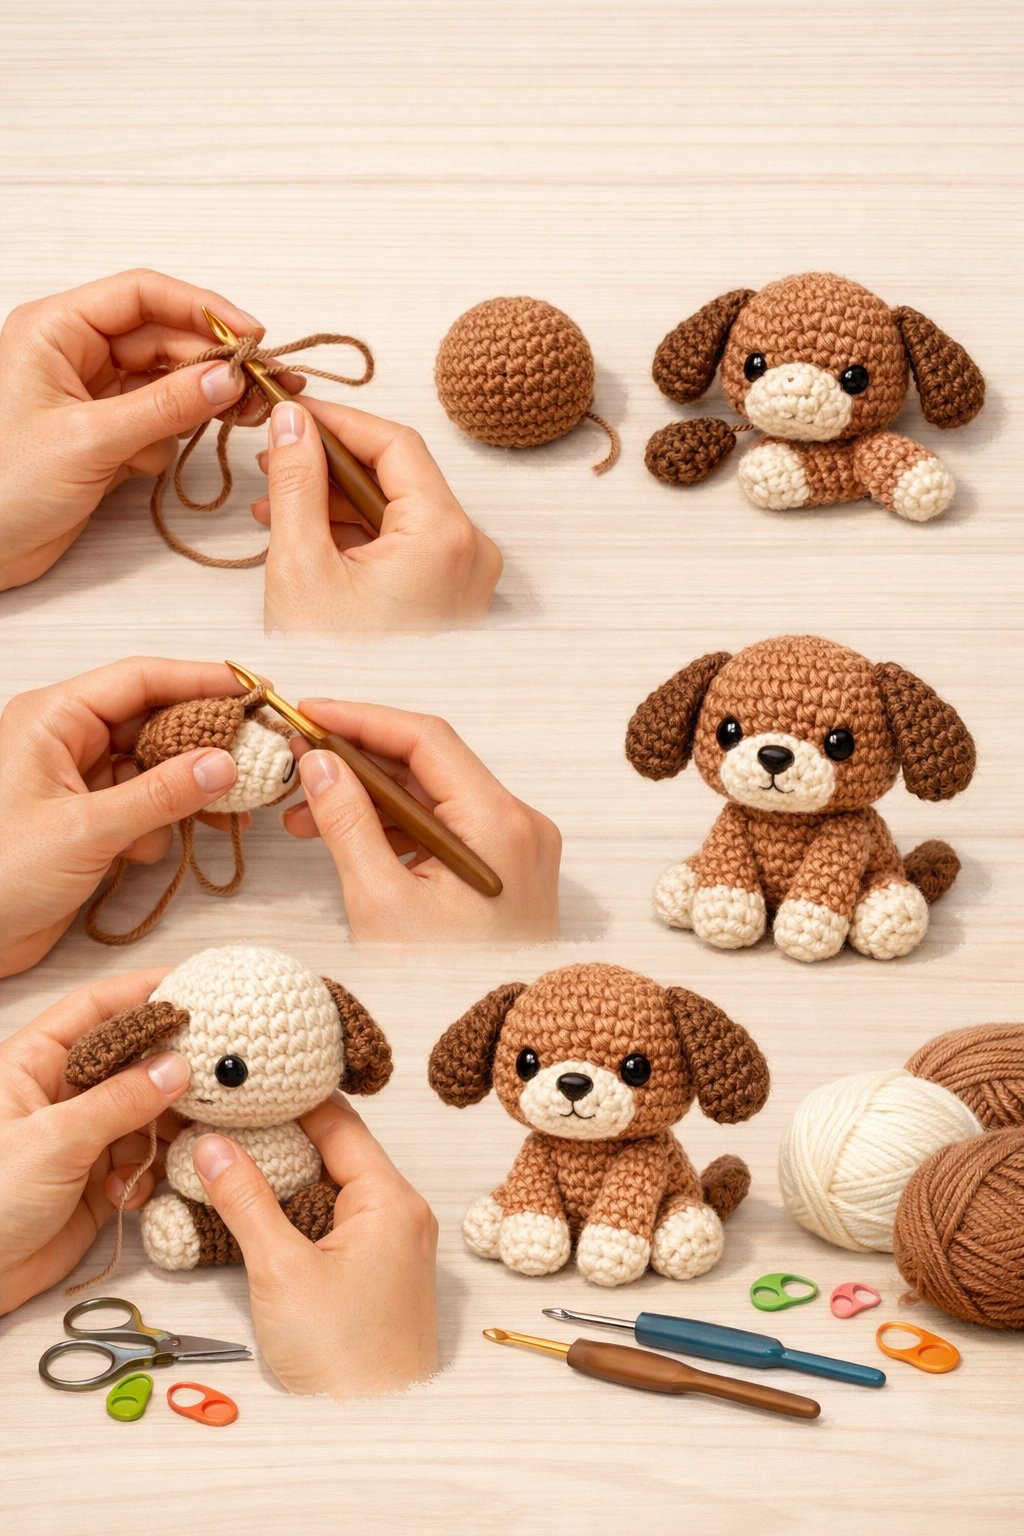
Start by gathering simple supplies: worsted-weight yarn, a suitable hook (check the pattern gauge), fiberfill, a yarn needle, and safety eyes or embroidery thread. Choose two contrasting colors for the body and ears to make shaping easier to see.
Learn the basic stitches first: single crochet (sc), increase (inc), and decrease (dec). Practice a small swatch to get comfortable with tension and the invisible decrease used in amigurumi.
Work in continuous rounds to form the head and body. Stuff lightly as you go to keep a smooth shape. Use stitch count notes at the end of each round so you don’t lose track.
Make legs, ears, and tail separately and stuff them before closing. Attach parts with a yarn needle; whip stitch or ladder stitch gives a neat join. Secure safety eyes before closing the head, or embroider eyes after if you prefer no hard parts.
Follow a simple pattern that lists hook size, yarn weight, gauge, and exact stitch counts. Track rounds with a stitch marker. If a shape looks off, undo a few rounds and adjust tension or stuffing.
Use photographs or a short video to check your work against the pattern. Practice small mistakes to learn fixing techniques like grafting or rejoining pieces. Keep projects short and repeat sections to build confidence quickly.
How To Crochet A Dog Sweater For Beginners
Start with simple supplies: worsted-weight yarn, a 5.5–6 mm hook, a tape measure, scissors, and a yarn needle. Take three key measurements: neck circumference, chest girth (widest point), and back length from collar base to tail start.
Make a foundation chain that matches the chest girth. Work in rows or rounds using single or double crochet for a stable fabric. If you use double crochet, expect more stretch; single crochet gives a firmer fit.
Create leg openings by skipping stitches where the front legs will sit. Mark those spots with stitch markers so both sides match. Try the piece on your dog before closing the body to check placement and fit.
Add sleeves by joining yarn at the leg opening edge and working in rounds. Use single crochet for a snug cuff, or double crochet for a looser sleeve. Keep sleeves short for small dogs and longer for cold-weather needs.
Finish the neck with ribbing made from front-post and back-post stitches or by alternating single and half-double crochet. Weave in ends and check for loose bits that could irritate your dog. Wash the sweater gently according to yarn care instructions before first wear.
How To Crochet A Dog Bandana
A simple triangle bandana adds charm to your amigurumi pup. Use worsted weight (#4) yarn and a hook that gives a firm fabric—usually 4.0–5.5 mm depending on your tension.
Start with a small chain and work a triangle by increasing on both ends of each row. For a quick pattern:
- Chain 4, slip stitch to form a loop.
- Row 1: Chain 3 (counts as dc), work 2 dc into loop.
- Row 2+: Chain 3, dc into each stitch across, 2 dc in last stitch to increase.
Make the triangle as wide as you need for your dog’s neck. Measure across the top edge and stop when it reaches the desired width. Fasten off and weave in ends.
Add a simple border to stabilize the shape. Work single crochet evenly around the triangle, placing 3 sc in each corner for neatness. This keeps edges flat and tidy.
For attachment options choose one:
- Slide-over: Crochet a short tube on each top corner to slip onto the collar.
- Tie: Leave long chain ends to tie a bow.
- Button: Sew a small button and make a loop for a secure closure.
Embellish with stripes or a small appliqué for personality. Keep stitches tight so the bandana holds shape on your finished amigurumi puppy.
How To Crochet A Dog Hat
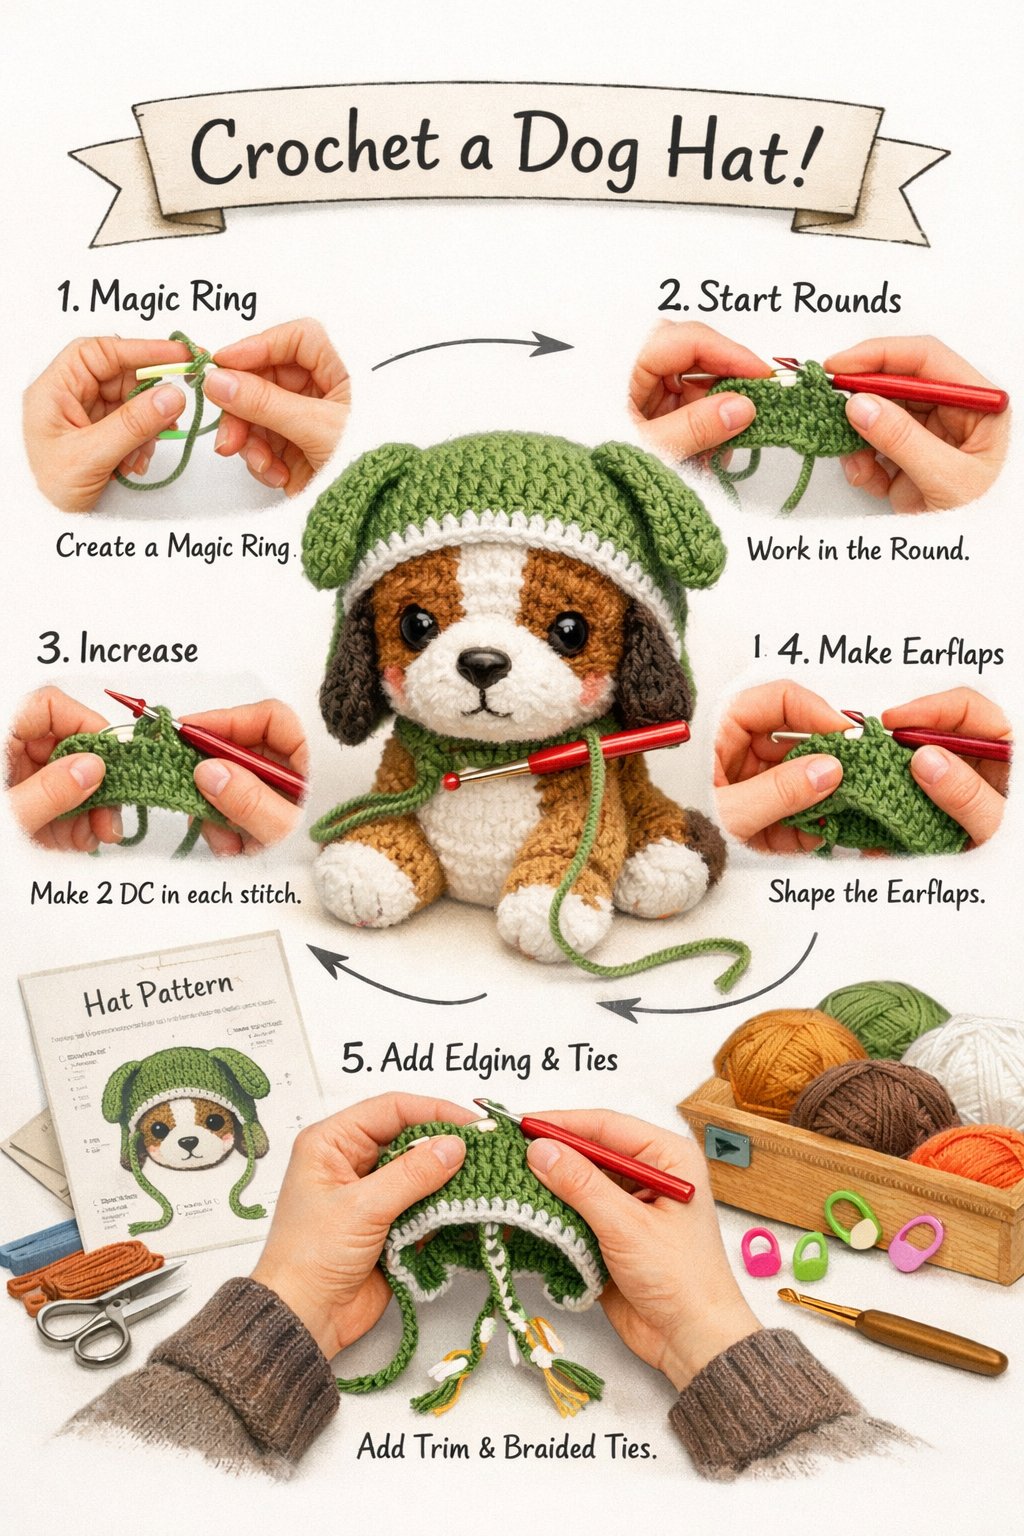
Choose yarn and hook that match your puppy’s size. Use soft, washable yarn so the hat feels comfy. Gauge matters: a tighter stitch keeps shape and warmth.
Start with a magic ring for a snug top. Work in single crochet rounds and increase evenly until the circle matches the crown size you want. Measure against the doll or head to avoid oversizing.
Switch to working even rounds once the crown is wide enough. Crochet straight for several rows to form the hat body. Try these basic sizes:
- Small: 10–12 rounds after increases
- Medium: 12–14 rounds after increases
- Large: 14–16 rounds after increases
For ear openings, mark two spots opposite each other. Skip stitches or chain a small gap, then continue the round. Reinforce edges with slip stitch or single crochet to keep holes neat.
Add finishing touches like a brim, pompom, or earflap ties. For a brim, work a few rounds of half double crochet, increasing slightly for flare. For earflaps, pick up stitches under the ear holes and decrease to a rounded shape; braid yarn for ties.
Fasten off and weave in ends carefully. Try the hat on your amigurumi dog and adjust if needed. Block gently with a damp cloth to set shape if your yarn allows.
How To Crochet A Dog Jumper
Start by measuring your dog’s neck, chest, and back length. Use those numbers to pick a size or adapt a simple pattern to fit your pet.
Choose a soft, washable yarn and a hook that gives you a firm but flexible fabric. For small dogs use lighter yarn; for larger dogs pick a medium-weight yarn.
Work the collar first. Crochet a narrow band that fits comfortably around the neck, then join it to form a loop. Attach stitches evenly around the collar to begin the body.
Increase rounds to shape the chest. Add even increases every few rounds until the chest measurement matches your dog. Keep the sweater snug but not tight so your dog can move easily.
Make armholes by skipping stitches or working short rows. Measure where the front legs should be and leave openings wide enough for easy movement. Reinforce the edges with single crochet.
Continue the body and taper for the tail. Work straight rows for length, then decrease gradually to shape the rump. Finish edges with ribbing or slip stitch to prevent curling.
Tips:
- Use stitch markers to mark size changes and leg openings.
- Try the jumper on your dog often for fit checks.
- Wash and block a swatch first to check gauge and drape.
Materials cheat-sheet:
- Yarn: soft, washable (DK or worsted by size)
- Hook: matched to yarn for correct gauge
- Extras: stitch markers, tapestry needle, measuring tape
How To Crochet A Dog Collar
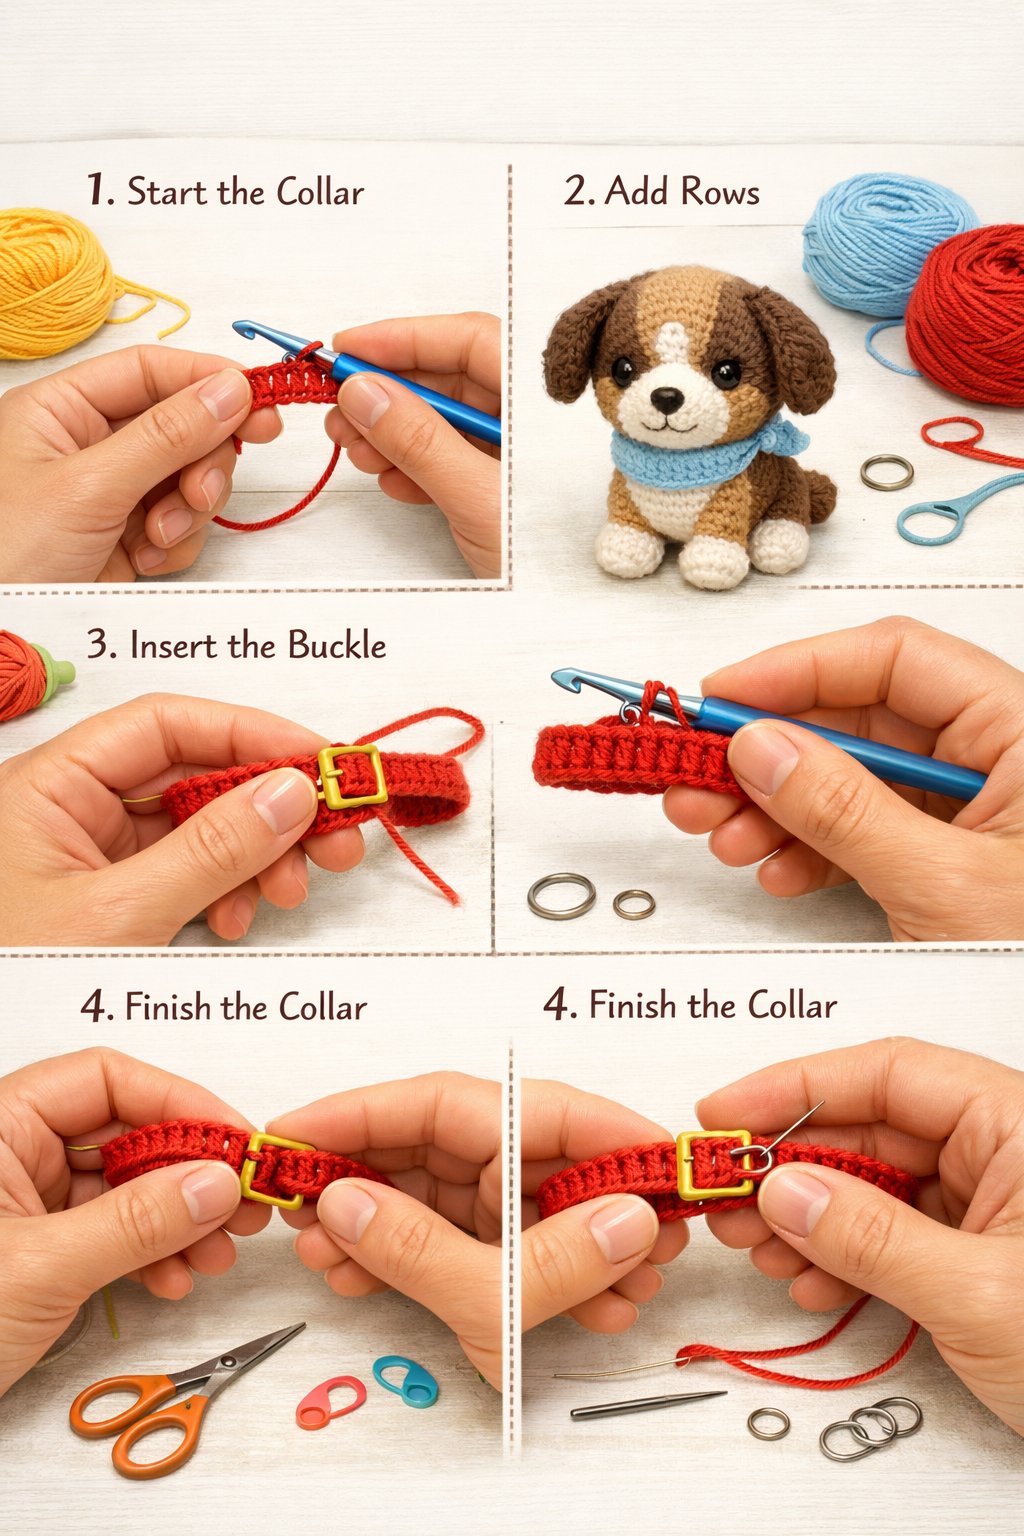
Choose sturdy yarn like cotton or tightly spun acrylic so the collar holds shape and cleans easily. Measure your puppy’s neck and add 1–2 inches for comfort and fastening. Keep the collar width small for amigurumi scale (4–8 stitches).
Start with a foundation chain to your measured length. Work even rows of single crochet (sc) to create a firm strip. Check tension often; too loose makes the collar floppy and too tight makes it stiff.
Add hardware for realism and function: a tiny D-ring and buckle or a small safety snap. Fold one end to form a loop for the D-ring and stitch through both layers several times to secure it. Reinforce with extra stitches or a short piece of nylon thread.
Finish edges with a slip stitch round for a neat look. Weave in ends and trim any excess yarn. If you want decoration, slide beads onto the yarn before crocheting or stitch on a tiny charm after finishing.
Quick reference:
- Materials: cotton/acrylic yarn, hook matching yarn weight, D-ring/buckle, yarn needle
- Stitches: chain, single crochet, slip stitch
- Fit tip: two fingers between collar and neck for real pets; for amigurumi, match scale.
Test the fit on your stuffed puppy and adjust if needed.